

Creamy Vanilla Milkshake Bliss: The Ultimate Recipe for Pure Indulgence
I still remember the first time I took a sip of a homemade vanilla milkshake on a warm summer evening. The sun was just setting, casting a golden hue over everything, and I was gathered with my family in the backyard. That sweet, creamy flavor was not just a treat; it was pure nostalgia wrapped in a glass. My mom would whip up this classic treat, and it never failed to bring a smile to our faces, no matter how tough the day went.
What makes these vanilla milkshakes special isn’t just the simple ingredients; it’s the memories and comfort they evoke. Unlike store-bought versions, homemade milkshakes allow you to control the quality, the flavor, and most importantly, the love that goes into each swirl. With this recipe, you’ll learn exactly how to create a thick, luscious vanilla milkshake that’s better than anything you could grab at a restaurant. I promise you, the end result will not only satisfy your taste buds but also warm your heart.
So, dust off your blender and get ready to embark on a delightful creamy journey!
What Are Vanilla Milkshakes?
Vanilla milkshakes have long held a cherished spot in American dessert culture, dating back to the early 1900s when they graced soda fountains across the country. This delightful concoction features a base of creamy vanilla ice cream blended with milk and a dash of vanilla extract. It’s a simple yet luxurious combination that results in a rich, creamy drink with a heavenly vanilla aroma.
The texture is, without a doubt, one of the highlights. Imagine thick, smooth velvet gliding over your palate with every sip. What’s unique about ice cream-based milkshakes, particularly vanilla, is their timeless appeal. They serve as an incredible canvas for creativity—from classic toppings to unique flavor infusions. Whether you’re celebrating a birthday, hosting a summer barbecue, or simply enjoying a cozy night at home, there’s never a wrong time to indulge in a vanilla milkshake.
Why You’ll Love This Recipe
Homemade Authenticity: There’s something incredibly rewarding about creating your own treats from scratch. Unlike store-bought versions, this recipe allows you to choose high-quality ingredients, resulting in richer flavors. I’ve tested this with various ice creams—trust me, the difference is substantial!
Cost-Effective: Making a vanilla milkshake at home saves you tons of cash, especially if you have a large family or are hosting friends. A single serving at an ice cream parlor could cost $5 or more, while this recipe yields about 2-3 shakes for just a fraction of that price.
Customization: The sky’s the limit with this recipe! You can easily switch it up by adding chocolate syrup, fresh fruits, or even a sprinkle of cinnamon. Want to take it up a notch? Experiment with different extracts like almond or coconut. You’ll discover endless delicious combinations!
Quick and Easy: This is an easy recipe you can whip together in just a few minutes—perfect for spontaneous cravings! With only five simple ingredients, you can be sipping on this heavenly treat in under 10 minutes!
Impress Your Friends and Family: Every time I make this vanilla milkshake, I hear "Wow!" from those tasting it. It’s a surefire way to impress, whether it’s a casual get-together or an elaborate dinner party.
Ingredients
{image_template}
- 2 cups vanilla ice cream, softened slightly (I recommend using brands like Häagen-Dazs or Breyers for a rich flavor).
- 1/2 cup whole milk (For the creamiest texture, avoid skim milk. Almond or oat milk are great dairy-free substitutes!)
- 1/2 teaspoon vanilla extract (Choose pure vanilla extract for the best flavor. I love using Nielsen-Massey.)
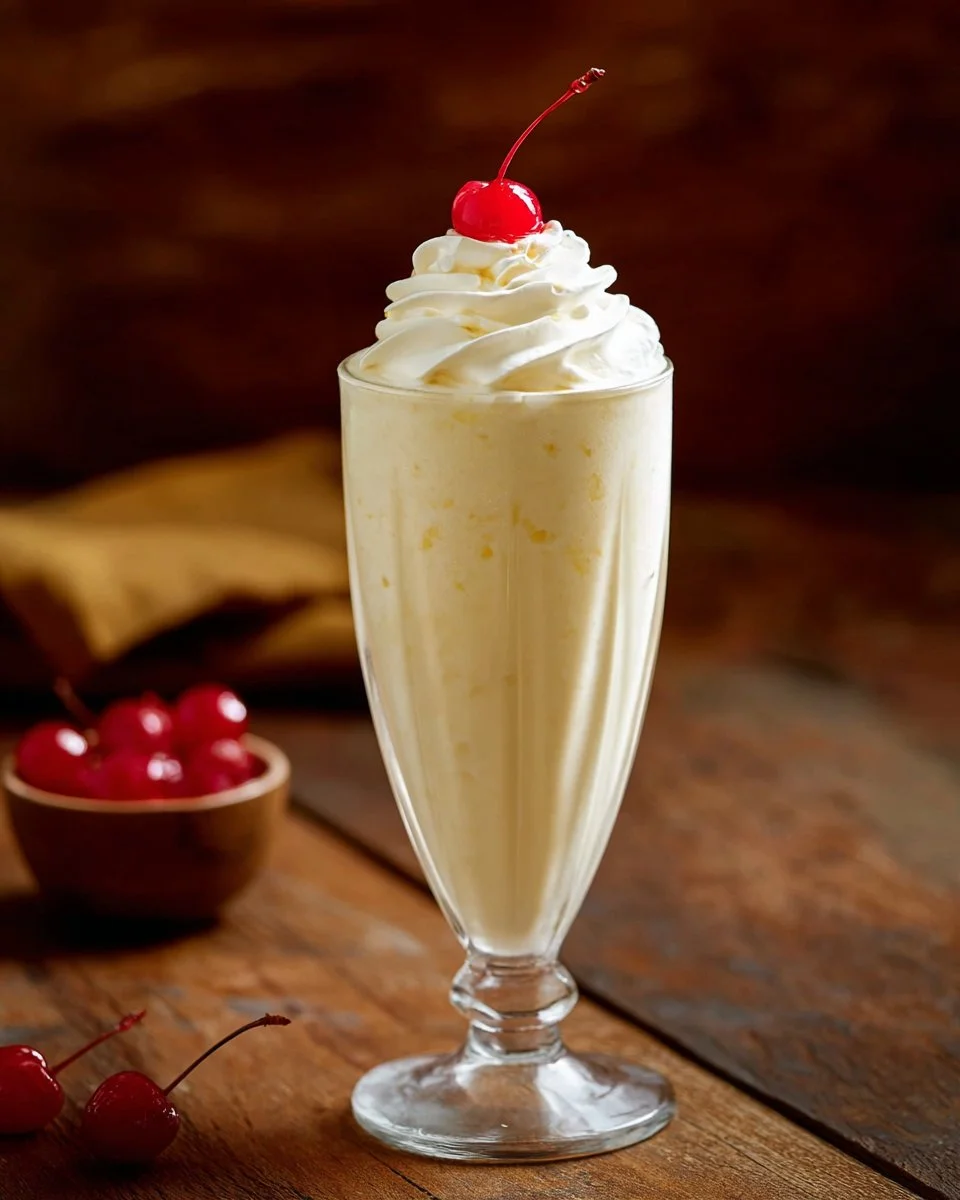
- Whipped cream, optional for topping (Homemade or store-bought. I like to add a light swirl for extra flair!)
- Maraschino cherry, optional for topping (because, really, who can resist the classic cherry on top?)
Prep Notes: Allow your vanilla ice cream to soften slightly before blending—it makes for a smoother shake. Let it sit out for about 5-10 minutes.
Step-by-Step Instructions
Prepare Your Ingredients: Start by measuring out all your ingredients. Remember to let the ice cream sit for a few minutes at room temperature to soften up. You want it to be scoopable, not melting!
Blend It Smooth: Place the softened vanilla ice cream, whole milk, and vanilla extract into a blender.
- Chef’s Tip: For a super smooth texture, blend on high speed until the mixture is silky and creamy—this should take about 30 to 60 seconds.
- Common Mistake: Avoid over-blending; this can create more air in your shake, leading to a less dense and creamy texture.
Adjust Consistency: If the milkshake is too thick, add a little more milk (a tablespoon at a time), and blend again. If it’s too thin, add more ice cream and blend until you reach your desired consistency.
Serve It Up: Pour into a tall glass, and finish with a generous topping of whipped cream and a maraschino cherry. Enjoy right away for the best taste and texture!
Expert Tips & Tricks
Ingredient Quality: The more wholesome your ingredients, the better the shake. Always opt for fresh, high-quality ice cream and milk; they make all the difference!
Storage: If you have leftovers (unlikely!), store them in the freezer in an airtight container. However, keep in mind that the texture may change; consume within 24 hours for optimal quality.
Make Ahead: You can pre-measure your ingredients in advance, then blend them just before serving for maximum freshness.
Adjust Sweetness: If you’re looking for a sweeter shake, feel free to add a tablespoon of powdered sugar or honey while blending.
Troubleshooting: If your milkshake ends up too thick, don’t panic! Simply add a splash more milk until you get that perfect creamy consistency.
Serving Suggestions
Vanilla milkshakes pair wonderfully with homemade cookies or classic grilled cheese sandwiches. You can also serve them alongside a slice of pie, cake, or brownies for a truly decadent dessert experience. For presentation, try serving in tall glasses with straws or even mason jars for a delightful rustic twist. Perfect for backyard BBQs or summer picnics!
Variations & Substitutions
- Flavor Combinations: Consider blending in fresh bananas, strawberries, or even caramel for exciting new flavors. A chocolate swirl is also a great addition!
- Dietary Adaptations: You can easily make this a dairy-free milkshake by using almond milk and non-dairy ice cream. Vegan chocolate or caramel sauce can also take your shake to the next level.
- Seasonal Ingredients: In fall, try adding pumpkin spice to create a delightful autumn-inspired shake. For winter holidays, a touch of peppermint extract can create a festive treat!
Nutrition & Storage Info
- Prep Time: 5 minutes
- Cook Time: 0 minutes
- Total Time: 5 minutes
- Yield: 2-3 servings
- Estimated Calories per Serving: 300-400, depending on exact ingredients used.
- Storage Instructions: Keep tightly covered in the freezer for up to 24 hours. This milkshake is best enjoyed freshly made!
FAQ Section
What can I use instead of vanilla ice cream?
- You can try the milkshake with any other flavor of ice cream, yogurt, or even fruit smoothie base for a healthier option.
Can I make a milkshake without a blender?
- Yes! You can use a hand mixer or even shake it vigorously by hand in a sealed jar, although the texture may not be as creamy.
How do I thicken my milkshake?
- Use more ice cream! If you find your milkshake too runny, add more ice cream until you reach your desired thickness.
Are there any sugar alternatives I can use?
- Absolutely! You can use honey, agave syrup, or sugar substitutes like stevia to sweeten your shake.
How do I store leftover milkshake?
- Store it in an airtight container. However, freshness is key for the best experience, so enjoy it ASAP!
Can I freeze milkshakes?
- Yes, you can, but they might lose their creamy texture. It’s best to consume them freshly made.
Can I add alcohol to my milkshake?
- Yes! A splash of your favorite liqueur can turn it into a delightful adult treat.
What’s the best topping for a milkshake?
- Whipped cream, sprinkles, chocolate syrup, or fresh fruit are all fantastic toppings that elevate your shake!
Can these milkshakes be made vegan?
- Yes! Substitute vanilla ice cream with a non-dairy brand, and use almond or oat milk.
Is there a way to make these shakes healthier?
- Use Greek yogurt in place of ice cream for protein and lower sugar options, and add in fresh fruit!
Conclusion
This vanilla milkshake recipe is a labor of love that not only satisfies your sweet cravings but also brings back those heartwarming memories of family time. I encourage you to try this at home and customize it to make it your own—after all, the best recipes are those that evolve with your taste!
I’d love to hear how it turns out and what creative twists you added. Don’t forget to check out my other dessert recipes on the blog—there’s plenty to indulge in!
{image_template}

Vanilla Milkshake
Ingredients
Main Ingredients
- 2 cups vanilla ice cream, softened slightly Brands like Häagen-Dazs or Breyers recommended for rich flavor.
- 1/2 cup whole milk For the creamiest texture; avoid skim milk.
- 1/2 teaspoon vanilla extract Use pure vanilla extract for best flavor.
Optional Toppings
- to taste whipped cream Homemade or store-bought, for extra flair.
- 1 maraschino cherry A classic topping.
Instructions
Preparation
- Start by measuring out all your ingredients. Let the ice cream soften at room temperature for about 5-10 minutes.
Blending
- Place the softened vanilla ice cream, whole milk, and vanilla extract into a blender.
- Blend on high speed until the mixture is silky and creamy, about 30 to 60 seconds.
- If too thick, add additional milk one tablespoon at a time and blend again. If too thin, add more ice cream.
Serving
- Pour into a tall glass and top with whipped cream and a maraschino cherry. Enjoy immediately for best taste.