
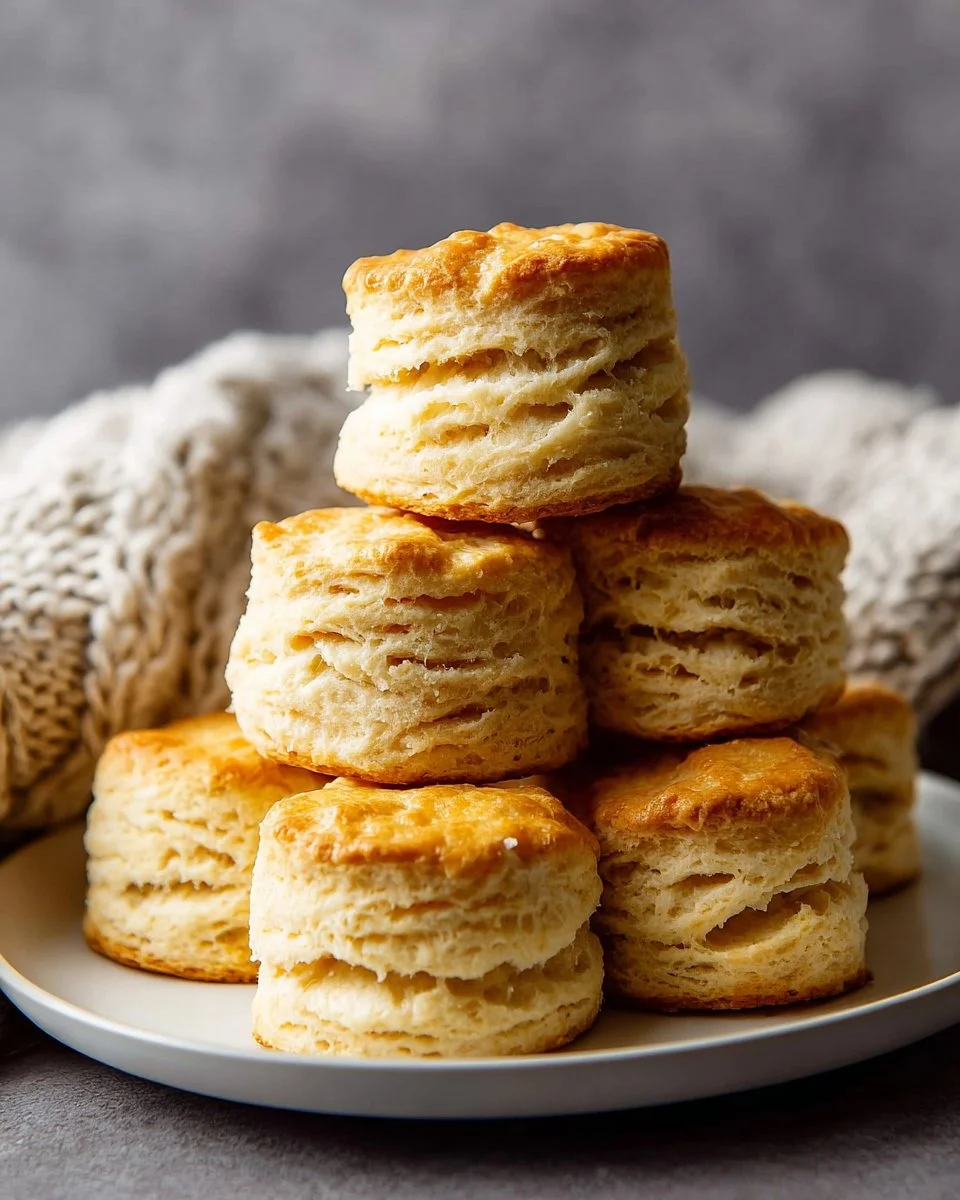
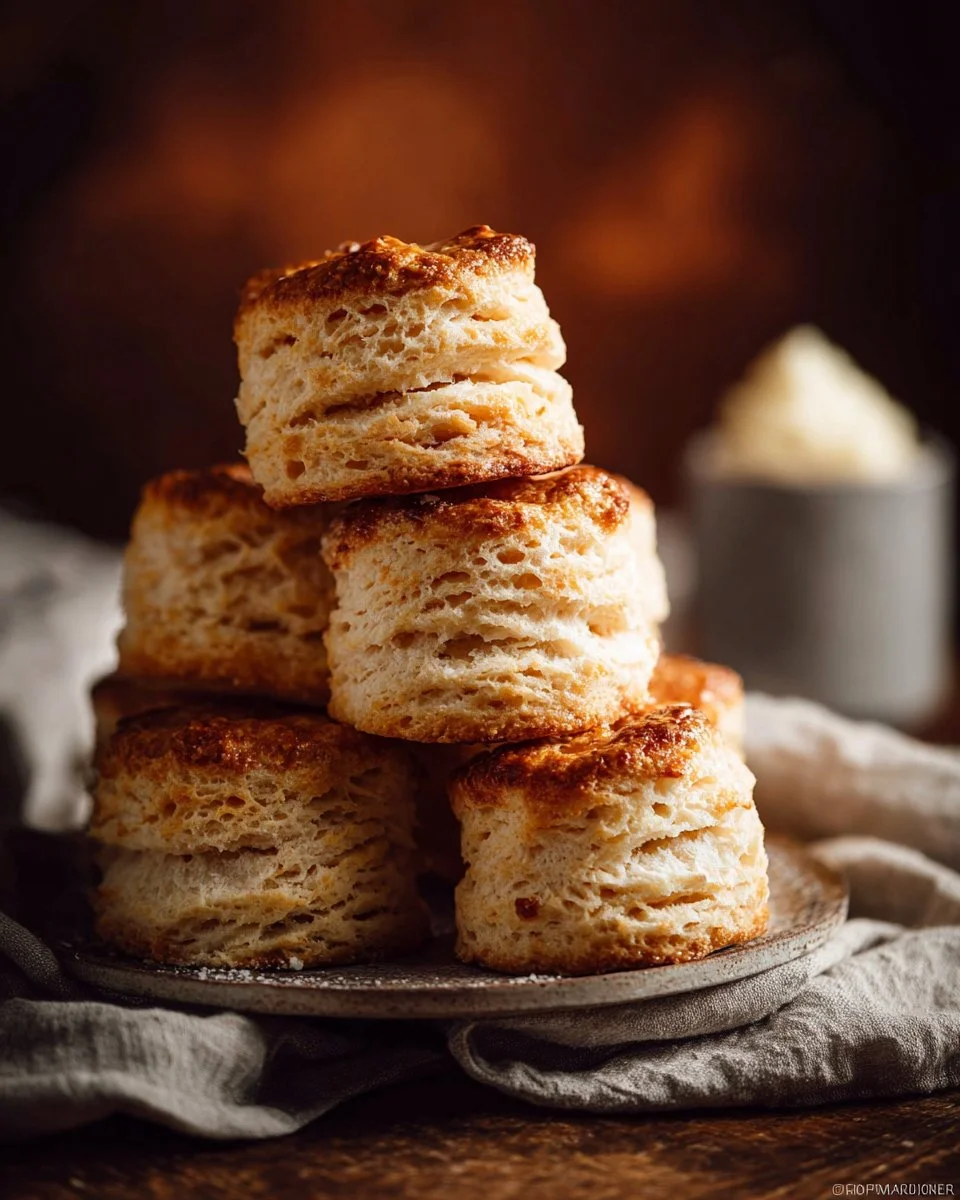
As the aroma of freshly baked biscuits dances through my kitchen, I can’t help but be transported back to my grandmother’s cozy farmhouse. You know the one—rustic, filled with warmth, and always smelling of something delicious. One of my favorite memories is gathering around her kitchen table, eagerly waiting for her famous Soft and Fluffy Baking Powder Biscuits to come out of the oven. There’s just something magical about the way they rise—golden, flaky, and oh-so-soft—that makes them irresistible.
These biscuits are more than just a recipe; they’re a cherished family tradition, bringing comfort and joy during Sunday brunches or holiday gatherings. What makes this recipe stand out from the countless others out there is its simplicity and reliability. You won’t find complex ingredients here—just everyday items that create a mouthwatering treat. Plus, these biscuits are incredibly versatile! Whether you slather them with butter and jam, or pile them high with savory fillings, they are sure to steal the spotlight at any meal.
In this guide, I promise you’ll learn the secrets to mastering the art of making the perfect Soft and Fluffy Baking Powder Biscuits. From expert tips to delicious variations, let’s dive into baking bliss together!
What Are Soft and Fluffy Baking Powder Biscuits?
The humble origins of biscuits can be traced back to early British cooking, gaining popularity in America during the 19th century. What began as a way to utilize baking powder has transformed into a beloved staple in kitchens across the globe. These Soft and Fluffy Baking Powder Biscuits are light, airy, and have a melt-in-your-mouth quality that sets them apart.
When you take a bite, you’ll experience a delightful contrast: the crispy exterior yielding to a soft, pillowy interior. That delightful fluffiness can elevate any meal from breakfast to dinner and everything in between. Perfect for brunch spreads or casual dinners, they can be served up with gravy, jam, or even buttered alongside a warm soup.
Whether you’re a novice baker or a seasoned pro, these biscuits are a must-try!
Why You’ll Love This Recipe
- Easy to Make: Don’t let the word “biscuits” intimidate you! This recipe is straightforward, with minimal hands-on time. You can whip them up in no time in four simple steps.
- Cost-Effective: Homemade biscuits save you money compared to store-bought versions—plus, they taste infinitely better! With just a handful of pantry staples, you can make a batch that’s fresher and tastier than anything from the grocery shelf.
- Customization Options: Want to add cheese? Sprinkle in some herbs? How about incorporating whole grains for a nutty flavor? The possibilities are truly endless with this base recipe, allowing you to tailor the biscuits to your taste preferences.
- Consistency: I’ve tested this recipe multiple times, and every time, the results are just as fluffy and delicious. No more guessing games!
- Perfect for Any Occasion: Whether it’s a weekday breakfast, a fancy brunch, or a comforting side dish for dinner, these biscuits fit the bill perfectly. Trust me—everyone will be asking for seconds!
Ingredients Section
To create your very own Soft and Fluffy Baking Powder Biscuits, round up the following ingredients:
- 2 cups all-purpose flour: Use a high-quality flour for the best texture. Brands like King Arthur or Gold Medal are great choices.
- 2 tablespoons baking powder: Make sure it’s fresh for maximum fluffiness!
- 1/2 teaspoon salt: Enhances the overall flavor—don’t skip it!
- 1/2 cup unsalted butter (cold): Cut into small cubes. This is key for those flaky layers.
- 1 cup milk or buttermilk: Buttermilk adds a tangy flavor and creates even softer biscuits.
- 1 tablespoon sugar (optional): For a slightly sweet touch, especially great if you’re serving them with jam.
Prep Notes: Make sure your butter is cold for the best results—this will help achieve that flaky biscuit texture.
Step-By-Step Instructions
- Sift flour into a large mixing bowl: This not only removes lumps but also aerates the flour for light biscuits.
- Mix with baking powder and salt: Whisk together until evenly combined.
- Cut in cold butter: Using a pastry cutter or a sharp knife, mix until the mixture resembles coarse crumbs (like peas).
- Add milk gradually: Pour in the milk while stirring gently. You want to mix until the dough just comes together—don’t overwork it!
- Knead lightly on a floured surface: Just a few turns will do. You want the dough to be soft and not sticky.
- Roll out the dough: Use a rolling pin to flatten it to about 1.2 inches thick.
- Cut out your biscuits: A biscuit cutter is ideal, but a simple drinking glass works too!
- Place on a baking sheet: Keep them close together to create nice soft sides while baking.
- Let them rest for 10 minutes: This helps them rise even more in the oven.
- Bake at 220°C (425°F) for 10-12 minutes: They should be lightly golden on top.
- Cool on a wire rack: Let them cool slightly to maintain that soft texture.
Chef’s Tips:
- Keep your tools and ingredients cold for best results.
- Avoid over-kneading to keep biscuits tender.
- If the dough is too sticky, sprinkle a little more flour as needed.
Expert Tips & Tricks
- Storage: These biscuits are best enjoyed fresh, but if you have leftovers, store them in an airtight container at room temperature for up to 2 days. You can also freeze them after baking, and they’ll last up to a month.
- Make-Ahead: You can prepare the dough and cut the biscuits ahead of time. Freeze them on a baking sheet, then transfer to a container once solid. Bake straight from the freezer, adding an extra couple of minutes to your bake time.
- Troubleshooting: If your biscuits don’t rise, check that your baking powder is still active. A quick test is to add a teaspoon to warm water; it should bubble vigorously!
- Experiment: Add cheddar cheese or herbs like rosemary for variation! Want something sweet? Chocolate chips or blueberries work wonderfully.
- Presentation: Serve warm with a pat of butter and a sprinkle of sea salt for a delicious twist!
Serving Suggestions
Enjoy your Soft and Fluffy Baking Powder Biscuits fresh out of the oven, ideally served warm with a dollop of homemade jam or a pat of creamy butter. They pair wonderfully with hearty soups, juicy fried chicken, or a refreshing salad. For special occasions, consider stacking them on a beautiful serving platter and garnish with fresh herbs for a pop of color.
Variations & Substitutions
- Cheesy Biscuits: Fold in sharp cheddar cheese for a savory sidekick to your soups or stews.
- Herb-Infused: Add chopped fresh herbs like chives or thyme to the dough for a fragrant twist.
- Sweet Biscuits: Stir in a handful of chocolate chips or dried fruit for a delightful breakfast or snack.
- Gluten-Free: Substitute regular flour with a gluten-free blend. Just be sure to check the packaging for appropriate baking tips.
Nutrition & Storage Info
- Prep Time: 15 minutes
- Cook Time: 12 minutes
- Total Time: 27 minutes
- Yield: 12 biscuits
- Estimated Calories per serving: 140 calories each
- Storage: Room temperature for 2 days; fridge for 4 days; freeze for up to a month.
FAQ Section
1. Can I use whole wheat flour instead of all-purpose?
Absolutely! Whole wheat flour will create a denser biscuit, so you may need to add a little more milk.
2. How do I know when the biscuits are done?
They should be lightly golden on top and have risen beautifully. You can also poke one lightly—the texture should feel firm but soft.
3. Can I make these biscuits ahead of time?
Yes! Prepare the dough or even bake them in advance and enjoy them warm when you’re ready.
4. Why do my biscuits come out tough?
This usually happens from over-mixing the dough. You want just enough mixing for it to come together.
5. Is there a vegan alternative?
Swap the butter for coconut oil and the milk for almond or soy milk. They’ll be delicious!
6. Can I freeze the biscuits before baking?
Yes! Freeze after cutting them. Bake directly from the freezer, adding a few minutes to the baking time.
7. How do I store leftovers?
Store in an airtight container at room temperature for a short time or freeze for longer-lasting enjoyment.
8. Can I use baking soda in place of baking powder?
Not directly. If using baking soda, you’ll need to acidify your recipe with buttermilk or yogurt.
9. What should I serve with these biscuits?
They pair well with gravy, soups, salads, or as a side for any comfort meal.
10. Can I make mini biscuits?
Absolutely! Just use a smaller cutter and adjust baking time if needed.
Conclusion
These Soft and Fluffy Baking Powder Biscuits are more than just a recipe; they are a celebration of comfort, nostalgia, and family love. I encourage you to try this recipe and make it your own—your loved ones will appreciate the effort! Let me know how they turned out—your feedback and stories are what inspire me to keep creating.
If you loved this recipe, be sure to check out more delightful comfort foods on my blog, like my savory cheddar biscuits or buttery scones. Happy baking!

Soft and Fluffy Baking Powder Biscuits
Ingredients
Main Ingredients
- 2 cups all-purpose flour Use a high-quality flour for the best texture.
- 2 tablespoons baking powder Make sure it's fresh for maximum fluffiness!
- 1/2 teaspoon salt Enhances the overall flavor.
- 1/2 cup unsalted butter (cold) Cut into small cubes for flaky layers.
- 1 cup milk or buttermilk Buttermilk adds tangy flavor.
- 1 tablespoon sugar (optional) For a slightly sweet touch.
Instructions
Preparation
- Sift flour into a large mixing bowl.
- Mix flour with baking powder and salt until combined.
- Cut in cold butter until the mixture resembles coarse crumbs.
- Gradually add milk, mixing until the dough just comes together.
- Knead lightly on a floured surface.
- Roll out dough to about 1.2 inches thick.
- Cut out your biscuits using a cutter.
- Place biscuits on a baking sheet, keeping them close together.
- Let them rest for 10 minutes before baking.
- Bake at 425°F (220°C) for 10-12 minutes until lightly golden.
- Cool on a wire rack before serving.