
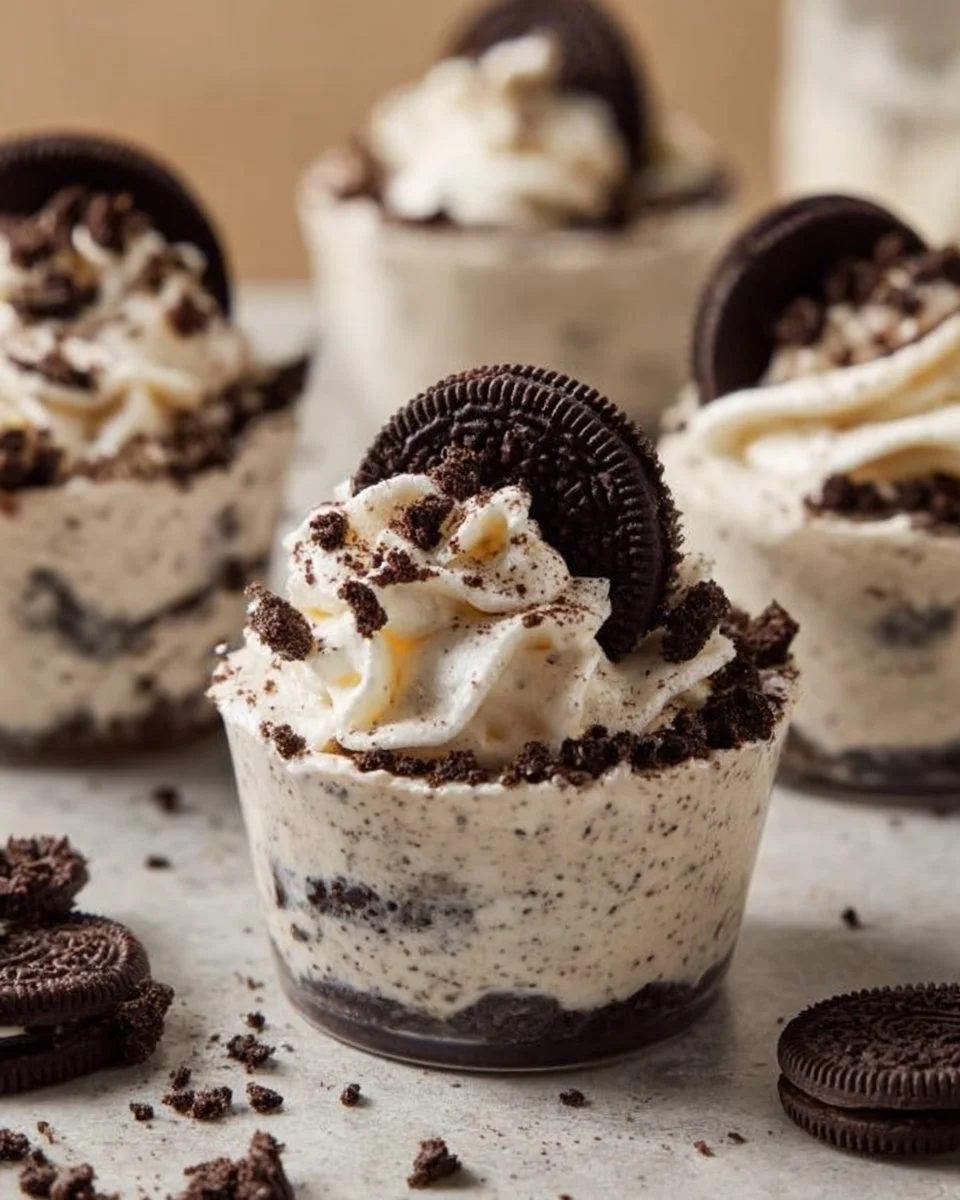
Irresistible No Bake Oreo Cheesecake Cups: Adulting Made Sweet!
As a former sugar aficionado turned baking enthusiast, my heart was stolen the first time I sank my spoon into a No Bake Oreo Cheesecake Cup. It was a whirlwind of bliss, creamy cheesecake mingling with the crispy, chocolatey goodness of Oreo cookies—all without turning on the oven! These little cups of heaven have become my secret weapon for gatherings, cozy nights in, or even just a pick-me-up after a long day.
What makes these No Bake Oreo Cheesecake Cups so special isn’t just their no-fuss, quick prep time, but the delightful texture that dances between silky smooth and crunchy. After countless attempts to replicate the feeling of nostalgia from my childhood, every batch has ignited cherished family memories of sharing desserts after a Sunday dinner.
When I share these treats with friends and family, the smiles on their faces tell me everything I need to know. So, buckle up, because in this post, you’ll learn how to whip up these delicious cups effortlessly, store them for later, and keep your loved ones coming back for more!
What are No Bake Oreo Cheesecake Cups?
Originating from the quest for a quick dessert that doesn’t skimp on flavor or indulgence, No Bake Oreo Cheesecake Cups blend rich cream cheese with the beloved Oreo cookie in a delightful manner. The taste? Imagine a rich, creamy filling that melts in your mouth, balanced perfectly by the crunchy Oreo base and topping. It promises a harmonious blend of flavors that bring comfort in every bite.
Whether you whip them up for a birthday celebration, a picnic, or an ordinary Tuesday that needs some sweetness, these cups stand out. They’re not just dessert; they are an experience that can turn any moment into a mini celebration!
Why You’ll Love This Recipe
Effortless Delight: You don’t need any baking skills here! With just a few simple steps, you can create stunning dessert cups that taste like they took ages to prepare.
Incomparable Flavor: Unlike store-bought desserts laden with preservatives, this homemade version is crafted with love, ensuring you savor the real taste of each ingredient.
Cost-Effective: Making your own dessert is always budget-friendly. Instead of splurging on pricey restaurant desserts, you can whip up several cups for a fraction of the cost.
Customizable: You can switch up ingredients to cater to different tastes—try mixing in peanut butter or even white chocolate! The variations are endless.
Quick Prep: With a total time of under 20 minutes (plus chilling), you can have these delights ready to serve in no time!
Ingredients
- 1 package Oreo cookies (preferably regular, but any flavor works!): For that crunchy, chocolatey base. You can also substitute with gluten-free Oreos if needed!
- 8 oz cream cheese, softened: Full-fat cream cheese makes the filling smooth and rich. Don’t go for low-fat here; it just doesn’t work the same magic!
- 1/2 cup powdered sugar: This sweetness balances the tang of the cream cheese perfectly.
- 1 cup heavy whipping cream: Whipping up this cream adds that light and airy texture. Use high-quality cream for the best results.
- 1 teaspoon vanilla extract: A splash of pure vanilla enhances all the flavors beautifully.
Prep Notes: Make sure your cream cheese is at room temperature for easy mixing, and if you’re feeling generous, grab some extra Oreos for garnish!
Step-by-Step Instructions
Crush the Oreo cookies: Place them in a zip-top bag and smash them with a rolling pin until they resemble fine crumbs. Set aside a few whole ones for topping. This usually takes about 3-5 minutes.
Cream the Cheese: In a mixing bowl, beat the softened cream cheese and powdered sugar together. Mix until it’s smooth, about 1-2 minutes, scraping down the sides.
Whip the Cream: In a separate bowl, whip the heavy cream and vanilla extract together until stiff peaks form. You’re looking for that glorious fluffy texture! This takes around 3-5 minutes with a hand mixer.
Fold it Together: Gently fold the whipped cream into the cream cheese mixture. Be careful not to deflate the whipped cream—you want it to stay airy and fluffy! This should take another minute.
Layer it Up: Grab your cups or jars! Start by layering crushed Oreos at the bottom, followed by a generous scoop of the cheesecake mixture. Repeat until the cups are filled, leaving some room at the top.
Top it Off: Sprinkle the reserved Oreo crumbs over the tops of the cups. Feel free to get creative here!
Refrigerate: Pop them in the fridge, allowing the flavors to meld and set for at least 2 hours—though I recommend letting them chill overnight for the best results.
Chef’s Tips: Make sure not to skimp on the chilling time! This is what transforms your cups from great to absolutely heavenly.
Expert Tips & Tricks
- Storage: These cups can be stored in the fridge for up to 3 days, making them perfect for meal prep or a sweet treat waiting for you after a long day.
- Make Ahead: You can prepare the cheesecake filling and Oreo base a day in advance; just layer them the night before your event.
- Common Mistakes: Avoid over-whipping the cream; it should be soft and fluffy, not grainy. If that happens, you can mix in a little more cream to save the texture!
- Troubleshooting: If your cream cheese is lumpy after mixing, try using a hand mixer for a longer period, and make sure it’s softened well.
Serving Suggestions
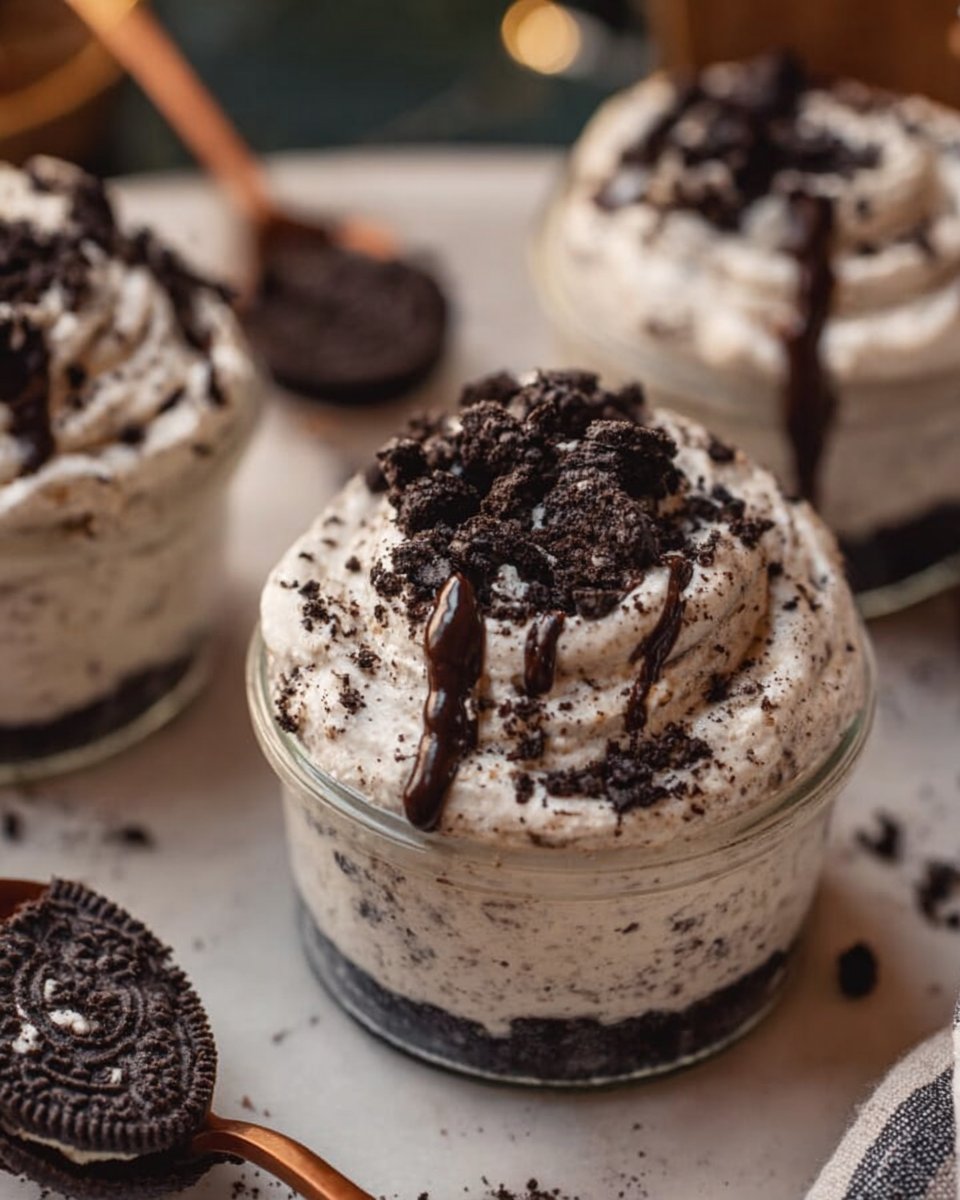
These No Bake Oreo Cheesecake Cups are incredible on their own, but why not elevate the experience? Serve them with fresh berries like strawberries or raspberries for a pop of color and flavor. For a fun presentation, consider using clear jars to show off those beautiful layers; add a sprig of mint on top for an extra touch. Perfect for parties, movie nights, or casual gatherings with friends and family!
Variations & Substitutions
- Flavor Combinations: Try different cookie bases like Chocolate Graham Crackers, or even a layer of peanut butter mixed into the cheesecake for a flavor explosion.
- Dietary Restrictions: Swap out dairy by using vegan cream cheese and coconut whipped cream. Use gluten-free Oreos to cater to your gluten-sensitive pals!
- Seasonal Variations: Pumpkin spice swap for fall using pumpkin puree and spices, or a peppermint version for holiday gatherings!
Nutrition & Storage Info
- Prep Time: 20 minutes
- Chill Time: 2 hours
- Total Time: 2 hours 20 minutes
- Yield: About 6-8 servings, depending on cup size.
- Estimated Calories: 250-300 calories per serving (subject to portion size and ingredient selections).
- Storage Instructions: Keep refrigerated for up to 3 days. Not recommended for freezing.
FAQ Section
Can I make these with low-fat ingredients?
Yes, but keep in mind that the texture and taste might be different. Full-fat ingredients yield the best creamy results!Do I have to refrigerate these?
Yes, they need to be chilled for at least 2 hours to set properly.Can I use other cookies instead of Oreos?
Absolutely! Any cookie works, but the flavor will vary significantly.How long do these last in the fridge?
They’re best enjoyed within 3 days for optimal freshness.Can I use a different type of sweetener?
Yes, feel free to experiment with alternative sweeteners, but they may affect the texture.Is there a non-dairy version?
Totally! Use vegan cream cheese and coconut whipped cream.What can I use for a fun twist?
Try adding flavors like orange zest or chocolate chips into the cream mixture.How do I know when the whipped cream is ready?
Whip until you see firm peaks (the cream holds its shape but isn’t grainy).Can I make these in advance for a party?
Yes, just prepare them the day before and chill overnight!What’s the best way to serve them?
In mason jars or clear cups so guests can see the layers!
Conclusion
These No Bake Oreo Cheesecake Cups truly hold a special place in my heart—and I know they will for you too. Whether for a celebration, a cozy family night, or even just a self-care treat after a chaotic day, this recipe will quickly become a beloved staple in your kitchen.
I’d love to hear your thoughts and any tweaks you might make! Don’t hesitate to leave a comment or share your experience. And while you’re here, check out some of my other favorite no-bake recipes on the blog—because when it comes to effortless indulgence, there’s always room for more. Happy baking!
No Bake Oreo Cheesecake Cups
Ingredients
For the crust
- 1 package Oreo cookies Preferably regular, but any flavor works. Can substitute with gluten-free Oreos.
For the filling
- 8 oz cream cheese, softened Full-fat cream cheese works best for a smooth and rich filling.
- 1/2 cup powdered sugar Balances the tang of cream cheese.
- 1 cup heavy whipping cream Use high-quality cream for the best results.
- 1 teaspoon vanilla extract Enhances the flavors of the cheesecake.
Instructions
Preparation
- Crush the Oreo cookies: Place them in a zip-top bag and smash them with a rolling pin until they resemble fine crumbs. Set aside a few whole ones for topping. This usually takes about 3-5 minutes.
- Cream the Cheese: In a mixing bowl, beat the softened cream cheese and powdered sugar together until smooth, about 1-2 minutes, scraping down the sides.
- Whip the Cream: In a separate bowl, whip the heavy cream and vanilla extract together until stiff peaks form, which takes around 3-5 minutes.
- Fold it Together: Gently fold the whipped cream into the cream cheese mixture, being careful not to deflate it.
- Layer it Up: Start by layering crushed Oreos at the bottom of your cups, followed by a generous scoop of cheesecake mixture. Repeat until filled, leaving some room at the top.
- Top it Off: Sprinkle the reserved Oreo crumbs over the tops of the cups.
- Refrigerate: Let them chill in the fridge for at least 2 hours, or ideally overnight for the best results.