

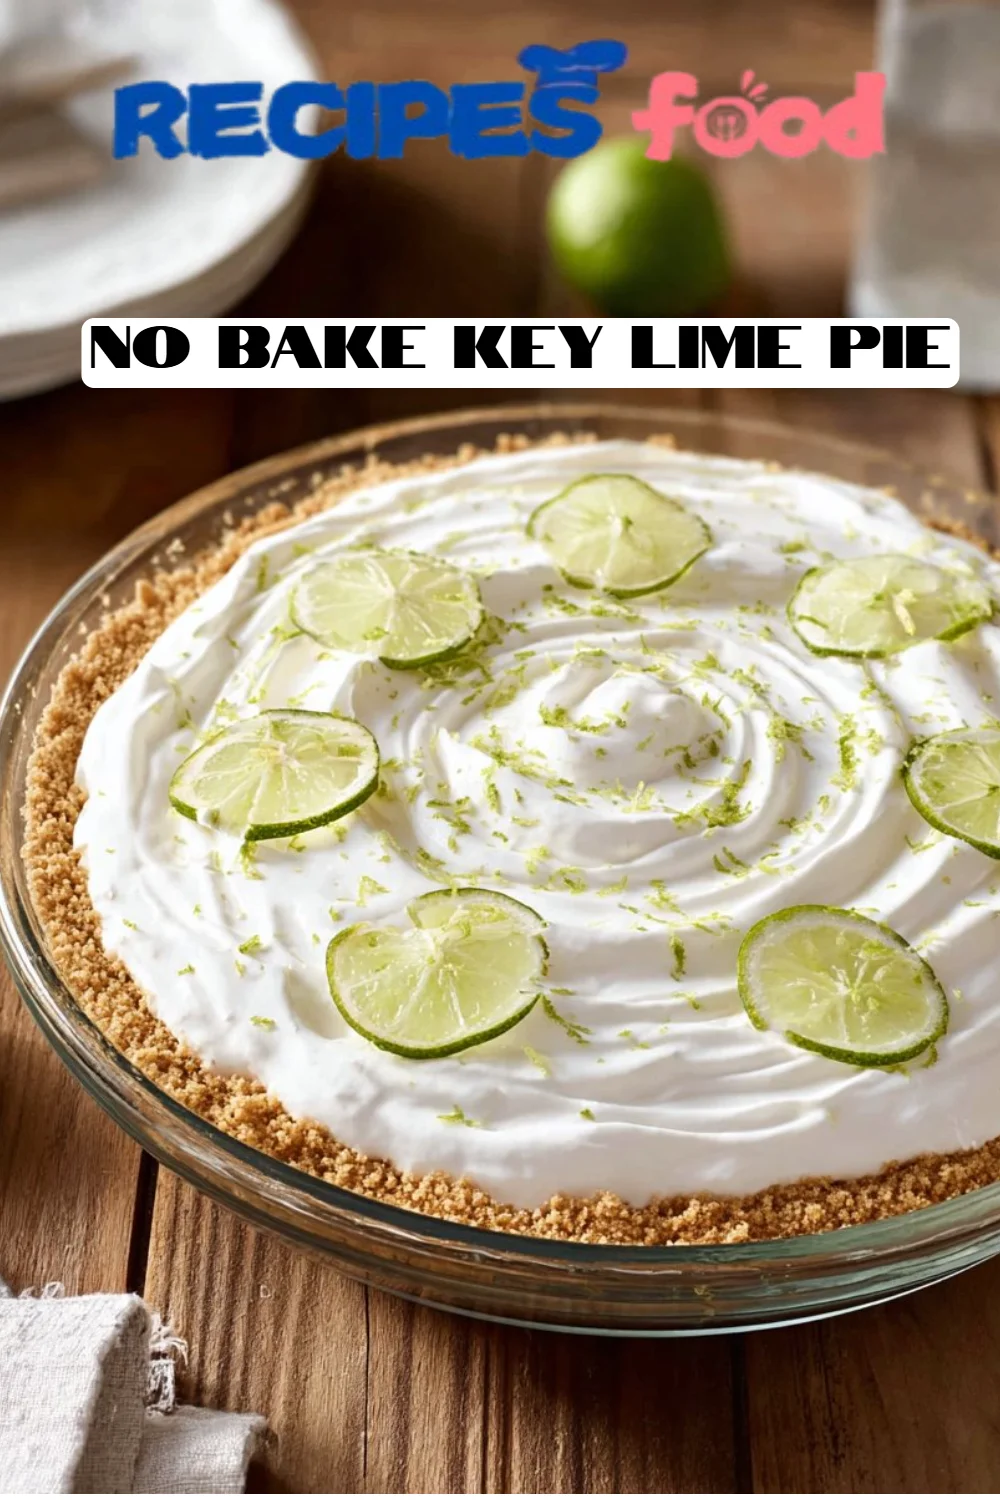
Irresistible No Bake Key Lime Pie: The Ultimate Refreshing Delight
Picture this: it’s a sweltering summer day, the sun high in the sky, and that signature tangy aroma of key limes wafting through the kitchen. I can’t help but smile as I recall the countless warm afternoons spent with my family, crafting together a No Bake Key Lime Pie that felt like pure sunshine on a plate. Each bite transports me back to those cherished moments, where laughter filled the air, and sweet yet tangy flavors danced on our taste buds.
What sets this No Bake Key Lime Pie recipe apart from the rest is not just its ease but the incredible balance of flavors that can only come from fresh, high-quality ingredients. Unlike more traditional, time-consuming pies, this one requires no baking—just a chilling period of anticipation! I promise that you’ll create a gorgeous dessert that will impress everyone, whether it’s a backyard barbecue or a leisurely family gathering.
In this post, I’ll guide you through making this delightful, no-fuss pie. You’ll learn about the ingredients that make it sing, tips to elevate your pie game, and creative ways to customize it to suit your palate. Let’s dive into the world of No Bake Key Lime Pie together, where every bite is reminiscent of beachside memories!
What Are No Bake Key Lime Pies?
Originating from the sunny shores of Florida, No Bake Key Lime Pie has become a beloved American dessert that captures the essence of that tropical oasis. The vibrant key lime juice combines beautifully with the creamy filling, resulting in a refreshing dessert that is both tart and sweet, akin to a mini vacation for your taste buds!
The texture is a harmonious balance between a silky cream and a crumbly crust, creating an indulgent yet light experience. There’s nothing quite like the original flavors of key lime, as they offer a unique tartness that separates them from regular limes. This pie is perfect for any occasion—whether you’re throwing a summer party or simply want to treat yourself after a long day.
Why You’ll Love This Recipe
Simplicity and Speed: With no baking required, this recipe is a breeze. You can whip it up in under 30 minutes; an absolute win for last-minute hosting or a sweet tooth craving!
Budget-Friendly: Compared to store-bought confections, making your own No Bake Key Lime Pie can save you a pretty penny. Plus, the taste? Unmatched!
Quality Ingredients: When you make it at home, you control what goes in it. Use fresh key limes for a zestier flavor and pure ingredients for a dessert that’s sure to impress.
Customization Galore: Feeling adventurous? You can swap in some crushed graham crackers for a coconut crust or stir in fresh berries into the filling for an interesting twist!
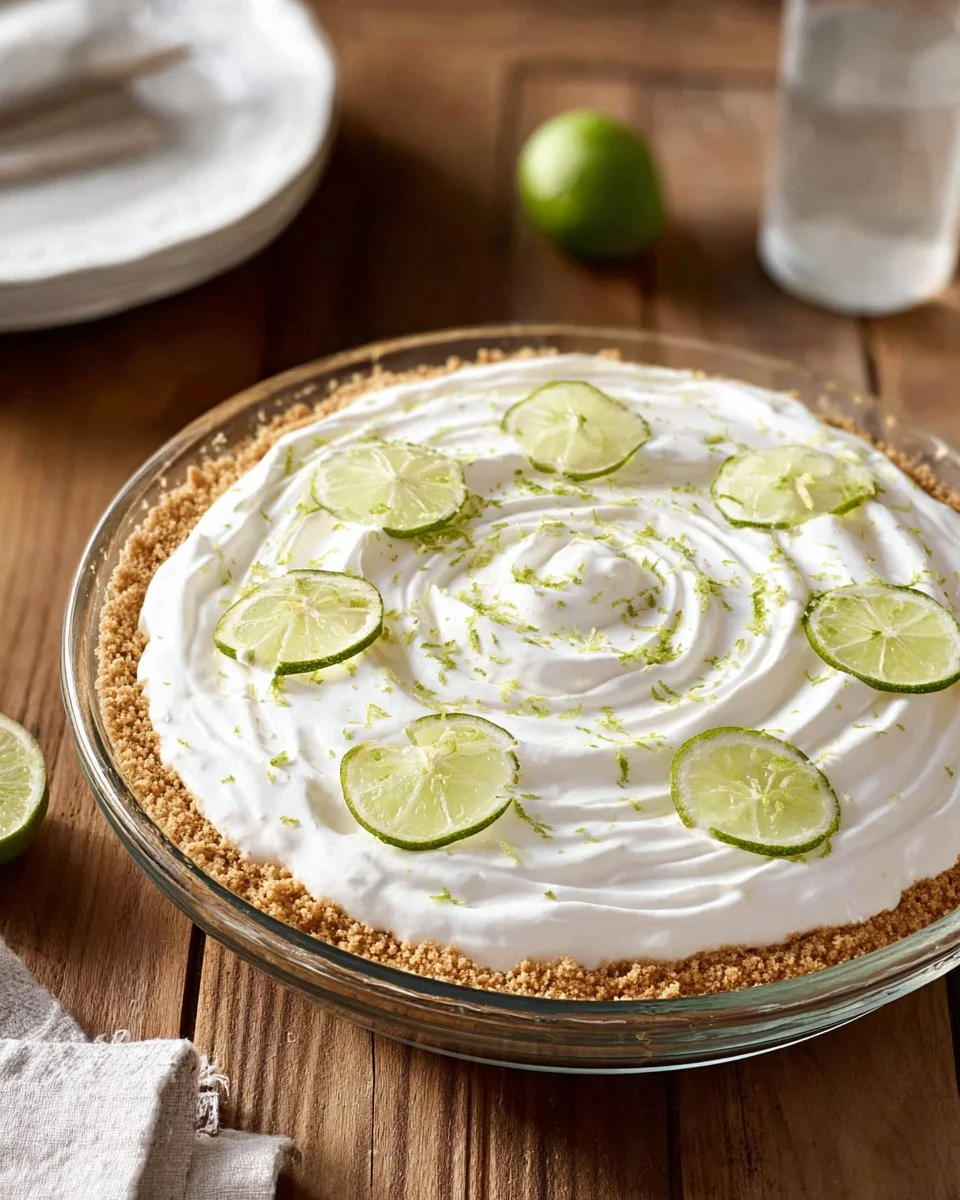
Effortless Presentation: This pie looks stunning with minimal effort. Top it off with whipped cream and a few key lime slices, and you have a showstopper on your hands!
Prepare to come away with a No Bake Key Lime Pie that’s sure to be a hit—and maybe even start your own family tradition.
Ingredients Section
Before we dive into the preparation, let’s gather our ingredients:
- 1 ½ cups graham cracker crumbs – For the perfect crust base. Look for quality brands or even make your own!
- ½ cup unsalted butter, melted – Let it come to room temperature after melting. I personally love using Kerrygold for its rich flavor.
- 8 ounces cream cheese, room temperature – Softened cream cheese creates a smooth, luxurious filling. Make sure it’s full-fat for the best results.
- 1 can sweetened condensed milk – This adds luscious sweetness. Opt for a reputable brand like Eagle Brand for consistent taste.
- ½ cup key lime juice – Freshly squeezed juice will elevate your pie—a must for authentic flavor.
- Fresh key lime slices, for garnish – These add a pop of color and look stunning on the final pie.
- Whipped cream, for garnish – I recommend homemade whipped cream; it’s simple, delicious, and elevates the presentation!
Prep notes: Remember that your butter and cream cheese should be at room temperature for smoother incorporation!
Step-by-Step Instructions
Prepare the Crust: In a small bowl, combine the graham cracker crumbs and melted butter. Mix until every crumb is beautifully coated in butter.
Press into the Pan: Evenly press the crumb mixture into the bottom and sides of a 9-inch pie pan. I like to use the bottom of a measuring cup to ensure it’s compact and even.
Make the Filling: In a large bowl, add the cream cheese. Using a hand mixer, beat it until it’s smooth and creamy. This step is crucial for eliminating lumps and creating a silky texture.
Combine Ingredients: Pour in the sweetened condensed milk and key lime juice. Mix until the filling is fully combined and dreamy!
Fill the Crust: Pour the luscious filling over the prepared crust and spread evenly.
Chill to Set: Cover the pie and refrigerate until fully set, about 1 hour (or up to overnight for maximum flavor).
Garnish: Just before serving, decorate with fresh key lime slices and a generous dollop of whipped cream—this is where the pie really shines!
Chef’s Tips:
- If using bottled key lime juice, check the label for 100% juice to ensure flavor quality.
- For extra creaminess, consider adding a dollop of crème fraîche to the filling.
Common Mistakes to Avoid:
- Skipping the room temperature step for cream cheese can lead to lumps that are hard to beat out!
- Not letting it chill long enough will result in a runny pie—definitely not ideal!
Expert Tips & Tricks
- Storage Tips: Store any leftovers in the fridge, covered tightly with plastic wrap or foil. It will keep freshness for up to 3 days.
- Make-Ahead Option: You can prepare this pie a day ahead; just hold off on garnish until the last minute for presentation.
- Troubleshooting Tips: If your filling seems too runny, try adding a tablespoon of cornstarch or more cream cheese to stabilize it. Ensure it’s fully blended and chilled.
- Flavor Boosts: Sprinkling a bit of lime zest into the filling can impart a lovely aroma and flavor to the pie.
Serving Suggestions
Pair this dreamy No Bake Key Lime Pie with a side of fresh berries or a scoop of coconut sorbet for a delightful contrast. For special occasions, consider serving it on a decorative plate or alongside tropical-themed treats, like piña colada cupcakes. Trust me, your guests will be begging for seconds!
Variations & Substitutions
Flavor Variations: Feeling adventurous? Try adding a swirl of mango puree to the filling for a tropical fusion or make a berry version by incorporating pureed berries into the mix.
Dietary Adaptations: For a lighter option, substitute with low-fat cream cheese and lighter sweetened condensed milk. You can also use gluten-free crumbs if you have dietary restrictions.
Seasonal Variations: As the seasons change, consider adding seasonal fruits or spices to mix it up. A hint of cinnamon or nutmeg could introduce a cozy fall element!
Nutrition & Storage Info
- Prep Time: 30 minutes
- Chill Time: 1 hour (up to overnight)
- Total Time: 1 hour 30 minutes
- Yield: 8 servings
- Calories per serving: Approximately 300 calories (subject to variations)
- Storage: Keep covered in the refrigerator for up to 3 days. For longer storage, it can be frozen for 1 month—just remember to wrap it tightly!
FAQ Section
Can I use regular limes instead of key limes?
You can, but key limes provide a unique flavor that’s hard to replicate. Regular limes will work in a pinch, but the taste will be slightly different.Do I have to use sweetened condensed milk?
Sweetened condensed milk adds creaminess and sweetness, but you can experiment with alternatives like coconut cream for a dairy-free option.Can I freeze this pie?
Absolutely! Just be sure to wrap it tightly. Thaw it in the fridge overnight before serving.How can I make this pie dairy-free?
You can substitute cream cheese with a vegan cream cheese alternative and use coconut cream in place of sweetened condensed milk.How long does it take to set?
Chilling for at least 1 hour is perfect; however, overnight will yield the best results.Can I use a different crust?
Yes! This pie can also be made with a cookie crust like Oreos or even a nut-based crust for a gluten-free option.What’s the best way to slice the pie?
Use a sharp knife dipped in warm water. This will give you clean slices, so everyone can enjoy a beautiful presentation.How can I add more texture?
Sprinkle some toasted coconut on top or fold in crushed nuts to the filling for added crunch!Is there a non-dairy whipped cream option?
Yes! Coconut whipped cream is a great substitute and pairs beautifully with the flavors of key lime pie.What other toppings can I use?
Besides whipped cream and lime slices, consider fresh berries, chocolate shavings, or even a drizzle of chocolate sauce for a decadent touch.
Conclusion
This No Bake Key Lime Pie is not just a dessert; it’s a passion project that brings memories and laughter around the table. With its invigorating citrus flavor and creamy consistency, it promises to delight everyone lucky enough to taste it. I encourage you to take the plunge and craft this pie in your very own kitchen. Trust me, it’ll be worth every moment!
If you try this recipe, I’d love to hear your thoughts—your feedback means the world to me! Plus, be sure to check out other delicious recipes on the blog that are sure to inspire your baking adventures. Happy baking!

No Bake Key Lime Pie
Ingredients
For the crust
- 1.5 cups graham cracker crumbs For the perfect crust base. Look for quality brands or even make your own!
- 0.5 cups unsalted butter, melted Let it come to room temperature after melting. I personally love using Kerrygold for its rich flavor.
For the filling
- 8 ounces cream cheese, room temperature Softened cream cheese creates a smooth, luxurious filling. Make sure it’s full-fat for the best results.
- 1 can sweetened condensed milk This adds luscious sweetness. Opt for a reputable brand like Eagle Brand for consistent taste.
- 0.5 cups key lime juice Freshly squeezed juice will elevate your pie—a must for authentic flavor.
- Fresh slices key lime, for garnish These add a pop of color and look stunning on the final pie.
- As needed whipped cream, for garnish I recommend homemade whipped cream; it’s simple, delicious, and elevates the presentation!
Instructions
Preparation
- In a small bowl, combine the graham cracker crumbs and melted butter. Mix until every crumb is beautifully coated in butter.
- Evenly press the crumb mixture into the bottom and sides of a 9-inch pie pan. Use the bottom of a measuring cup to ensure it’s compact and even.
- In a large bowl, add the cream cheese. Using a hand mixer, beat it until it’s smooth and creamy, eliminating lumps for a silky texture.
- Pour in the sweetened condensed milk and key lime juice. Mix until the filling is fully combined and dreamy.
- Pour the luscious filling over the prepared crust and spread evenly.
- Cover the pie and refrigerate until fully set, about 1 hour (or up to overnight for maximum flavor).
- Just before serving, decorate with fresh key lime slices and a generous dollop of whipped cream.