
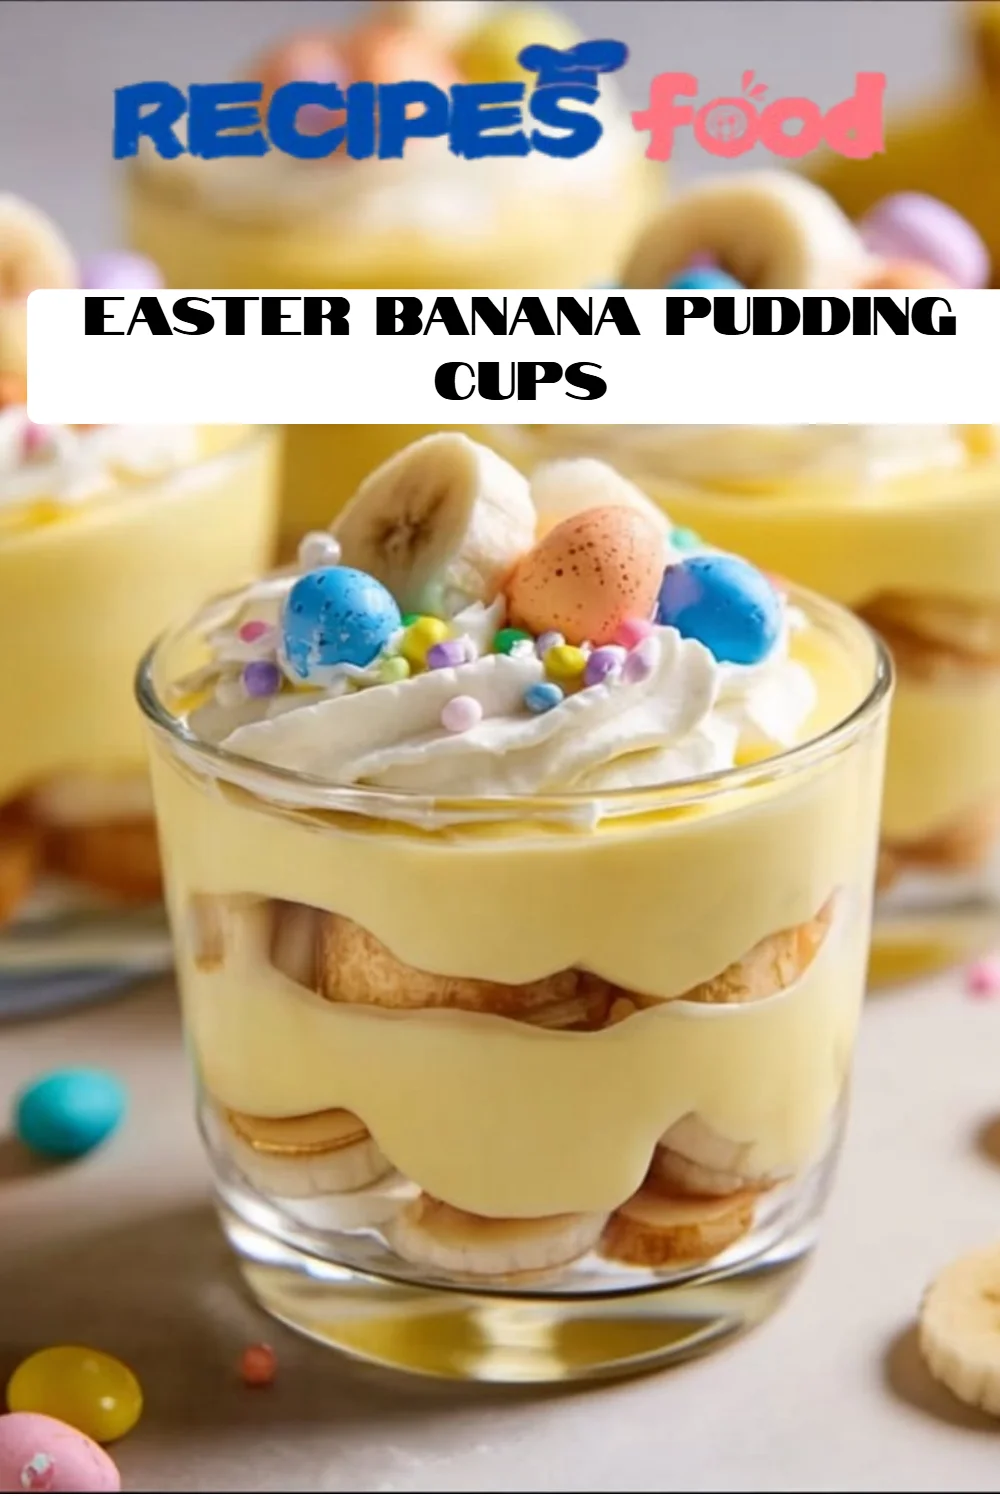
Delightfully Creamy Easter Banana Pudding Cups: A Sweet Twist on a Classic Favorite
As a child, I remember anxiously counting down the days until Easter Sunday. It wasn’t just about the baskets filled with chocolate bunnies and brightly colored eggs; it was all about Grandma’s famous banana pudding. With its dreamy layers of creamy goodness and crunchy vanilla wafers, it was a dessert that defined our family gatherings. This delightful memory is what inspired these Easter Banana Pudding Cups — a fun, portable, and festive take on the classic recipe that I’ve cherished for years.
What makes this version so special? For one, these cups are perfect for serving at gatherings where everyone can grab their own delightful portion, creating a sense of celebration with each spoonful. Unlike traditional puddings, my Easter Banana Pudding Cups are infused with whipped cream, making them light and airy, while still rich and satisfying. Plus, the layered presentation is just as beautiful as it is delicious.
By the end of this post, I promise you’ll not only learn how to whip up these heavenly pudding cups but also how to customize them to fit your family’s tastes. So let’s dive in and make some sweet memories together!
What Are Easter Banana Pudding Cups?
Easter Banana Pudding Cups are a delightful dessert that takes the traditional banana pudding and transforms it into individual servings that are both charming and easy to share. The origins of banana pudding trace back to the late 19th century, becoming a beloved staple in many Southern households. This version captures the original’s essence but elevates it with a modern twist — perfect for celebrations like Easter.
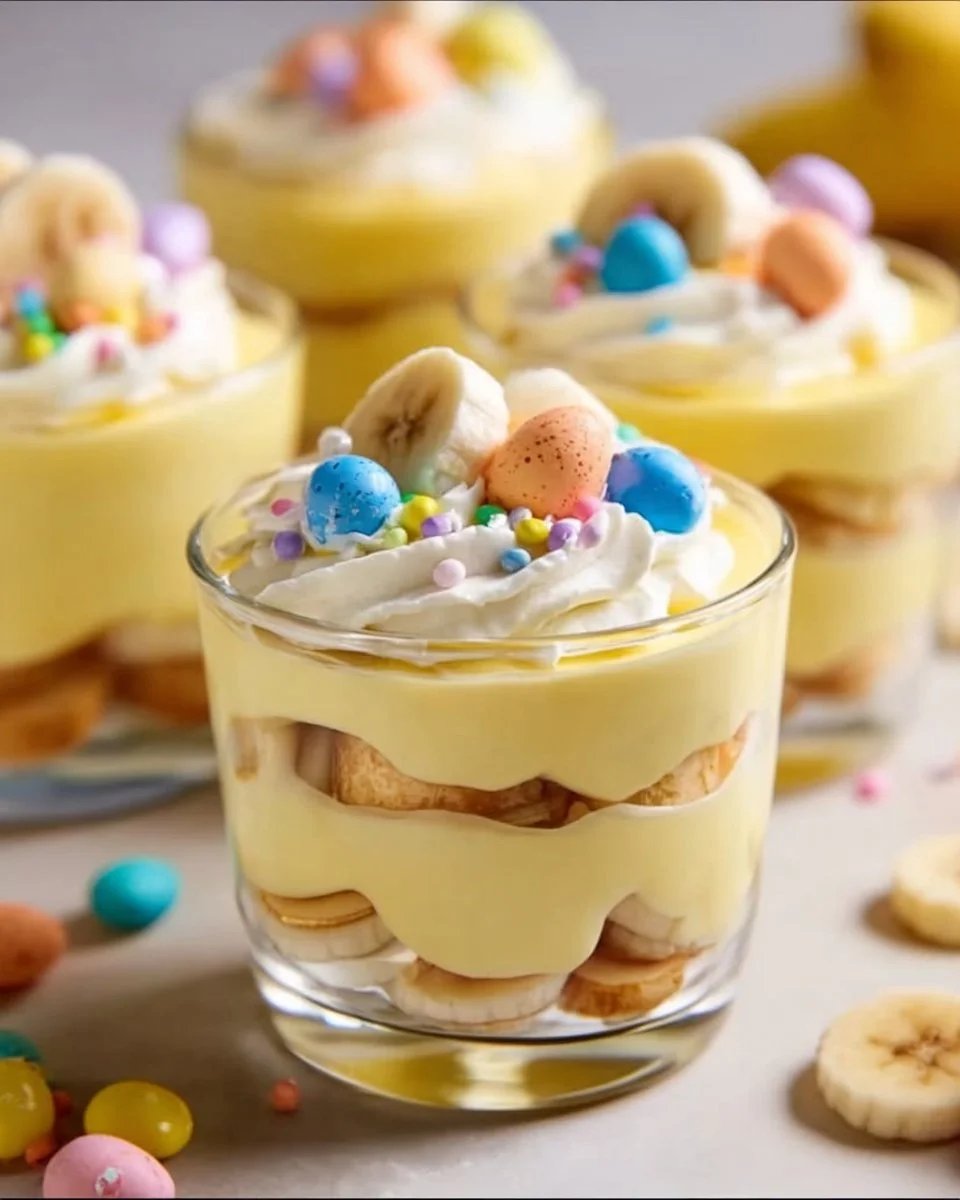
These cups boast a wonderful combination of fluffy whipped cream, smooth vanilla pudding, and fresh banana slices, layered between crispy vanilla wafers. The textural contrast is simply irresistible; every bite offers a delightful crunch followed by a creamy explosion of flavor. Easter Banana Pudding Cups are perfect for family gatherings, potlucks, or simply as a treat for yourself to enjoy while basking in the warmth of the spring sunshine.
Why You’ll Love This Recipe
Simple to Make: This recipe is incredibly easy and takes less than 30 minutes to prepare, making it an accessible option for bakers of any skill level. You don’t need to be a pastry chef to nail this dessert!
Cost-Effective: Compared to buying store-bought desserts or fancy restaurant versions, making these cups at home is not only affordable but also allows you to control ingredient quality and freshness.
Customizable: Feel free to switch things up! Whether you want to add chocolate chips, a drizzle of caramel, or even switch out the vanilla for a different flavor of pudding, the choices are limitless. You can also cater to dietary preferences or restrictions, making these cups versatile for any family gathering.
Perfect Presentation: The clear cups not only showcase the beautiful layers but also make serving easy, with no need for messy ladles or pie plates. They’re as visually appealing as they are delicious!
Nostalgic Comfort: These Easter Banana Pudding Cups bring back cherished memories of family gatherings and comforting sweets. They are bound to create new memories for generations to come.
Ingredients
For these delectable Easter Banana Pudding Cups, you’ll need:
- 2 ripe bananas: Fresh, perfectly ripened bananas are ideal for a naturally sweet flavor.
- 1 box instant vanilla pudding mix: I recommend using Jell-O brand for a perfectly creamy texture.
- 2 cups milk: Use whole milk for richness, but you can substitute with almond or coconut milk.
- 1 cup whipped cream or whipped topping: Whipped cream makes a delightful, fluffy addition! I like Cool Whip for its convenience.
- 1 box vanilla wafers or graham crackers: Vanilla wafers add that classic crunch, but graham crackers provide a slightly different twist.
- Easter-themed decorations (optional): Think pastel sprinkles or small chocolate eggs for a festive touch!
Prep Notes: Ensure your whipped cream is chilled before use for optimal fluffiness, and allow the pudding mix to thicken sufficiently. Room temperature ingredients will meld better for a smoother texture.
Step-by-Step Instructions
Prepare the Pudding: In a mixing bowl, combine the instant vanilla pudding mix and 2 cups of milk. Whisk until smooth, about 2 minutes. Let it set for a few minutes to thicken up.
Whip it Up: Once thickened, gently fold in 1 cup of whipped cream until well combined and fluffy. Be gentle; we want to keep that light texture!
Layer the Cups: Take your clear cups and start with a layer of crushed vanilla wafers at the bottom, about 2 tablespoons.
Add Bananas: Next, layer on a generous amount of banana slices on top of the wafers.
Pudding Time: Spoon a layer of the pudding mixture over the bananas until they are covered.
Repeat: Continue layering crushed wafers, banana slices, and pudding until the cups are filled to your liking, ending with the pudding.
Final Touches: Top with more whipped cream and garnish with your festive Easter-themed decorations if desired.
Chill: Refrigerate the cups for at least an hour (or longer!) until ready to serve. This helps everything set nicely.
Chef’s Tips: To ensure even flavor distribution, mix the pudding thoroughly before layering. Keep an eye on your whipped cream; overmixing can lead to a grainy texture!
Expert Tips & Tricks
Storage Recommendations: If you can resist popping one immediately, these cups can be stored in the refrigerator for up to 2 days—but I promise they won’t last that long!
Make-Ahead Instructions: You can prepare the pudding mixture a day in advance and layer it just before serving. This allows the flavors to develop fully.
Common Mistakes: Avoid using overly ripened bananas for layering, as they will become mushy; look for bananas that are just ripe for the best texture.
Consistency Troubles: If your pudding seems too thin, allow it to sit for longer, or fold it in whipped cream instead of mixing, which may help it thicken.
Customize the Sweetness: Adjust the sweetness of your whipped cream by adding a little powdered sugar if desired.
Serving Suggestions
These Easter Banana Pudding Cups are delightful on their own, but they pair wonderfully with freshly baked cookies, a hot cup of coffee, or delightful springtime fruit like strawberries or raspberries.
For presentation, consider placing your cups on a festive tablecloth adorned with Easter motifs, adding some colorful eggs around them for that perfect holiday touch. These cups are the ideal centerpiece for Easter brunch or any springtime gathering!
Variations & Substitutions
- Chocolate Lovers: Substitute half of the vanilla pudding with chocolate pudding for a rich twist.
- Nutty Option: Add crushed nuts like walnuts or pecans for an extra crunch.
- Dairy-Free: Substitute dairy items with coconut milk and dairy-free whipped topping.
- Seasonal Twists: During the summer, swap bananas for fresh peaches, strawberries, or mixed berries for a fruity variation.
Nutrition & Storage Info
- Prep Time: 10 mins
- Chill Time: 1 hour
- Total Time: 1 hour 10 mins
- Yield: Serves 4 to 6
- Estimated Calories: Approximately 250-300 calories per cup (based on specific brands used).
Storage Instructions: Store in the refrigerator. These cups can be kept for up to 2 days. Do not freeze, as the texture will suffer.
FAQ Section
Can I use fresh whipped cream?
Absolutely! Fresh whipped cream tastes divine and can enhance this dessert’s texture.Are these gluten-free?
If using gluten-free wafers or graham crackers, they can easily be made gluten-free.Can I prepare this a day in advance?
Yes! Just keep them refrigerated until serving. Just be cautious with the bananas; they may brown.What can I substitute for bananas?
Other fruits that work well include peaches or berries.Can I use almond milk instead?
Yes, almond milk is a great substitute; opt for unsweetened to control sweetness.How do I avoid mushy bananas?
Use bananas that are ripe, but not overly so; add them just before serving if you’re concerned.Is this recipe customizable?
Absolutely! You can switch flavors, toppings, and even textures to your liking.Can leftovers be stored?
Yes, keep them in the fridge in an airtight container for up to 2 days.What is the best way to layer?
Start with a base of wafers, then bananas, followed by pudding, and repeat for a stunning presentation.Can this be made in a larger dish?
Yes! This recipe can be constructed in a trifle bowl for a stunning family-style dessert.

Conclusion
By creating these delightful Easter Banana Pudding Cups, you’re not just preparing a dessert — you’re crafting new memories filled with laughter and joy. I encourage you to try this recipe and experience the rich combination of flavors and textures that make it so special. Don’t forget to share your experiences in the comments below; I’d love to hear your thoughts! And if you’re craving more sweet treats, be sure to check out other recipes on my blog for inspiration. Happy baking and happy Easter!

Easter Banana Pudding Cups
Ingredients
Main Ingredients
- 2 pieces ripe bananas Fresh, perfectly ripened bananas are ideal for a naturally sweet flavor.
- 1 box instant vanilla pudding mix Using Jell-O brand is recommended for a creamy texture.
- 2 cups milk Whole milk is best, but almond or coconut milk can be used.
- 1 cup whipped cream or whipped topping Cool Whip is a convenient option for added fluffiness.
- 1 box vanilla wafers or graham crackers Vanilla wafers provide classic crunch; graham crackers add a twist.
- Easter-themed decorations (optional) Consider pastel sprinkles or small chocolate eggs for decoration.
Instructions
Preparation
- In a mixing bowl, combine the instant vanilla pudding mix and 2 cups of milk. Whisk until smooth, about 2 minutes. Let it set for a few minutes to thicken up.
- Once thickened, gently fold in 1 cup of whipped cream until well combined and fluffy. Be gentle; we want to keep that light texture!
- Take your clear cups and start with a layer of crushed vanilla wafers at the bottom, about 2 tablespoons.
- Next, layer on a generous amount of banana slices on top of the wafers.
- Spoon a layer of the pudding mixture over the bananas until they are covered.
- Continue layering crushed wafers, banana slices, and pudding until the cups are filled to your liking, ending with the pudding.
- Top with more whipped cream and garnish with your festive Easter-themed decorations if desired.
- Refrigerate the cups for at least an hour (or longer!) until ready to serve.