

Picture this: it’s a busy weekday morning, and the kids are scrambling to get dressed while you’re fighting off the urge to skip breakfast. You open a cabinet, and there they are—Simple No-Bake Cereal Bars. Quick to make, loaded with wholesome ingredients, and a hit with everyone in the family! I remember the first time I whipped these up after my son had a friend over for a playdate. They devoured them in minutes and requested a second round. This recipe isn’t just any snack; it brings back the joy of childhood—simple, sweet, and oh-so-satisfying!
What makes these bars special is that they come together in less than 15 minutes with just a handful of pantry staples. Unlike store-bought versions loaded with additives and preservatives, my homemade Simple No-Bake Cereal Bars let you control the ingredients. They embody the warmth of family traditions and comfort food in every chewy bite. Whether it’s a simple afternoon pick-me-up or a fun treat for road trips, these bars are versatile and scrumptious.
Stick around as I share the tasty details of how to make these delightful cereal bars that will soon become your household’s favorite!
What Are Simple No-Bake Cereal Bars?
Simple No-Bake Cereal Bars are a delightful retro treat that combines the crunch of cereal with creamy nut butter and a drizzle of sweetness from honey or maple syrup. Originating from the homes of busy parents looking for quick snacks, these bars have become a go-to for not only children but adults looking for healthy snacks too.
The texture? Imagine a crunchy exterior with a chewy, almost caramel-like interior—addictive in the best possible way! Unlike many snack bars, these beauties are customizable and can be adapted for any taste preference or dietary need, making them perfect for sharing during family gatherings or playdates.
Why make these? Because they’re super simple, nutritious, and you can put them together in no time without turning on the oven—perfect for hot summer days or those cold winter mornings when you want something cozy and warm but don’t want to break a sweat!
Why You’ll Love This Recipe
- Easy Assembly: This recipe requires no baking and minimal equipment. With just a saucepan and a mixing bowl, you can have these bars prepped in under 15 minutes! No more waiting for the oven to preheat—just melt, mix, and press.
- Customizable Goodness: One of the best things about Simple No-Bake Cereal Bars is how easily they can be tailored to your liking. Swap Cheerios for Rice Krispies or add your favorite nuts, seeds, or dried fruit. You could even toss in some chocolate chips for a touch of decadence!
- Cost-Effective: If you’ve ever peeked at the price tag on multi-ingredient snack bars at the store, you’ll appreciate the cost savings of making these at home. With just a few pantry staples, you can whip up a batch without breaking the bank—plus, you know exactly what goes into them!
- Healthier Snacking: Store-bought versions often come with added sugars and preservatives. By making your own, you can minimize these and use natural sweeteners like honey or maple syrup while boosting the flavor with natural ingredients.
- Family Fun: Involving the kids in the making is half the fun! They’ll enjoy measuring, pouring, and mixing—and you’ll love the memories created in the kitchen together.
Ingredients
Here’s what you’ll need to whip up these scrumptious Simple No-Bake Cereal Bars:
- 3 cups Cheerios or your favorite O-shaped cereal (I often use Honey Nut Cheerios for a sweet twist!)
- Tip: Try gluten-free options if dietary restrictions exist.
- 3/4 cup peanut butter or almond butter (creamy or crunchy, depending on preference!)
- Note: Opt for natural brands without added sugar for a healthier option.
- 3/4 cup honey or maple syrup (maple adds a nice depth of flavor!)
- Substitution: Agave syrup can work if you’re looking for a vegan alternative.
- 1/2 teaspoon vanilla extract (optional, but it adds a lovely aroma)
- A pinch of salt (to balance the sweetness!)
Prep Notes: Ensure your nut butter is at room temperature to make it easier to mix. If you’re using cold honey, you might want to warm it slightly to help combine the ingredients better.
Step-by-Step Instructions
- In a small saucepan over medium heat, combine the peanut butter and honey. Stir for about 2-3 minutes until smooth and well combined. If you’re in a hurry, you can melt everything in the microwave on high for 30-second intervals, stirring between each until melted.
- Chef’s Tip: Watch closely to prevent burning!
- In a large mixing bowl, add 3 cups of Cheerios.
- Pour the warm peanut butter-honey mixture over the cereal and stir gently until every piece is coated. This is where the magic happens!
- Transfer the mixture to a parchment-lined baking dish or a silicone baking tray, pressing down firmly and evenly. A spatula works great here!
- Common Mistake to Avoid: Don’t skimp on pressing; the bars won’t hold their shape if they’re too loose.
- Refrigerate for at least 1 hour to set. Once firm, cut into bars and enjoy!
- Visual Cue: The edges should be slightly firm and the center should hold together nicely.
Expert Tips & Tricks
- Storage Recommendations: Keep these bars in an airtight container in the fridge for up to two weeks. They also freeze well for up to three months—just separate layers with parchment paper to avoid sticking.
- Make-Ahead Instructions: These bars are perfect for meal prep! Whip up a double batch on the weekend for easy snacking during busy weekdays.
- Troubleshooting Common Problems: If your bars are crumbly, they may not have been pressed firmly enough. Next time, just give them an extra squeeze!
Serving Suggestions
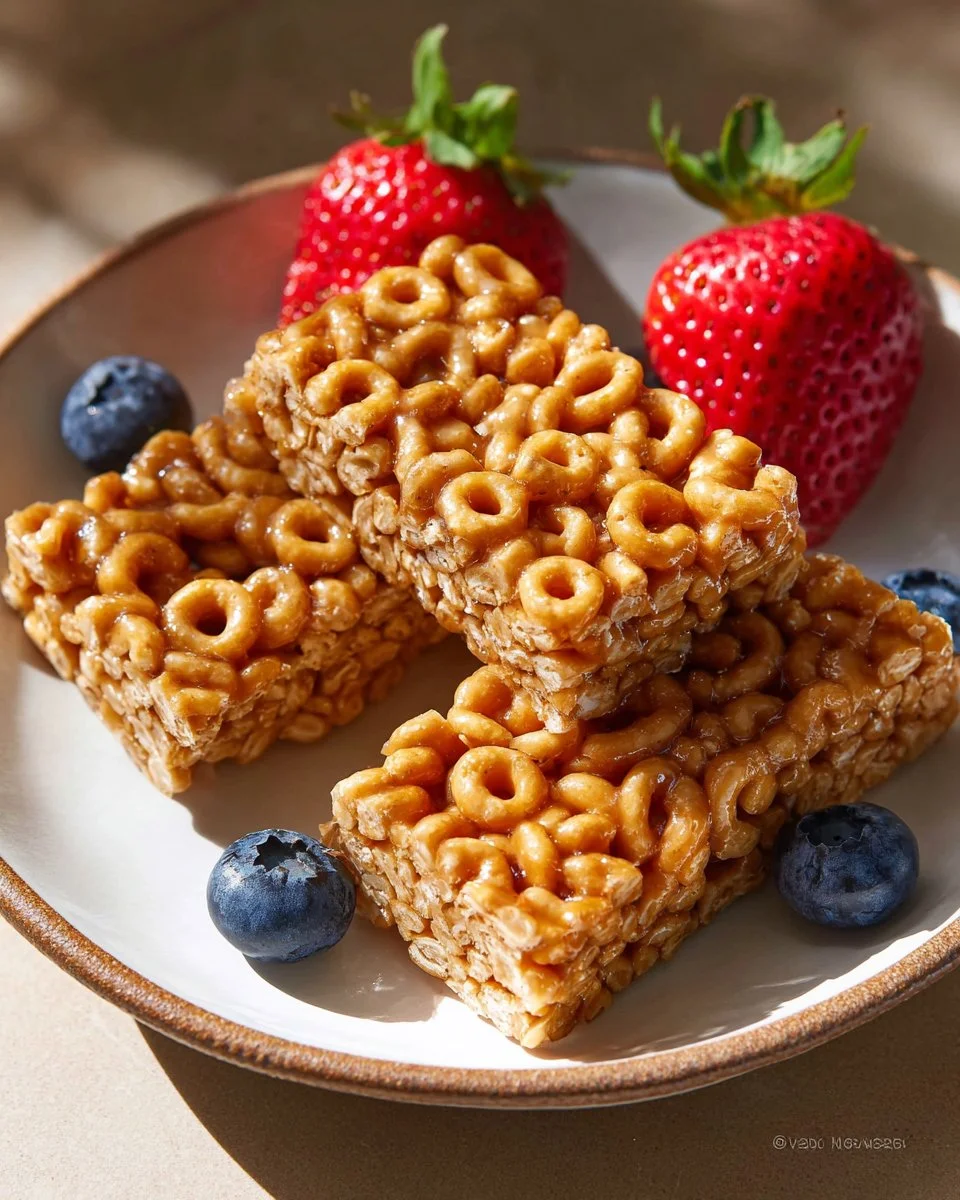
These Simple No-Bake Cereal Bars aren’t just standalone treats. Pair them with a warm cup of tea, a smoothie, or some fresh fruit for a balanced snack. They also make perfect additions to lunchboxes for school kids or as an energy-boosting snack during road trips!
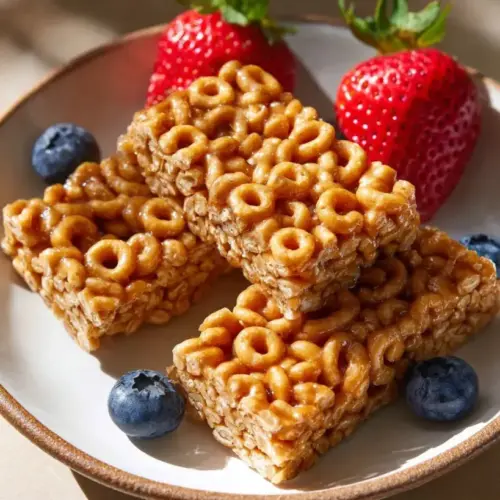
Try serving them on a platter garnished with fresh berries or a drizzle of additional nut butter, and you’ll have a delightful presentation that looks as good as it tastes.
Variations & Substitutions
- Flavor Combinations: Feeling adventurous? Swap out the peanut butter for sun butter for a nut-free version. You could also introduce spices like cinnamon or cocoa powder for added flavor.
- Dietary Adaptations: For a vegan treat, replace honey with maple syrup and choose a nut butter that fits your dietary needs. And if you’re gluten-sensitive, ensure your cereal is certified gluten-free.
- Seasonal Variations: Try adding dried cranberries during the fall, or mini marshmallows and chocolate during the summer for a s’mores-inspired treat!
Nutrition & Storage Info
- Prep Time: 10 minutes
- Cook Time: 5 minutes
- Total Time: 15 minutes
- Yield: Approximately 12 bars
- Estimated Calories: 150 calories per bar
Storage Instructions:
- Room Temperature: Up to 3 days, in an airtight container.
- Fridge: Up to 2 weeks.
- Freezer: Up to 3 months.
FAQ Section
- Can I use a different type of cereal?
- Absolutely! Any cereal can be substituted. Just keep the texture and form in mind.
- Are these bars gluten-free?
- Only if you use gluten-free cereals like Rice Chex or certified gluten-free Cheerios.
- What’s the best way to cut the bars?
- Use a sharp knife and warm it under hot water to make cutting easier without crumbling.
- Can I add chocolate?
- Yes! Chocolate chips or melted chocolate drizzled on top would be a tasty addition!
- What’s the shelf life of these bars?
- When stored correctly, they last up to 2 weeks in the fridge or freeze well for 3 months.
- Can I use a different nut butter?
- Definitely! Almond, cashew, or sunflower butter all work well in this recipe.
- How can I make these nut-free?
- Use sunflower butter or soy nut butter for a nut-free alternative.
- Can I make these bars ahead of time?
- Yes! They’re great for meal prep and can be made a week in advance.
- What if the mixture is too sticky?
- You can add a bit more cereal or refrigerate the mixture for a few minutes before pressing it into the pan.
- Are these bars suitable for kids?
- Absolutely! They’re nutritious and a great option for school snacks or lunchtime treats!
Conclusion
In conclusion, these Simple No-Bake Cereal Bars are more than just a tasty snack—they’re a fun and easy way to bring the family together in the kitchen. With customization options galore and the delightful crunch of cereal paired with creamy nut butter, they’re bound to become a beloved staple in your household.
I encourage you to try this recipe and make it your own—let me know how your family enjoyed it! If you liked this one, don’t forget to check out my other delicious recipes like our Homemade Granola or Nutty Trail Mix Bars.
Happy baking, and I can’t wait to hear your thoughts in the comments below!
Simple No-Bake Cereal Bars
Ingredients
Main Ingredients
- 3 cups Cheerios or your favorite O-shaped cereal (e.g., Honey Nut Cheerios) Try gluten-free options if dietary restrictions exist.
- 3/4 cup peanut butter or almond butter Opt for natural brands without added sugar.
- 3/4 cup honey or maple syrup Maple adds a nice depth of flavor; agave syrup can be used for a vegan option.
- 1/2 teaspoon vanilla extract Optional, but adds a lovely aroma.
- a pinch salt To balance the sweetness.
Instructions
Preparation
- In a small saucepan over medium heat, combine the peanut butter and honey. Stir for about 2-3 minutes until smooth and well combined, or melt in the microwave in 30-second intervals.
- In a large mixing bowl, add 3 cups of Cheerios.
- Pour the warm peanut butter-honey mixture over the cereal and stir gently until every piece is coated.
- Transfer the mixture to a parchment-lined baking dish or a silicone baking tray, pressing down firmly and evenly.
- Refrigerate for at least 1 hour to set, then cut into bars.