
There’s something incredibly comforting about waking up to the aroma of freshly baked goods wafting through the house, and for me, that something has always been Chocolate Chip Scones. I can still remember the mornings spent in my grandmother’s kitchen, where she would meticulously measure each ingredient while I eagerly licked the spoon filled with chocolate chip batter. Those moments are etched into my memory, and each time I whip up a batch of these delightful scones, I’m transported back to those warm, joyful mornings.
What makes these Chocolate Chip Scones extra special is not just the buttery, flaky texture and the chocolatey goodness, but also the memories tied to them. Unlike other recipes that may turn out dry or plain, this one has been perfected to provide a melt-in-your-mouth experience that encourages second helpings (because who can resist?). I’ve fine-tuned this recipe over the years, and I can promise you that with each bite, you’ll feel that cozy nostalgia of home-baked love.
Stick with me, and you’ll learn all the secrets to making the ultimate Chocolate Chip Scones that will impress your family and friends. Trust me; a delightful morning starts with these scrumptious treats!
What Are Chocolate Chip Scones?
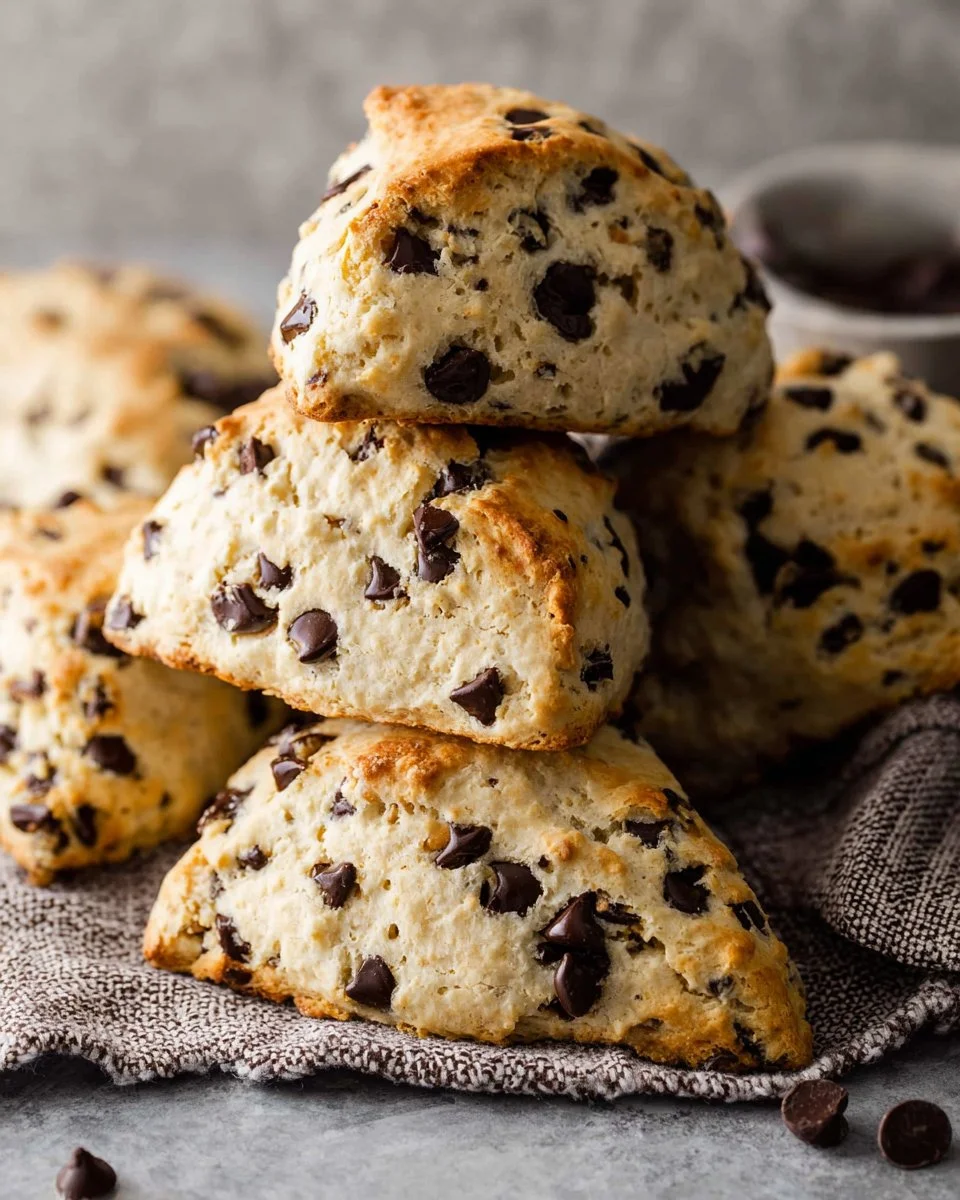
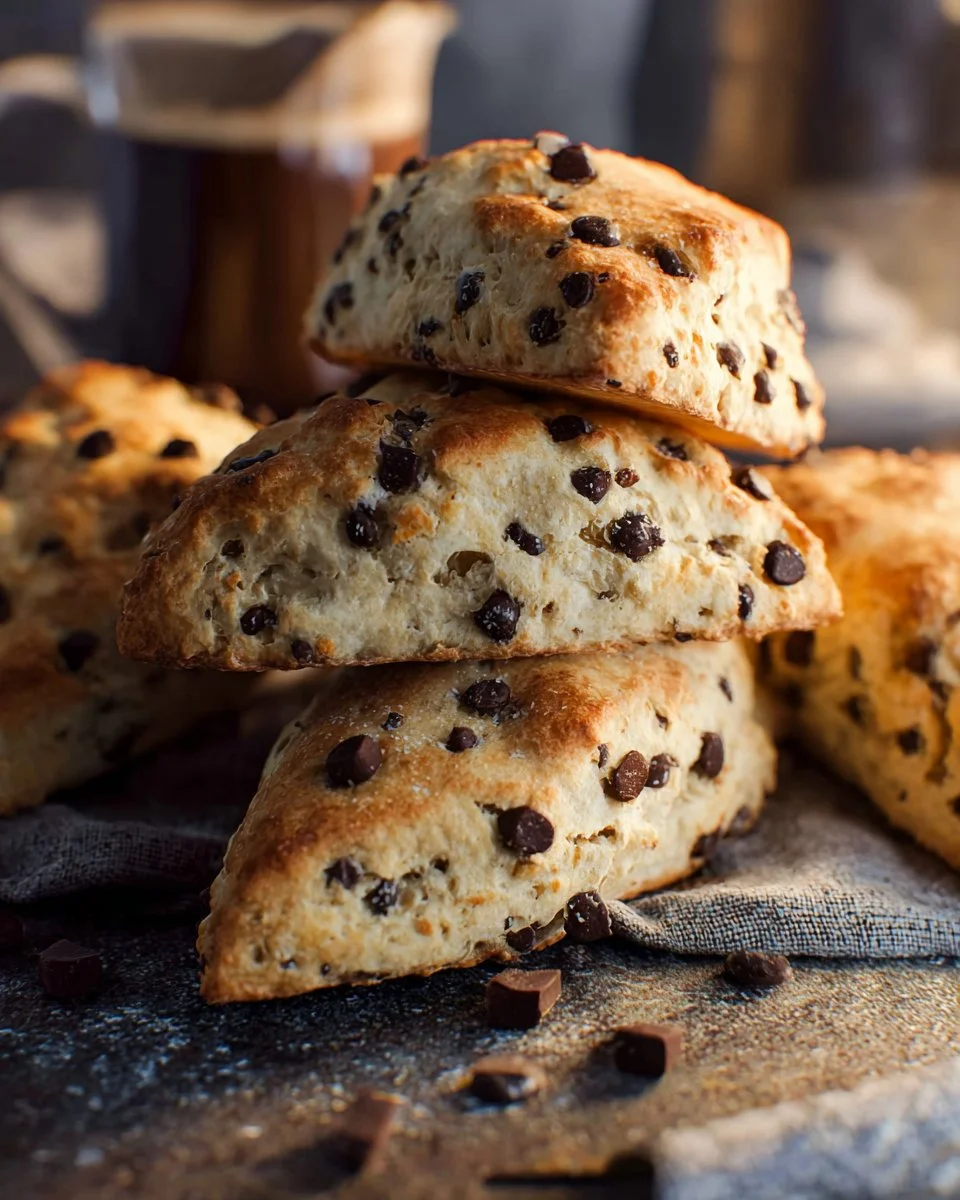
Chocolate Chip Scones evolved from traditional British scones, which have a delightful crumbly texture and are served with clotted cream and jam. But it’s the addition of those rich chocolate chips that sets these scones apart, creating a sweet twist on a classic favorite. When you take your first bite, you’ll be greeted with a golden, crunchy exterior that yields to a soft, tender center bursting with pockets of melted chocolate.
These scones are versatile and perfect for any occasion—be it a brunch with friends, a cozy afternoon tea, or even a breakfast on-the-go. They’re not just a treat; they’re an invitation to slow down for a moment and savor the joys of life. Whether you enjoy them warm from the oven or the next day, they hold the same charm and satisfaction.
Why You’ll Love This Recipe
- Homemade Goodness: There’s nothing quite like the fresh taste of homemade scones. While store-bought versions can be overly sweet or dry, making them from scratch gives you control over the ingredients and flavors.
- Cost-Effective: For the price of a single fancy café scone, you can bake a whole batch of these heavenly delights at home, saving money while indulging in more treats!
- Customization Options: Feel free to swap out chocolate chips for your favorite mix-ins, like dried fruit, nuts, or even different types of chocolate. Make them your own!
- Quick and Easy: From start to finish, you’ll have warm Chocolate Chip Scones on your table in about 30 minutes, making them a no-brainer for busy mornings.
- Ideal for Any Skill Level: Whether you’re a seasoned baker or trying your hand at scones for the first time, this recipe is straightforward and forgiving, giving you confidence to experiment.
Ingredients Section
To make the best Chocolate Chip Scones, you’ll need:
- 2 cups all-purpose flour: For that perfect fluffy texture. (Use unbleached for a deeper flavor.)
- 1/3 cup granulated sugar: Adds just the right amount of sweetness.
- 1.5 tsp baking powder: This is essential for the scone’s rise.
- 1/4 tsp baking soda: Helps with browning and texture.
- 1/2 cup salted butter (cold, cut into small cubes): Use cold butter for a flaky scone. (I love using Land O’Lakes for its richness.)
- 1/2 cup buttermilk or regular milk: Buttermilk adds a tangy flavor; but if you’re out, regular milk works well too.
- 1 teaspoon vanilla extract: A must for flavor depth.
- 1 cup chocolate chips: Semi-sweet chips are classic here; try dark chocolate for a richer taste.
Prep Notes:
- Keep butter cold: Cold butter is crucial for achieving that flaky texture.
- Ingredient quality matters: Use high-quality chocolate chips for the best results.
Step-by-Step Instructions
1. Preparation
Preheat your oven to 375°F (190°C). Line a baking sheet with parchment paper and set it aside.
2. Mix the Dry Ingredients
In a large bowl, whisk together the all-purpose flour, granulated sugar, baking powder, and baking soda until well combined.
3. Combine Butter
Add the cold, cubed butter to the dry ingredients. Using a pastry cutter or your fingers, break the pieces apart until the mixture resembles coarse crumbs.
4. Add Liquid Ingredients
Pour in the buttermilk and vanilla extract. Initially, it may seem crumbly, with some clumps forming. Use your hands to gently mix into a cohesive dough, being careful not to overmix, as that can lead to tough scones.
5. Fold in Chocolate Chips
Gently fold in the chocolate chips using your hands. Remember to be delicate to keep the texture intact.
6. Shape and Bake
Transfer the dough onto the prepared baking sheet. Form it into an 8-inch circle with your hands. Cut it into 8 triangles and spread them about 2 inches apart.
7. Baking
Bake for 15-18 minutes, or until the edges begin to turn golden brown. Keep an eye on them for that lovely golden hue!
8. Cooling
Transfer to a cooling rack and let cool completely. If you can resist, dive in when they are warm!
Chef’s Tips Box:
- For an added dash of decadence, sprinkle a little coarse sugar on top before baking.
- Don’t worry if your dough seems a little dry—this is normal for scones. Just handle it with care!
Expert Tips & Tricks
- For the Flakiest Scones: Use a pastry cutter or fork rather than your hands for cutting in the butter. This helps keep the butter cold and the texture light.
- Storage: Store leftover scones in an airtight container at room temperature for up to 3 days or in the fridge for a week. They can also be frozen for up to 2 months.
- Make Ahead: You can shape the scones and freeze them unbaked. When you’re ready to bake, take them out of the freezer and add a couple of extra minutes to the baking time.
- Common Mistakes: Overmixing is the biggest culprit for tough scones. Mix just until combined, and don’t be afraid of some crumbly bits.
- Reheating: If you have leftovers, warm them briefly in a microwave or toaster oven for that fresh-out-of-the-oven taste.
Serving Suggestions
These Chocolate Chip Scones are excellent on their own, but they pair beautifully with a variety of accompaniments. Serve them with a dollop of clotted cream and a drizzle of honey for an indulgent treat. You can also enjoy them alongside a steaming cup of coffee or tea—perfect for a cozy afternoon snack! For a special brunch, consider adding a fresh fruit salad or yogurt parfait on the side.
Variations & Substitutions
Feel free to let your creativity shine through! Consider these combinations:
- Dried fruit: Swap in dried cranberries or apricots for a fruity twist.
- Nuts: Add a handful of walnuts or pecans for a crunchy texture.
- Seasonal flair: Incorporate pumpkin puree and spices for a fall-inspired version.
- Gluten-free: Use a 1:1 gluten-free flour substitute to make these scones gluten-free.
Nutrition & Storage Info
- Prep time: 15 minutes
- Cook time: 15-18 minutes
- Total time: 30 minutes
- Yield: 8 scones
- Estimated calories per serving: Approximately 200 calories
Storage Instructions:
- Room Temperature: Up to 3 days in an airtight container.
- Refrigerator: Up to 1 week.
- Freezer: Up to 2 months.
FAQ Section
- Can I substitute milk for buttermilk? Yes! Regular milk will work just fine. You can also add a teaspoon of vinegar to regular milk to mimic buttermilk.
- Why are my scones tough? Tough scones usually come from overmixing. Be gentle and mix just until combined.
- How do I store leftover scones? Keep them in an airtight container at room temperature or store them in the fridge for a longer shelf life.
- Can I freeze the scones? Absolutely! Freeze them unbaked, and bake them directly from the freezer when you’re ready for a warm treat.
- What can I use instead of butter? For a dairy-free option, use coconut oil or a vegan butter substitute.
- How do I know when the scones are done? They should be golden brown on the edges. You can also insert a toothpick into the center; it should come out clean.
- Can I add spices to the dough? Yes! A bit of cinnamon or nutmeg can add a lovely warmth to the flavor.
- What kind of chocolate chips should I use? Semi-sweet is standard, but dark chocolate or even white chocolate can provide a delicious twist.
- Do I need to let the dough rest? Unlike many baked goods, scone dough does not need to rest, making these a quicker treat!
- How can I make the scones more flaky? Ensure your butter is cold and avoid overmixing while making the dough.
Conclusion
These Chocolate Chip Scones are not just a recipe; they are a gateway to sweet memories and warm kitchens. I truly hope you give them a try and add your own unique touch! Whether you’ve enjoyed them while relaxing with a book or shared them in laughter with family, I’d love to hear how your scones turned out. Leave your thoughts and any variations you’ve tried in the comments below! And if you’re looking for more delightful recipes, check out my blog for an array of baked treasures. Happy baking!

Chocolate Chip Scones
Ingredients
Dry Ingredients
- 2 cups all-purpose flour Use unbleached for a deeper flavor.
- 1/3 cup granulated sugar Adds just the right amount of sweetness.
- 1.5 tsp baking powder Essential for the scone’s rise.
- 1/4 tsp baking soda Helps with browning and texture.
Wet Ingredients
- 1/2 cup buttermilk or regular milk Buttermilk adds a tangy flavor; regular milk works well too.
- 1 tsp vanilla extract A must for flavor depth.
Additional Ingredients
- 1/2 cup salted butter, cold, cut into small cubes Use cold butter for a flaky scone.
- 1 cup chocolate chips Semi-sweet chips are classic; try dark chocolate for a richer taste.
Instructions
Preparation
- Preheat your oven to 375°F (190°C). Line a baking sheet with parchment paper and set it aside.
Mix the Dry Ingredients
- In a large bowl, whisk together the all-purpose flour, granulated sugar, baking powder, and baking soda until well combined.
Combine Butter
- Add the cold, cubed butter to the dry ingredients. Using a pastry cutter or your fingers, break the pieces apart until the mixture resembles coarse crumbs.
Add Liquid Ingredients
- Pour in the buttermilk and vanilla extract. Mix into a cohesive dough, being careful not to overmix.
Fold in Chocolate Chips
- Gently fold in the chocolate chips using your hands.
Shape and Bake
- Transfer the dough onto the prepared baking sheet. Form it into an 8-inch circle and cut it into 8 triangles.
Baking
- Bake for 15-18 minutes, or until the edges begin to turn golden brown.
Cooling
- Transfer to a cooling rack and let cool completely.