

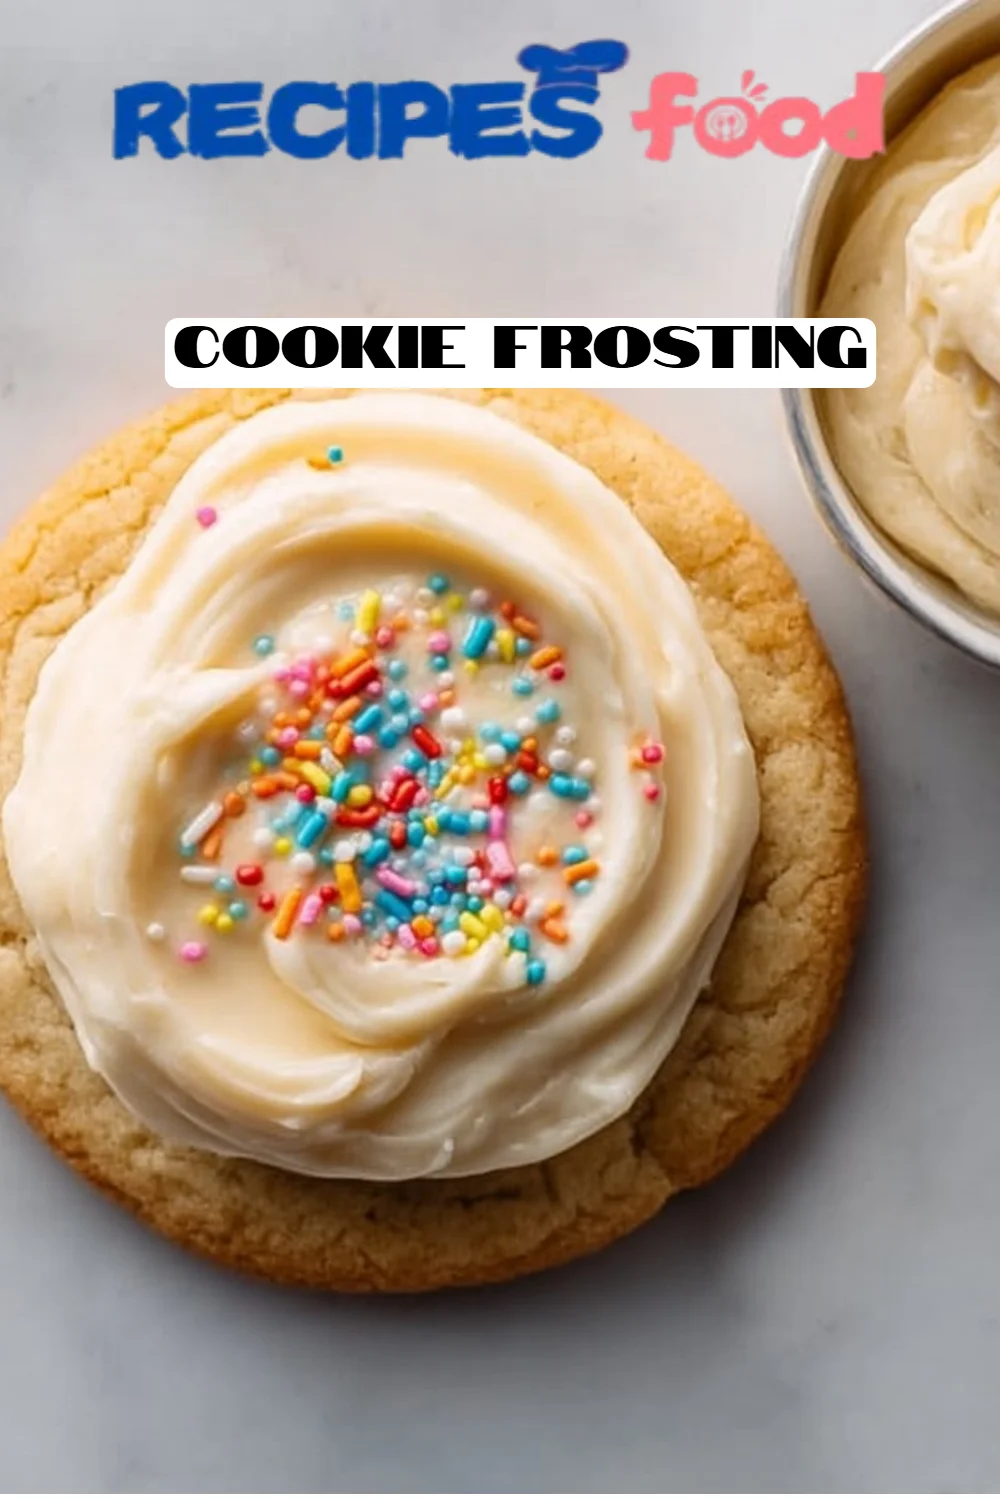
Deliciously Sweet Cookie Frosting: The Ultimate Guide to Making Memories
Growing up, weekends were always a symphony of laughter, flour, and sugar as my mom and I spent countless hours in our cozy kitchen baking cookies. Our favorite part? Slathering on the cookie frosting! The simple act of transforming plain cookies into vibrant culinary masterpieces has always held a special place in my heart. I can still hear the sound of our laughter mingling with the sweet aroma of vanilla wafting through the air, as we decorated each cookie to reflect our moods—rainbow sprinkles on a sunny day, pastel shades when we needed a bit of comfort.
This cookie frosting recipe stands out from the rest because it not only delivers a creamy, velvety finish that elevates your baked goods but also opens the door to endless customization. Whether it’s a birthday, holiday, or just a Tuesday afternoon, this frosting can adapt to any occasion, making it a staple in my kitchen. I promise that by the end of this post, you’ll not only learn how to whip up this delightful frosting but also how to create lasting memories with your loved ones, just as I did.
What Are Cookie Frosting?
Cookie frosting, essentially a sweet glaze or buttercream used to decorate cookies, has a rich history that dates back centuries. Originating as a means to preserve baked goods, it has evolved into a delightful way to personalize treats. The taste is a perfect balance of sweetness with a creamy texture that melts in your mouth. When you take a bite of a cookie dressed in this frosting, the sweetness just hugs your taste buds, leaving you longing for another.
What makes this frosting unique is its versatility; you can easily adjust the texture and flavor to fit every occasion. It’s ideal for birthdays, holidays, or any gathering where baked goods are on the menu. Whether you want to pipe intricate designs or just spread a generous layer on your favorite cookies, this frosting can do it all!
Why You’ll Love This Recipe
Endless Customization: One of the best parts about this cookie frosting recipe is how customizable it is. You can easily adjust the flavor with different extracts—think almond, lemon, or even peppermint for a seasonal twist. Plus, you can tint it any color, making it perfect for themed parties!
Cost-Effective: While store-bought frostings can be pricey and filled with preservatives, this homemade version uses simple, everyday ingredients that are gentle on your wallet. Imagine decorating cookies for a fraction of the cost and with a taste that beats the store-bought stuff hands down.
Quick & Easy: This recipe is straightforward and perfect for bakers of all levels, whether you’re a seasoned pro or a newbie in the kitchen. How quick? It takes about 10 minutes from start to frosting-covered cookie!
No Special Equipment Required: Unlike many frosting recipes that require mixing with a stand mixer, this recipe encourages you to use a simple mixing bowl and whisk or spatula. It’s as low-fuss as it gets!
Perfect for Decorating and Gifting: Use this cookie frosting for decorating your holiday cookies or gifting homemade treats to family and friends. A beautifully frosted cookie goes a long way in making anyone’s day a little sweeter.
Ingredients
Here’s what you’ll need to get started on this dreamy cookie frosting recipe:
2 cups powdered sugar: Make sure to use freshly opened powdered sugar for the best results. You can also use organic powdered sugar for a cleaner ingredient list.
2 tablespoons milk: Use whole milk for a creamier texture, or you can substitute with almond milk or oat milk for a dairy-free version.
1 tablespoon corn syrup: This is essential for achieving that shiny finish. If you’re looking for a substitute, honey or agave syrup could work in a pinch, but may alter the flavor slightly.
1 teaspoon vanilla extract: Use pure vanilla extract for the best flavor; it truly makes a difference.
Food coloring (optional): Go wild with colors! Gel food coloring works wonderfully for vibrant results without compromising the consistency.
Prep Notes:
- Make sure all your ingredients are at room temperature to ensure a smooth blend.
- If you’re looking to achieve a stiffer consistency, add a little more powdered sugar!
Step-by-Step Instructions
Prepare Your Ingredients: First, gather all your ingredients and make sure your powdered sugar is free of lumps.
Mix the Base: In a bowl, combine 2 cups of powdered sugar and 2 tablespoons of milk. Use a whisk or spatula to mix them together until you reach your desired consistency. This may take a minute or two.
Add Flavor: Stir in 1 tablespoon of corn syrup and 1 teaspoon of vanilla extract until everything blends seamlessly. Your frosting should now have a smooth and creamy texture.
Color It Up: If you’re adding food coloring, now’s the time! A few drops will go a long way; mix well until you achieve the desired color.
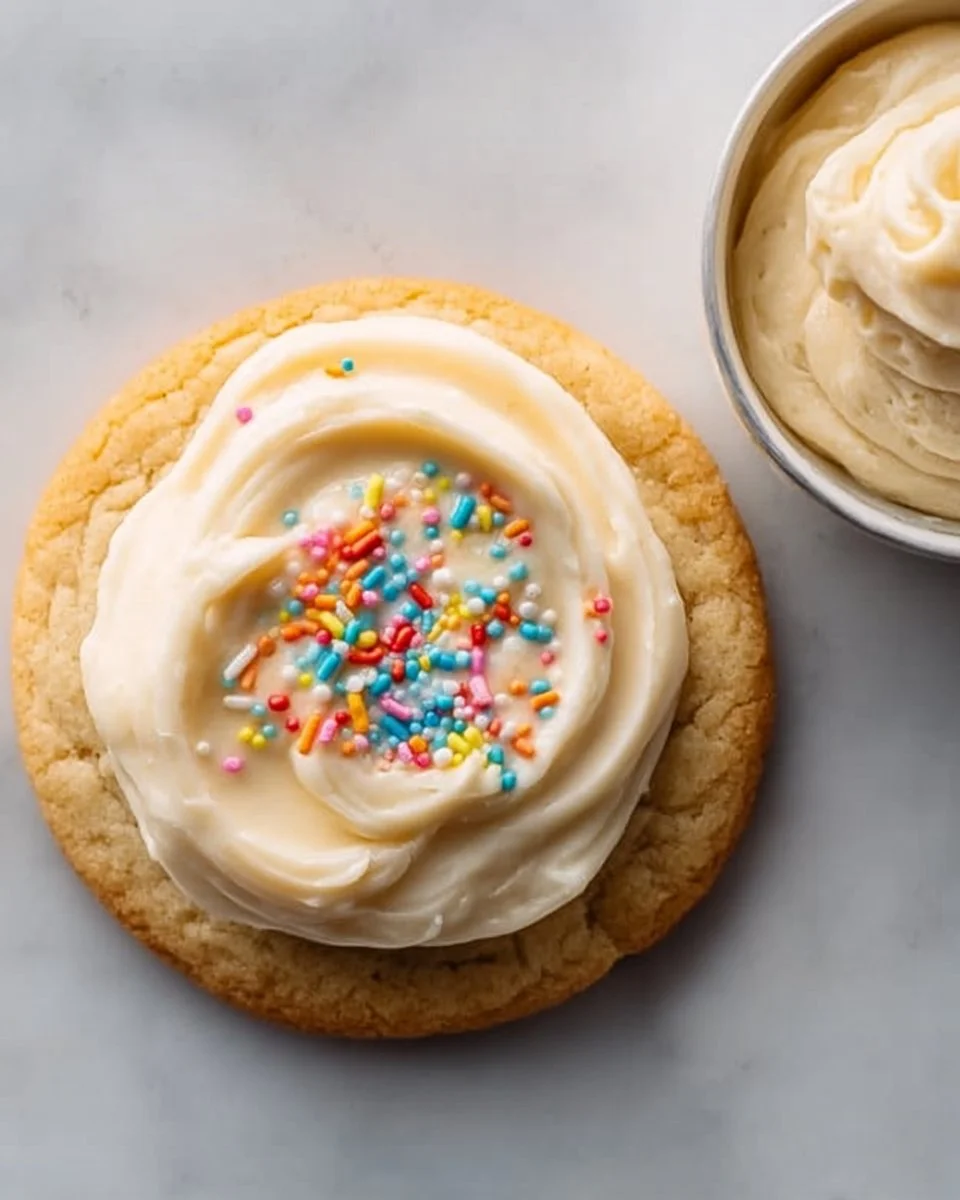
Frost those Cookies: Using your preferred method (piping bags for intricate designs or simply spreading with a knife), decorate your cookies. Allow frosting to set for at least 30 minutes before serving to let it harden slightly.
Chef’s Tips:
- Timing is key: Make sure to decorate while the cookies are cool to prevent melting.
- Common Mistake: Don’t rush the mixing process; lumps in your frosting can be a real bummer!
- Professional Technique: If you want to get that bakery-style finish, use a spatula to smooth and even out the frosting after piping.
Expert Tips & Tricks
Storage: If you have leftover frosting, store it in an airtight container in the fridge for up to a week. When you’re ready to use it, simply stir it back to life!
Make Ahead: You can make the frosting a day in advance. Just cover it tightly and keep it in the fridge. Before using, let it come to room temperature.
Troubleshooting: If your frosting is too runny, add a bit more powdered sugar until you reach your desired consistency. If it’s too thick, add tiny amounts of milk until it loosens up.
Flavor Variations: For a fun twist, try adding a tablespoon of citrus zest for a fresh hit or a sprinkle of almond extract for a nutty surprise.
Presentation: Use fun techniques like dipping the tops of cookies in the frosting for a unique look or sprinkling edible glitter on top.
Serving Suggestions
When it comes to enjoying your beautifully frosted cookies, consider pairing them with a warm cup of coffee or a refreshing glass of milk. The combination makes for a delightful treat! For special occasions, present the cookies on a decorative platter or tiered stand to dazzle your guests. This cookie frosting would also be perfect for holiday cookie platters or as part of a dessert table at birthdays and celebrations.
Variations & Substitutions
Flavor Combinations: You can make a chocolate version by adding cocoa powder or a peanut butter version with creamy peanut butter. Strawberry puree can also add a fruity flavor twist!
Dietary Adaptations: For those with dietary restrictions, use plant-based milk and organic powdered sugar to make this frosting vegan-friendly. Super easy!
Seasonal Variations: For Halloween, add black and orange food coloring, or for Christmas, try peppermint extract and red-green color swirls!
Nutrition & Storage Info
- Prep time: 10 minutes
- Cook time: N/A (No baking involved)
- Total time: 10 minutes
- Yield: Frosts 2 dozen cookies
- Estimated calories per serving: 50 calories per cookie (depending on serving size)
Storage Instructions
- Room temp: Best consumed the same day; if decorated on cookies, they may last for 1-2 days.
- Refrigerator: Can be stored in an airtight container for up to a week.
- Freezer: Not recommended for frosting but you can freeze cookies after frosting; just wrap them tightly!
FAQ Section
What is the best way to apply the frosting?
- For piping: Use a piping bag fitted with a round tip; for spreading: a spatula works well!
How can I make my frosting thicker?
- Add more powdered sugar until reaching the desired consistency.
How can I make colored frosting without using food dye?
- Consider natural colorings like beet powder or turmeric for a subtle color.
Can this frosting be used for cakes?
- Absolutely! It works beautifully for cakes and cupcakes as well.
Is there a way to make this frosting taste less sweet?
- You can add a bit of cream cheese for a tangy finish to balance the sweetness.
How do I fix a runny frosting?
- Add powdered sugar gradually until it thickens.
Can this frosting be flavored?
- Yes! Adjust using extracts like vanilla, almond, or different fruit purees.
How long will unfrosted cookies last?
- They can last up to a week when stored in an airtight container at room temperature.
Is it possible to freeze frosted cookies?
- Yes, just make sure to wrap each cookie individually to prevent freezer burn!
What are some good tips for decorating cookies?
- Use various piping tips for different designs and flavors for color contrast!
Conclusion
This cookie frosting recipe not only brings an exquisite touch to your baked creations but also serves as a gateway to making sweet memories with your family and friends. Whether you’re decorating holiday cookies, celebrating birthdays, or simply enjoying a rainy afternoon in the kitchen, this delightful recipe is sure to be a hit. I invite you to try it out and share your feedback—how do you customize your cookie frosting? Don’t forget to check out more delicious recipes on the blog for your next baking adventure!
Cookie Frosting
Ingredients
Frosting Base
- 2 cups powdered sugar Use freshly opened for best results.
- 2 tablespoons milk Whole milk for creaminess, or substitute with almond/oat milk.
Flavor Enhancers
- 1 tablespoon corn syrup Essential for shiny finish; options include honey/agave.
- 1 teaspoon vanilla extract Pure vanilla for the best flavor.
Optional Add-ins
- food coloring (optional) Gel food coloring for vibrant results.
Instructions
Preparation
- Gather all ingredients and ensure powdered sugar is free of lumps.
Mixing the Frosting
- In a bowl, combine powdered sugar and milk, mixing until desired consistency is reached.
- Stir in corn syrup and vanilla extract until blended.
- Add food coloring, if using, and mix until well incorporated.
Decorating
- Using a piping bag or knife, frost your cookies and let set for at least 30 minutes before serving.