
Irresistibly Delicious Homemade Fried Peanut Butter and Jelly Sandwich
Ah, the humble peanut butter and jelly sandwich. A staple of childhood and, let’s be honest, adulthood too! I still remember the day my mom first decided to take our classic PB&J and give it a golden twist. It was a rainy afternoon, and I watched her in the kitchen like a hawk, curiosity buzzing as she dipped our beloved sandwich in butter and fried it to a golden perfection. These Homemade Fried Peanut Butter and Jelly Sandwiches quickly became our family’s favorite comfort food, a treasure trove of memories cloaked in crisp bread and luscious fillings. Not only do they have that delightful crunch, but the melty peanut butter and sweet jelly create a luscious embrace that you just can’t replicate with a regular sandwich.
What makes these sandwiches better than the ones you might find at a store or made in a hurry? The love and attention you put into making them, of course, and the bonus of nostalgia wafting through your kitchen. In this recipe, I promise to guide you step-by-step, offering tips that ensure your fried masterpiece turns out crispy, gooey, and absolutely delicious. Get ready to take your peanut butter and jelly game to the next level!
What Are Homemade Fried Peanut Butter and Jelly Sandwiches?
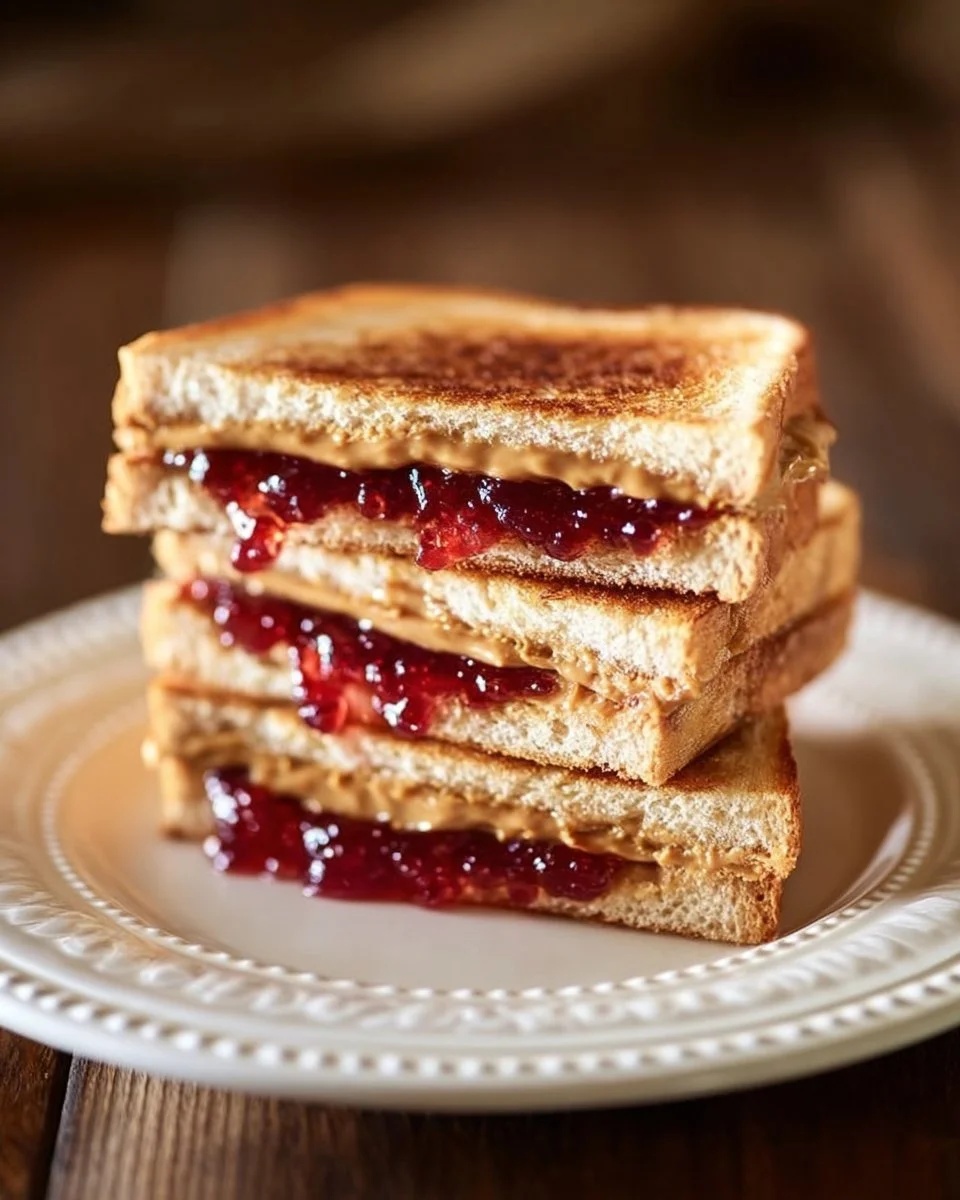
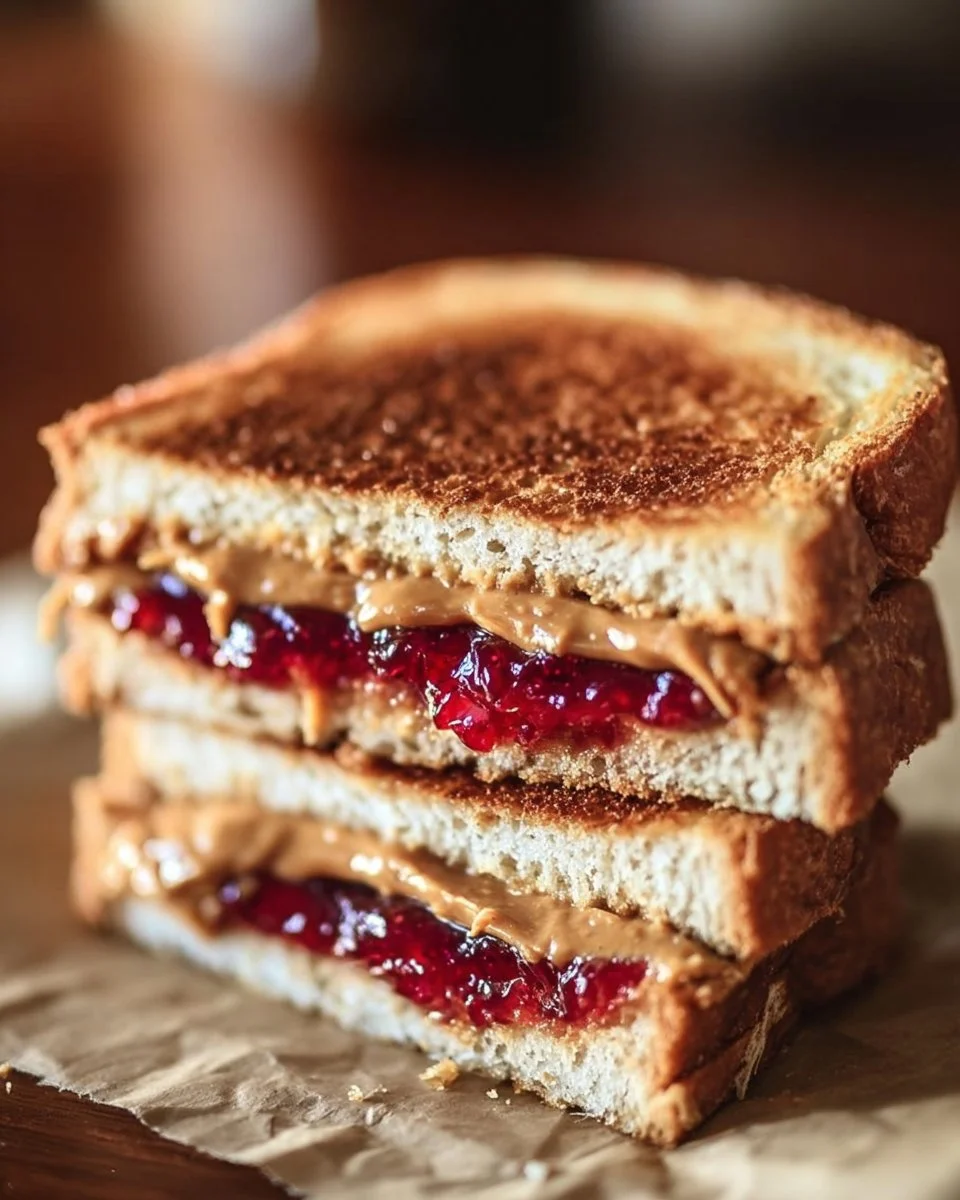
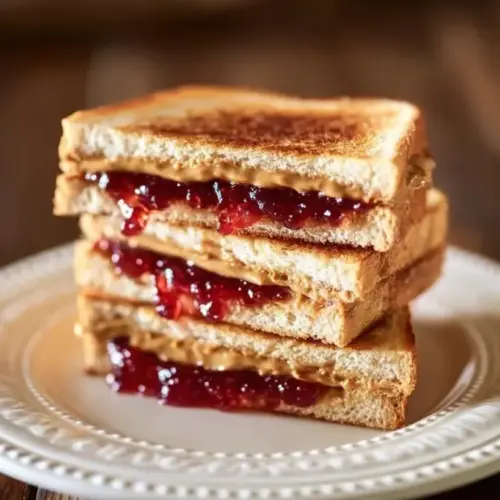
The origin story of fried peanut butter and jelly sandwiches dates back to a time when creativity in the kitchen was spurred by a love for comfort food. Imagine someone sitting in a diner, yearning for something warm and filling, and voila! The idea of frying a beloved classic was born. These sandwiches offer a unique combination of tastes and textures: the crust is golden and crunchy while the inside becomes warm and gooey thanks to the melting peanut butter and jelly.
The moment you take a bite, you’re treated to a delicious contrast: the nutty richness of creamy peanut butter harmonizes with the sweetness of jelly, while the crispy exterior adds an unexpected twist. Ideal for weekends, kids’ lunches, or late-night snacking, this recipe captures all the good vibes of childhood memories. Whether you whip them up for a treat after school or as a nostalgic late-night bite, you’ll find that this fried version makes everything just a little bit better.
Why You’ll Love This Recipe
Incredible Flavor: Unlike run-of-the-mill PB&Js, frying takes them to new heights. The crispiness brings out the nutty and fruity flavors even more, resulting in a mouthwatering flavor explosion.
Cost-Effective: You won’t break the bank with this recipe! With just bread, peanut butter, jelly, and a couple of other pantry staples, you can whip up something extraordinary at home instead of spending too much at restaurants.
Customize Your Way: Play with the fillings! You can swap out jelly for banana slices, Nutella, or even crushed graham crackers for added crunch. The possibilities are endless.
Quick and Easy: This recipe isn’t complicated, making it perfect for the kitchen novice. Plus, it’s ready in 10 minutes or less. Yes, please!
Nostalgic Vibes: There’s something heartwarming about biting into a fried PB&J that takes you back to carefree childhood days. It’s more than just food; it’s pure nostalgia!
Ingredients
Before you delve into frying up these beauties, it’s essential to gather the best ingredients:
Bread: Opt for a thick-sliced bread (like Texas toast or artisanal bread) for a hearty sandwich. Whole grain or gluten-free options are great for those with dietary restrictions.
Creamy Peanut Butter: Always go for natural or organic if possible. Brands like Jif or Skippy provide the classic taste, but try brands like Smucker’s or Laura Scudder’s for a more wholesome flavor.
Jelly (your choice): Grape jelly is the classic choice, but assortment with raspberry, strawberry, or even homemade preserves will elevate your sandwich. Always choose quality for the best taste.
Butter: Use unsalted butter for better control of flavors. For a richer option, try European-style butter.
Maple Syrup: A drizzle of pure maple syrup adds a lovely sweetness to the frying process. You can omit it for a more traditional flavor.
Sugar (optional): A sprinkle for sweetness on the crust can be delightful, but it’s entirely optional. Experiment and see what you like!
Prep Notes
- Ensure your butter is at room temperature to spread easily.
- Prepare your ingredients beforehand to streamline the cooking process.
Step-by-Step Instructions
Spread the Goods: Start by generously spreading a layer of peanut butter on one slice of bread and your chosen jelly on another slice. Go wild; the more, the merrier!
Assemble Your Sandwich: Carefully press the two slices together, making sure the fillings are distributed evenly. It should look like a masterpiece already!
Heat the Skillet: In a medium skillet, melt about one tablespoon of butter over medium heat. The butter should bubble, but be careful not to brown it too much.
Fry Away: Place your sandwich in the skillet and fry for about 2-3 minutes, using a spatula to gently press down to get that perfect golden crust. Flip carefully, watching for a beautifully browned exterior.
Maple Drizzle, Please: If you wish, drizzle a little maple syrup over the sandwich while frying for added flavor. It seeps into the bread, making it extra delicious!
Serve and Enjoy: Once both sides are crispy and golden, remove the sandwich from the skillet, cut it in half, and serve warm. A sprinkle of powdered sugar on top is lovely!
Chef’s Tips:
- Timing is key: Don’t rush the frying; it’s your secret to achieving that nice, crunchy texture.
- Visual Cues: Look for golden-brown color for the perfect fry.
Expert Tips & Tricks
Here are my tried and true tips to make your Homemade Fried Peanut Butter and Jelly Sandwich experience even better:
Storage Recommendations: For leftovers, store your sandwich in an airtight container in the fridge for up to 24 hours. It’s best enjoyed fresh, but you can reheat it briefly in a toaster oven.
Make-Ahead: If you’re prepping for a busy day, you can assemble the sandwiches and wrap them tightly until you’re ready to cook.
Troubleshooting: If your sandwiches are not crisping up, ensure your skillet is hot enough. Not enough butter can also lead to sogginess, so don’t skimp!
Flipping: Use a wide spatula to flip, ensuring everything stays intact.
Sweets on the Side: Consider serving with extra jelly or maple syrup on the side for dipping.
Serving Suggestions
Pair your Homemade Fried Peanut Butter and Jelly Sandwich with:
- Fresh Fruit: Slices of bananas, strawberries, or apple wedges add freshness.
- Beverages: A cold glass of milk or a cup of hot cocoa will take you straight back to your childhood!
Presentation Tips: Cut your sandwich diagonally for that cafe vibe, and if you’re feeling fancy, a light dusting of powdered sugar will impress all your guests.
Variations & Substitutions
The beauty of this recipe lies in its versatility! Here are some fun ideas:
- Nut Varieties: Swap traditional peanut butter for almond or cashew butter for a unique flavor profile.
- Jelly Alternatives: Experiment with flavored cream cheese spreads or even savory options like hummus for a twist.
- Seasonal: Around the holidays, add a sprinkle of cinnamon or nutmeg to your butter before frying for a festive flair!
- Dietary Adaptations: Use gluten-free bread or nut-free spreads for those with dietary restrictions.
Nutrition & Storage Info
- Prep Time: 5 minutes
- Cook Time: 5 minutes
- Total Time: 10 minutes
- Yield: 2 servings
- Estimated Calories per Serving: ~400 calories (calories may vary based on bread and fillings)
- Storage Instructions: Store at room temperature for 2 hours, in the fridge for up to 24 hours, or in the freezer (wrapped) for up to 2 months.
FAQ Section
What bread is best for frying?
Thick-sliced bread, like Texas toast or brioche, is ideal because it holds well during frying.
Can I use crunchy peanut butter?
Absolutely! Crunchy peanut butter will give a nice texture contrast.
How can I make these healthier?
Opt for whole grain bread, natural peanut butter, and fresh fruit instead of jelly.
What other fillings can I try?
Nutella, marshmallow fluff, or even a savory twist with cream cheese and avocado are delightful options!
Can I make these vegan?
Yes! Use plant-based butter and ensure the bread is dairy-free.
How do I avoid sogginess?
Make sure your skillet is hot enough and use enough butter to form a barrier.
Do they reheat well?
They can be reheated in a toaster oven for a couple of minutes to maintain their texture.
Is it possible to use frozen bread?
Yes, but make sure to toast the bread slightly before spreading to help with texture on frying.
Should the jelly be cold?
It’s best at room temperature for easy spreading.
What’s the best way to cut the sandwich?
Cut the sandwich diagonally to create appealing halves.

Conclusion
These Homemade Fried Peanut Butter and Jelly Sandwiches are a delightful departure from the routine lunchbox fare or late-night snack. By adding a delightful crunch to a classic comfort food, you bring back fond memories while creating new ones for yourself and your loved ones. I encourage you to try this recipe; I promise it won’t disappoint. Your taste buds will thank you, and I’d love to hear your thoughts! Share your experiences in the comments, and don’t forget to check out my other nostalgic recipes that are sure to take you on a trip down memory lane. Happy frying!
Fried Peanut Butter and Jelly Sandwich
Ingredients
For the Sandwich
- 4 slices thick-sliced bread Texas toast or artisanal bread recommended.
- 1/2 cup creamy peanut butter Natural or organic preferred.
- 1/2 cup jelly Grape, raspberry, or strawberry jelly recommended.
- 2 tablespoons unsalted butter For frying.
- 1 tablespoon maple syrup Optional, for added flavor.
- 1 teaspoon sugar Optional, for sweetness on the crust.
Instructions
Preparation
- Spread a generous layer of peanut butter on one slice of bread and your chosen jelly on another slice.
- Carefully press the two slices together to form a sandwich.
Cooking
- Melt about one tablespoon of butter in a medium skillet over medium heat.
- Place the sandwich in the skillet and fry for about 2-3 minutes, pressing down with a spatula.
- Flip the sandwich carefully and fry the other side until golden brown.
- Drizzle maple syrup over the sandwich while frying if desired.
Serving
- Remove the sandwich from the skillet, cut in half, and serve warm.
- Optionally sprinkle powdered sugar on top before serving.