
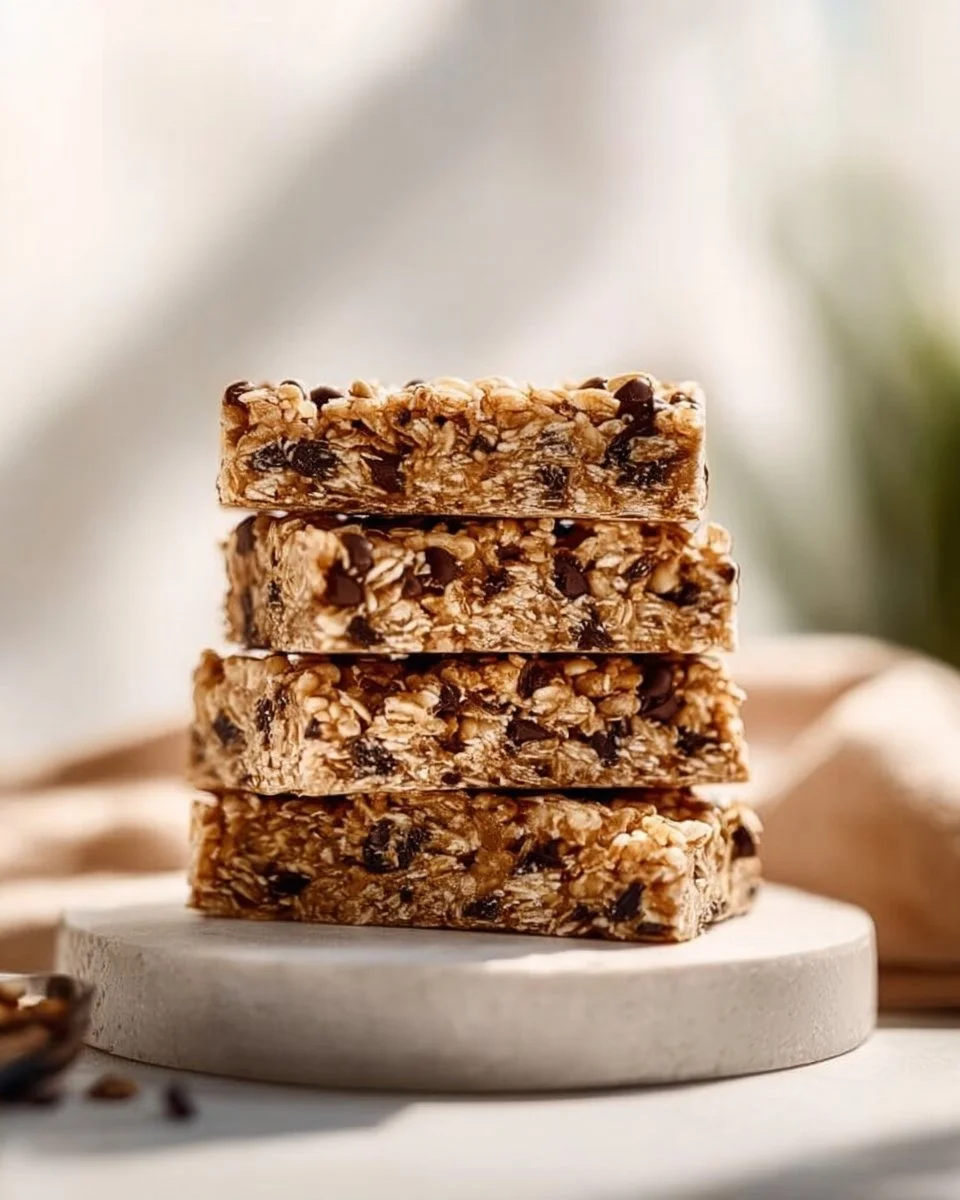
Irresistibly Chewy Peanut Butter Granola Bars: A Family Favorite Recipe
Growing up, our kitchen was a bustling hub of activity, especially when my mom was whipping up a batch of her legendary peanut butter granola bars. The sweet aroma of honey mingling with the rich scent of peanut butter was enough to make anyone forget their troubles. These homemade bars weren’t just a delightful snack; they were a symbol of comfort and familial love. Packed with wholesome ingredients and a dash of joyful nostalgia, these Peanut Butter Granola Bars became a staple in our home.
What sets my recipe apart is not just the gooey, chewy texture that comes from the perfect balance of oats and peanut butter, but also the customizable elements that make each batch a unique creation. Unlike store-bought bars laden with preservatives and high in sugar, my version allows you to control the sweetness and tailor the flavors to your family’s preference. Whether you’re looking for an after-school snack or a post-workout boost, these bars are the secret to guilt-free indulgence. Today, I’ll guide you through making the perfect Peanut Butter Granola Bars, filled with love and memories that you’ll surely want to share with your family too.
What Are Peanut Butter Granola Bars?
Peanut Butter Granola Bars are a delightful fusion of oats, peanut butter, and sweeteners, baked to perfection. While their history traces back to the late 19th century when granola became popular as a health food, these bars have transcended their origins to become a beloved snack worldwide.
They present a unique combination of chewy and crunchy textures, making each bite a delightful experience. The hearty oats offer a satisfying crunch, while the peanut butter provides that creamy comfort we all crave. Perfect for busy mornings or a quick afternoon pick-me-up, these bars are not just snacks; they’re energy boosters that keep you going throughout the day. Whether you crave a simple design or a more extravagant treat with added chocolate chips, they fit the bill for any occasion, making them a go-to in my kitchen.
Why You’ll Love This Recipe
Homemade Goodness: These Peanut Butter Granola Bars are filled with wholesome ingredients, making them far superior to those overpriced store-bought versions. You can control what goes in, meaning zero mysteries and plenty of healthy goodness.
Customizable & Versatile: Feel free to add your favorite nuts, seeds, or dried fruit. Want to amp up your indulgence? Throw in some mini chocolate chips or some dried cranberries for a delightful treat! The possibilities are endless, making each batch a personalized creation.
Cost-Effective: Let’s face it—granola bars can be expensive, especially if you want those natural, organic options. You’ll save money making these at home without sacrificing quality.
Quick & Easy: With minimal prep time and only a handful of ingredients, these bars come together in a snap. You can whip up a batch in less than 30 minutes and enjoy them for the week ahead.
Perfect for Meal Prep: Just bake them, cut them into squares, and you’ve got a nutritious snack ready to grab-and-go. They are perfect for busy mornings, packed lunches, or post-workout fuel.
With just a little effort and love, you’ll create a delicious snack that’s sure to keep your family coming back for seconds!
Ingredients
To make these Peanut Butter Granola Bars, you’ll need the following ingredients:
- 3 cups old-fashioned rolled oats (choose verified gluten-free if necessary)
- 3/4 cup natural peanut butter (I love using brands like Smucker’s or Jif for that classic taste)
- 1/3 cup honey or maple syrup (I recommend honey for better binding, but maple syrup is a delightful alternative)
- 1/2 cup mini chocolate chips (optional; you can use dark or dairy-free chocolate for different flavors)
- 2 whole eggs (for a vegan-friendly option, you can substitute with a flax egg: 1 tablespoon ground flaxseed mixed with 3 tablespoons water)
- Optional add-ins:
- A pinch of salt (omit if your peanut butter is salted)
- Chopped walnuts, pecans, almonds, or sunflower seeds for crunch
- Dried fruit like raisins or cranberries for added sweetness
Prep Notes: Be sure to let your peanut butter come to room temperature or microwave it for 10-15 seconds to make it easier to mix.
Step-by-Step Instructions
Preheat your oven to 350℉ (175℃). This is a crucial step, so don’t skip it!
In a large bowl, combine all the ingredients and mix well. If your peanut butter is solid at room temperature, heating it for 10-15 seconds will help create a more drizzly consistency, making it easier to mix.
Line a 9-inch baking dish or pan with parchment paper. This clever trick makes it super easy to remove the bars once they’re baked!
Transfer the mixture to the prepared dish and very firmly press it into the pan in an even layer. Remember, the firmer you press, the better your bars will stick together. If you’re using chocolate chips, sprinkle them on top and push them down gently.
Bake for 15-17 minutes, or until the center is baked through and the edges start to brown. Check at around 14 minutes—every oven is different, and you want to catch them before they overbake!
Remove from the oven and let cool completely on a cooling rack before attempting to cut them into squares with a sharp knife. Patience is key!
Chef’s Tips:
- Make sure to let them cool entirely before cutting, as this helps them hold their shape better.
- Keep an eye on them during baking; different ovens may require slight adjustments.

Expert Tips & Tricks
Storage Recommendations: These bars can be stored in an airtight container at room temperature for up to a week. For longer storage, keep them in the fridge, where they’ll last about two weeks, or freeze them for up to three months.
Make-ahead Instructions: You can easily double the recipe for meal prep. Simply keep half in the fridge while freezing the other half.
Troubleshooting Common Problems:
- If your bars are too crumbly, ensure you’re using enough binding (i.e., honey and peanut butter).
- If they’re too hard, they may have been baked too long. Next time, check them a minute earlier!
Involve the Family: This is a fun recipe to do with kids! Have them choose the add-ins and help mix everything together.
Serving Suggestions: Serve these granola bars with fresh fruit or yogurt for a balanced snack. They make a great base for creating a parfait too!
Serving Suggestions
These Peanut Butter Granola Bars can be served solo or alongside your favorite dips or spreads. Pair them with Greek yogurt sprinkled with a bit of honey for a wholesome breakfast or snack. They also shine at parties—pack a delightful platter with fresh fruits to share with friends and family.
They are perfect for occasions like road trips, school lunches, or even as a post-workout snack. The combination of flavors and textures is sure to please everyone’s palate!
Variations & Substitutions
- Flavors: Explore different flavor combinations by incorporating shredded coconut, pumpkin spice, or apple cinnamon into the mix.
- Dietary needs: Gluten-free? No problem! Just use certified gluten-free oats. Want nut-free? Substitute with sun butter or tahini instead of peanut butter.
- Seasonal: In fall, add pumpkin puree and spice for a cozy variation; in summer, consider tossing in some diced apricots or chocolate-peanut butter chips for a refreshing twist!
Nutrition & Storage Info
- Prep time: 10 minutes
- Cook time: 15-17 minutes
- Total time: 25-30 minutes
- Yield: 16 bars
- Estimated calories per serving: Approximately 150 calories
- Storage: Keep at room temperature for up to 1 week, in the fridge for 2 weeks, or freeze for 3 months.
FAQ Section
Can I use crunchy peanut butter instead of creamy?
Absolutely! Crunchy peanut butter will add an exciting texture to the bars.What sweetener can I use instead of honey?
Maple syrup, agave nectar, or brown rice syrup will also work well as substitutions.Can I make these vegan?
Yes! Substitute the two eggs with flax eggs and ensure your peanut butter and any add-ins are vegan-friendly.How can I store these longer?
Freeze them in an airtight container or wrap them individually in plastic wrap to keep them fresh.Can I skip the chocolate chips?
Most definitely! Omit them for a healthier option, or substitute with dried fruits or nuts.What if my mixture is too dry?
You can add a teaspoon of water, milk, or extra peanut butter to the mixture to help bind it together.How do I know when they’re done baking?
The edges should be golden brown, and a gentle press in the center should feel slightly firm but not liquid.Can I add protein powder?
Yes, incorporate a scoop of your favorite protein powder, but be mindful of adding additional dry ingredients accordingly.Are these gluten-free?
When using certified gluten-free oats, absolutely!Can I make a batch ahead of time?
Yes! They’re great for meal prep and can be made in advance for busy weeks.

Conclusion
These Peanut Butter Granola Bars are not just a go-to snack; they’re a treasure trove of comfort and childhood memories. I encourage you to try making them for your family and create your own joyful moments in the kitchen. I’d love to hear your thoughts—what variations did you try? What did your family think? And don’t forget to check out related recipes on my blog, like my energy-boosting Overnight Oats and scrumptious Chocolate Chip Cookies. Happy baking!
Peanut Butter Granola Bars
Ingredients
Main Ingredients
- 3 cups old-fashioned rolled oats Choose verified gluten-free if necessary
- 3/4 cup natural peanut butter Recommended brands: Smucker’s or Jif
- 1/3 cup honey or maple syrup Honey is recommended for better binding
- 1/2 cup mini chocolate chips Optional; can use dark or dairy-free chocolate
- 2 whole eggs For vegan-friendly option, substitute with a flax egg
Optional Add-ins
- a pinch salt Omit if your peanut butter is salted
- chopped walnuts, pecans, almonds, or sunflower seeds For added crunch
- dried fruit such as raisins or cranberries For added sweetness
Instructions
Preparation
- Preheat your oven to 350℉ (175℃).
- In a large bowl, combine all the ingredients and mix well.
- Line a 9-inch baking dish or pan with parchment paper.
- Transfer the mixture to the prepared dish and firmly press into an even layer.
- Bake for 15-17 minutes, or until the center is baked through and the edges start to brown.
- Remove from the oven and let cool completely on a cooling rack before cutting.