

Irresistible Easy No Bake Granola Bars: Your Perfect Snack Fix
There’s something inherently comforting about food that brings back sweet memories, and for me, it’s my beloved Easy No Bake Granola Bars. Picture this: a sunny weekend afternoon in my kitchen, the smell of warm peanut butter wafting through the air. I’ve set aside an hour to whip up a batch, bringing back fond memories of my mom’s homemade snacks that fueled our childhood adventures. These bars aren’t just a treat; they’re a delicious reminder of family, laughter, and the wholesome joy found in simple ingredients.
What makes my Easy No Bake Granola Bars truly stand out from others? They are so customizable and ridiculously easy to make that even the busiest schedule can squeeze in this delightful treat. Forget about complicated baking techniques or lengthy ingredient lists; these bars are all about quick assembly and hearty goodness. You won’t find any artificial additives here—just pure, wholesome ingredients that you can feel good about sharing.
Join me as I walk you through this recipe, and I promise you’ll discover not just how to make these delectable granola bars, but also some fun tips and tricks to make them your own!
What Are Easy No Bake Granola Bars?
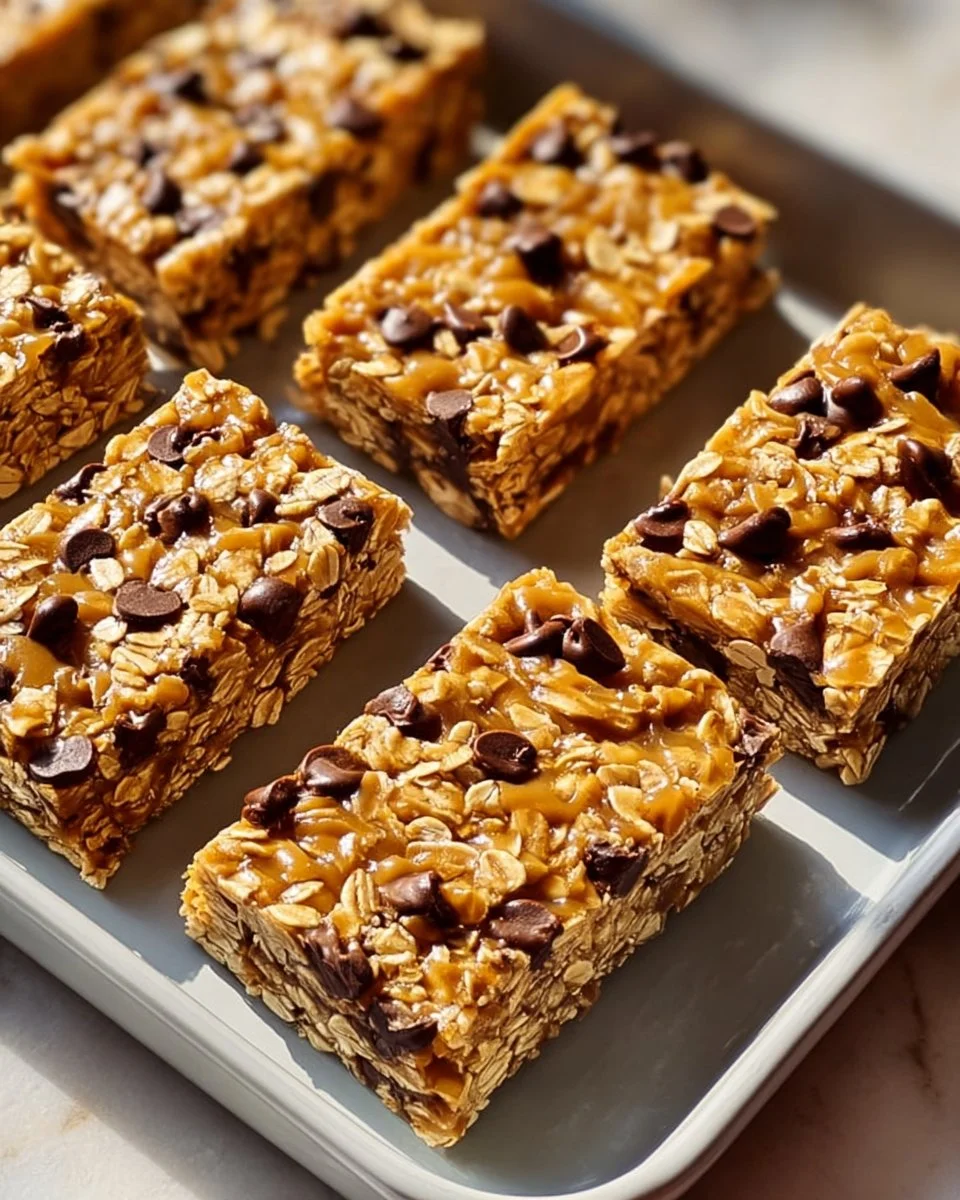
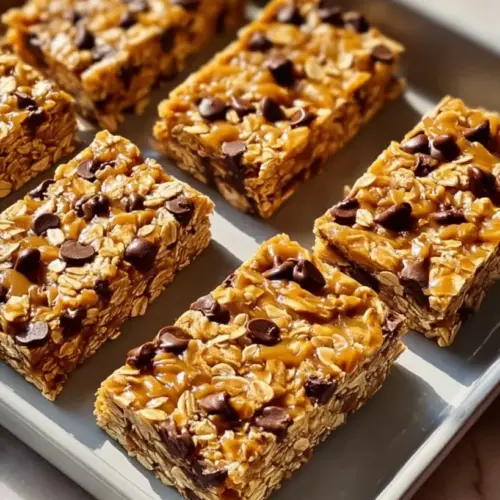
The story of granola bars dates back to the early 1970s when they became a go-to snack for health-conscious eaters. Fast forward to today, and these Easy No Bake Granola Bars have earned a spot in kitchens everywhere. They are the ultimate crunchy-yet-chewy sweet snack made with rolled oats, creamy nut butter, and a medley of fruits and nuts.
With a satisfying texture that strikes a perfect balance between chewy and crunchy, each bite delivers a burst of rich flavors. Imagine the nutty taste mingling with sweet hints of honey or maple syrup, making it hard to resist reaching for just one more!
These bars are remarkably versatile and perfect for any occasion: post-workout fuel, lunchbox snacks for kids, or a midday treat to satisfy those sweet cravings. You can enjoy them immediately or store them for later, making them an easy go-to recipe whenever you need a wholesome snack.
Why You’ll Love This Recipe
Quick and Easy: Seriously—no baking needed! With just a handful of ingredients, you can create these scrumptious bars in around 15 minutes, plus a little fridge time for setting.
Cost-Effective: Let’s face it—store-bought granola bars can add up quickly. Making your own not only saves you money, but you also control the portion sizes and ingredients.
Customization Galore: The best part? You can tailor these bars to your taste! Swap in your favorite nut butter, experiment with different dried fruits, or even add a sprinkle of cinnamon for an extra flavor kick.
Healthy and Wholesome: Packed with fiber from oats and the goodness of nuts, these bars provide a nutritious snack that fuels your body. You can proudly share them with family and friends, knowing they’re made of wholesome ingredients!
Perfect for Any Time: These bars serve as a reliable snack that fits into any lifestyle—they’re great for breakfast on the go, an afternoon pick-me-up, or even a late-night treat.
With these Easy No Bake Granola Bars, you can embrace your culinary creativity, skip the fuss of baking, and enjoy a snack that brings joy and satisfaction. Let’s dive deeper into how to make them!
Ingredients Section
For These Easy No Bake Granola Bars, You Will Need:
- 2 cups rolled oats (Use old-fashioned oats for the best texture. If gluten-free, ensure your oats are certified gluten-free.)
- 1 cup creamy peanut butter (Natural peanut butter works best—it should be pourable but not too runny. Brands like Smucker’s or Whole Foods 365 are great choices.)
- ½ cup honey or maple syrup (Choose raw honey for a more intense flavor, or maple syrup for a vegan alternative.)
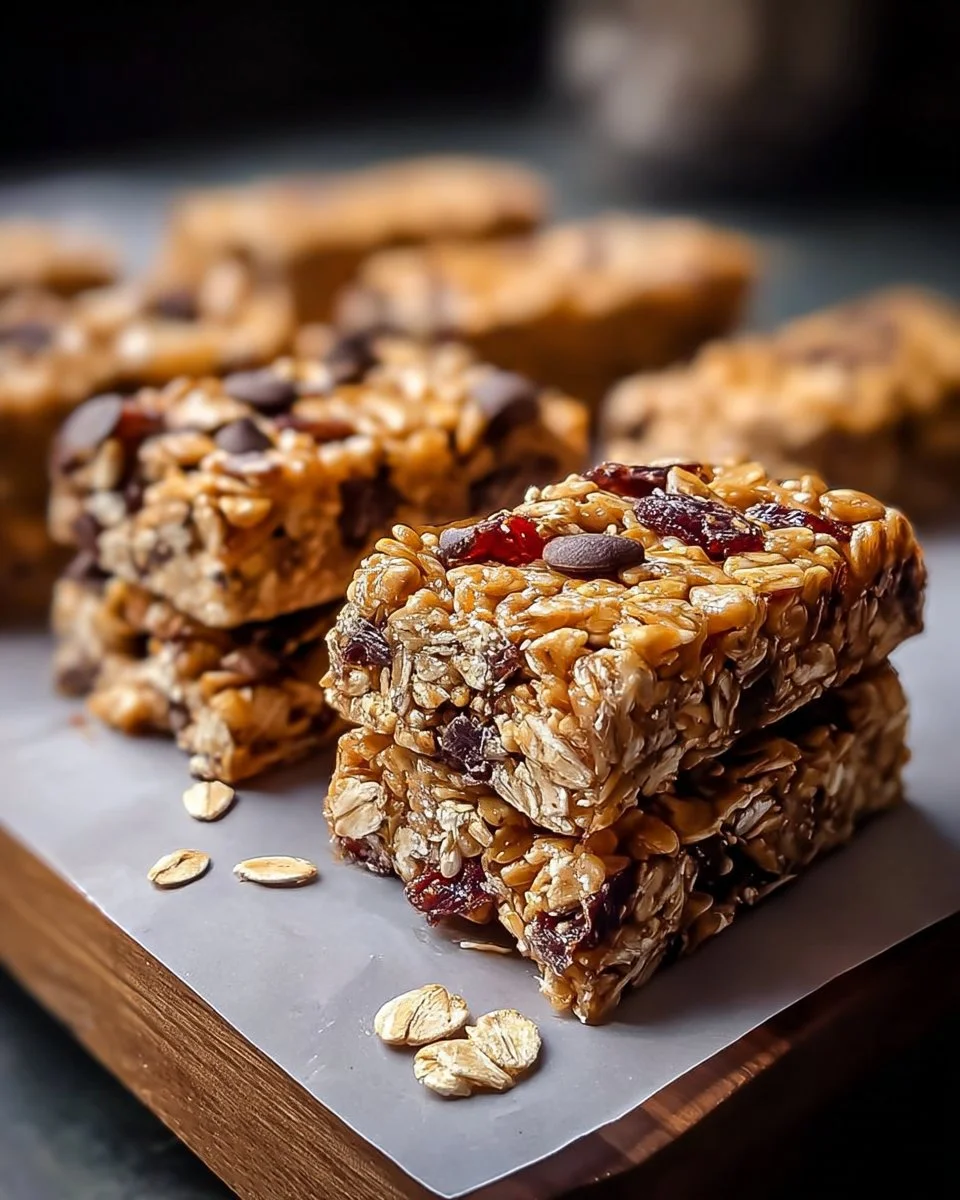
- ½ cup dried fruits (I love using a combination of raisins and cranberries, but feel free to try apricots or dates!)
- ½ cup mixed nuts (Chopped almonds, walnuts, or pecans add a delightful crunch. Toast them lightly for extra flavor!)
- ¼ cup chocolate chips (This is optional, but honestly, who doesn’t love a bit of chocolate in their snack? Choose dark chocolate for a healthier option.)
Prep Notes:
- Make sure your peanut butter is at room temperature for easy mixing.
- If you want to create bars with fewer sugars, substitute honey/maple syrup with mashed bananas or natural nut sweeteners.
Step-by-Step Instructions
Combine Dry Ingredients: In a large bowl, combine 2 cups rolled oats and ½ cup mixed nuts. Stir them together until they’re evenly mixed.
Chef’s Tip: If using raw nuts, toast them in a dry skillet over medium heat for about 3-5 minutes to enhance their flavor. Keep a close eye to prevent burning!
Mix Wet Ingredients: In another bowl, mix together 1 cup of creamy peanut butter and ½ cup of honey (or maple syrup) until smooth. If your peanut butter is too thick, microwave the mixture for about 20 seconds to soften it—just enough to make mixing easier.
Combine Dry and Wet Mixtures: Pour the peanut butter mixture over the dry ingredients, and stir well until fully incorporated. You should have a thick mixture.
Add Dried Fruits and Chocolate Chips: Fold in ½ cup dried fruits and ¼ cup chocolate chips (if using). Mix until they are evenly distributed.
Set in Pan: Line an 8×8 inch pan with parchment paper for easy removal. Press the mixture evenly into the pan, smoothing the top with a spatula or your hands until it’s packed tightly.
Visual Cue: The mixture should be firm and hold its shape when pressed down.
Chill: Refrigerate for at least one hour to allow the bars to set. This step is crucial for achieving that perfect texture!
Cut and Serve: Once set, lift the bars out of the pan using the parchment paper. Cut into your preferred size; I recommend 12 bars for perfect snacking pieces.
Chef’s Tip: Use a sharp knife and gently wipe it with a damp cloth after each cut for perfectly clean edges!
Expert Tips & Tricks
Storage: Store the granola bars in an airtight container in the fridge for up to a week or keep them in the freezer for up to three months—just pull one out when you need a snack!
Make Ahead: These bars can easily be made in advance. Prepare a batch on Sunday, and you’ll have a quick snack for the week ahead.
Troubleshooting: If your bars crumble when trying to cut them, it’s likely they weren’t pressed down firmly enough. Next time, try packing them tighter before refrigerating.
Flavor Inspiration: Experiment with spices! A pinch of cinnamon, nutmeg, or even ginger can transform the flavor profile of your bars.
Texture Variations: For an extra crunch, consider adding some puffed rice, chia seeds, or even a handful of coconut flakes!
Serving Suggestions
These Easy No Bake Granola Bars are delightful all on their own, but they pair beautifully with so many additions! Try serving them with a dollop of yogurt and fresh fruits for a balanced breakfast or enjoy them alongside a glass of milk or almond milk for a mid-morning pick-me-up. They also make fantastic picnic treats!
For presentation, consider wrapping them in parchment paper tied with kitchen twine; it adds a rustic charm that’s perfect for any gathering or a thoughtful gift for a friend. Plus, what a great way to spread the joy of homemade goodness!
Variations & Substitutions
Getting creative with granola bars is half the fun! Here are a few flavor inspirations:
Chocolate Chip Peanut Butter: Add ½ cup of mini chocolate chips and a sprinkle of cocoa powder to create a rich, indulgent flavor that satisfies your sweet tooth.
Tropical Bliss: Swap out the dried fruits for a mix of dried pineapple and coconut flakes for a refreshing twist.
Nut-Free Option: Use sunflower seed butter instead of peanut butter and omit nuts for a completely nut-free bar.
Protein-Packed Bars: Stir in ¼ cup of your favorite protein powder for an added boost—perfect for a post-workout snack.
Nutrition & Storage Info
- Prep Time: 15 minutes
- Chill Time: 1 hour
- Total Time: 1 hour 15 minutes
- Yield: About 12 bars
- Estimated Calories: 200 calories per bar (depending on customization)
- Storage Instructions: Keep these bars in an airtight container in the fridge for up to a week. For longer storage, place them in the freezer—just thaw before enjoying.
FAQ Section
Can I use steel-cut oats instead of rolled oats?
- Steel-cut oats are denser and take longer to cook, so they won’t work well in this no-bake recipe. Stick with rolled oats for the best texture!
What can I use instead of honey?
- Maple syrup is a great substitute for honey. If you prefer, agave syrup or brown rice syrup also works well.
How do I make these bars vegan?
- Substitute honey with pure maple syrup and ensure your chocolate chips are dairy-free. You’re good to go!
Can I add protein powder to the mixture?
- Yes! Adding protein powder is a fantastic way to amp up the nutritional value—just reduce the amount of oats slightly to maintain texture.
What if my bars are too crumbly?
- This usually happens if they weren’t pressed firmly enough or if they need a bit more binding agent (like peanut butter). Make sure to press down hard and stick to the recipe ratios for best results.
How long can I freeze these bars?
- They can last in the freezer for about three months. Just make sure to wrap them well to prevent freezer burn!
What other mix-ins can I use?
- Getting creative is highly encouraged! Consider incorporating chia seeds, flaxseeds, or puffed rice for added nutrition and texture.
Can I use quick oats?
- Yes, quick oats can be used, but they’ll yield a different texture—slightly softer compared to rolled oats.
What’s the best way to cut the bars?
- Use a sharp knife, and consider running the blade under hot water for easy cutting. Wipe the knife with a towel between cuts for clean edges!
How do I make these gluten-free?
- Ensure you’re using certified gluten-free oats and double-check other ingredients for potential gluten content.
Conclusion
These Easy No Bake Granola Bars are more than just a delicious treat; they are a heartfelt way to bring joyful moments into your daily routine. With their wholesome ingredients and endless customization possibilities, there’s no reason not to whip up a batch today.
I can’t wait for you all to try this recipe; I’d love to hear your personal twists and any feedback you have! Don’t forget to explore the other wholesome recipes on my blog—let’s create more beautiful food memories together!
Easy No Bake Granola Bars
Ingredients
Base Ingredients
- 2 cups rolled oats Use old-fashioned oats for the best texture. Gluten-free oats should be certified.
- 1 cup creamy peanut butter Natural peanut butter works best; should be pourable but not too runny.
- ½ cup honey or maple syrup Choose raw honey for an intense flavor, or maple syrup as a vegan alternative.
Mix-ins
- ½ cup dried fruits Combination of raisins and cranberries recommended; feel free to use apricots or dates!
- ½ cup mixed nuts Chopped almonds, walnuts, or pecans add crunch; toasting enhances flavor.
- ¼ cup chocolate chips Optional; dark chocolate is a healthier choice.
Instructions
Preparation
- In a large bowl, combine 2 cups rolled oats and ½ cup mixed nuts. Stir until evenly mixed.
- In another bowl, mix together 1 cup creamy peanut butter and ½ cup honey (or maple syrup) until smooth.
- Pour the peanut butter mixture over the dry ingredients, and stir well until fully incorporated.
- Fold in ½ cup dried fruits and ¼ cup chocolate chips (if using). Mix until evenly distributed.
- Line an 8×8 inch pan with parchment paper and press the mixture evenly into the pan.
- Refrigerate for at least one hour to allow the bars to set.
- Once set, lift the bars out of the pan and cut into 12 bars.