
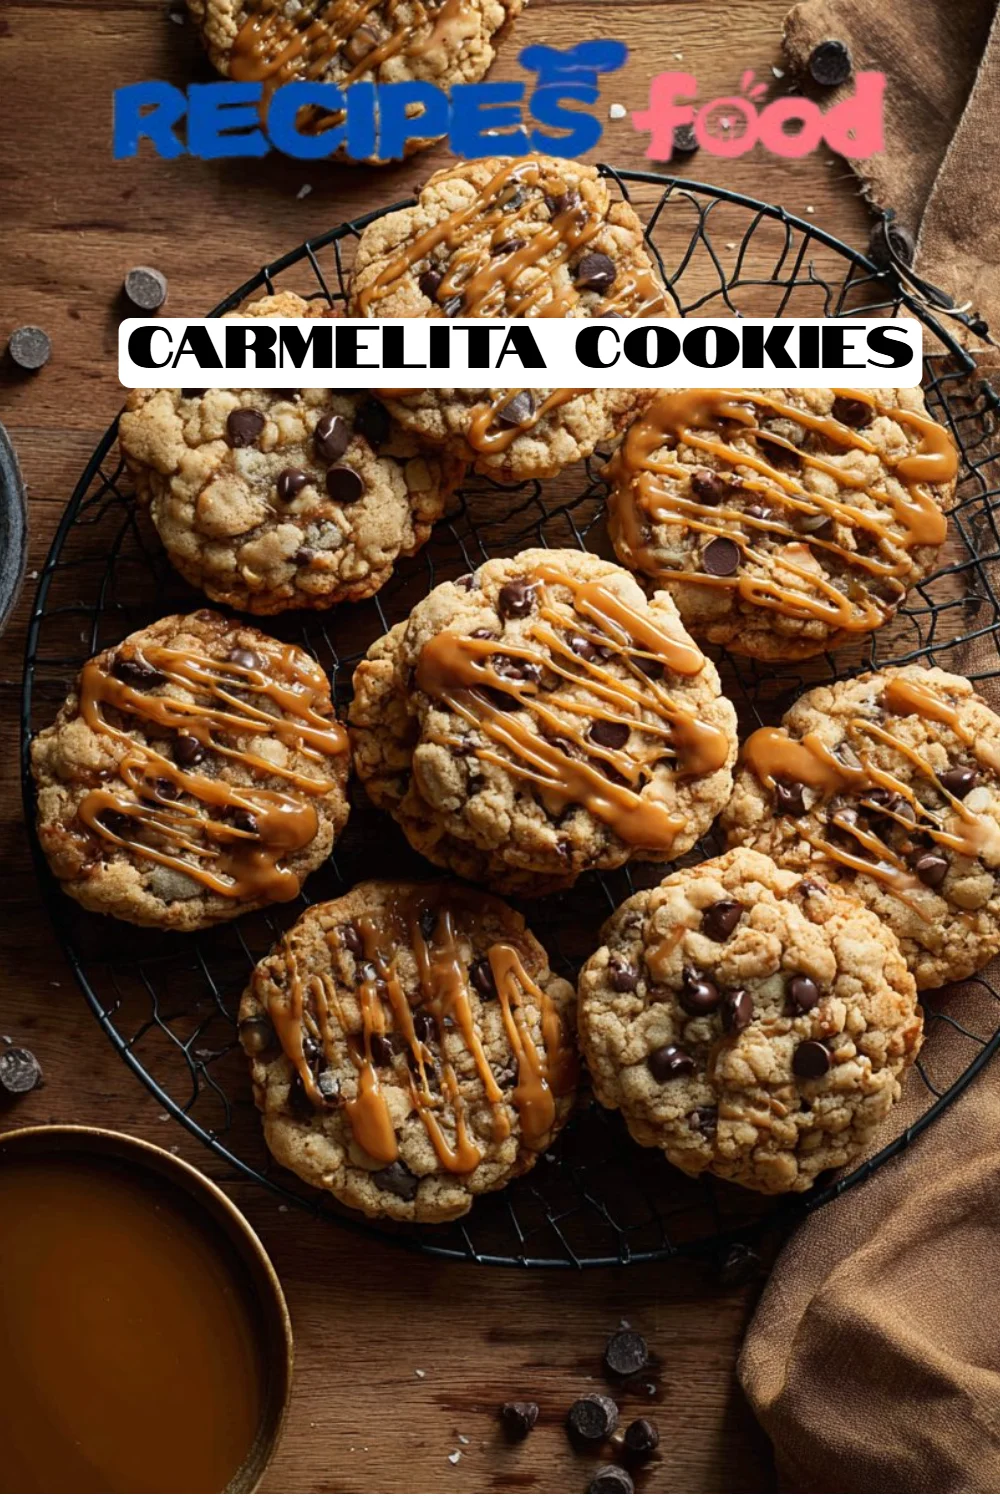
Irresistible Carmelita Cookies: A Sweet Treat for Every Occasion
Introduction
It was a cool Sunday afternoon, the kind that always draws my family into the kitchen. As the aroma of freshly brewed coffee filled the air, I couldn’t resist the urge to bake something sweet. Suddenly, I stumbled upon my old family recipe for Carmelita Cookies. Just saying the name brings back memories of my grandma’s kitchen, where she would whip up these gooey delights, blending oatmeal, caramel, and chocolate into a symphony of flavors that felt like a warm hug.
What makes these Carmelita Cookies special is their perfect balance of chewy and crisp, with little bursts of caramel and chocolate in each bite. Unlike many other cookie recipes that can turn out dry or crumbly, these cookies stay rich and satisfyingly moist, all while being incredibly easy to make! This recipe has been passed down through generations—not just because of its luscious taste, but also because it embodies love and connection, making every bite a walk down memory lane.
In this delightful post, you’ll learn the step-by-step process for whipping up these truly irresistible Carmelita Cookies. Get ready to create some amazing memories of your own!
What Are Carmelita Cookies?
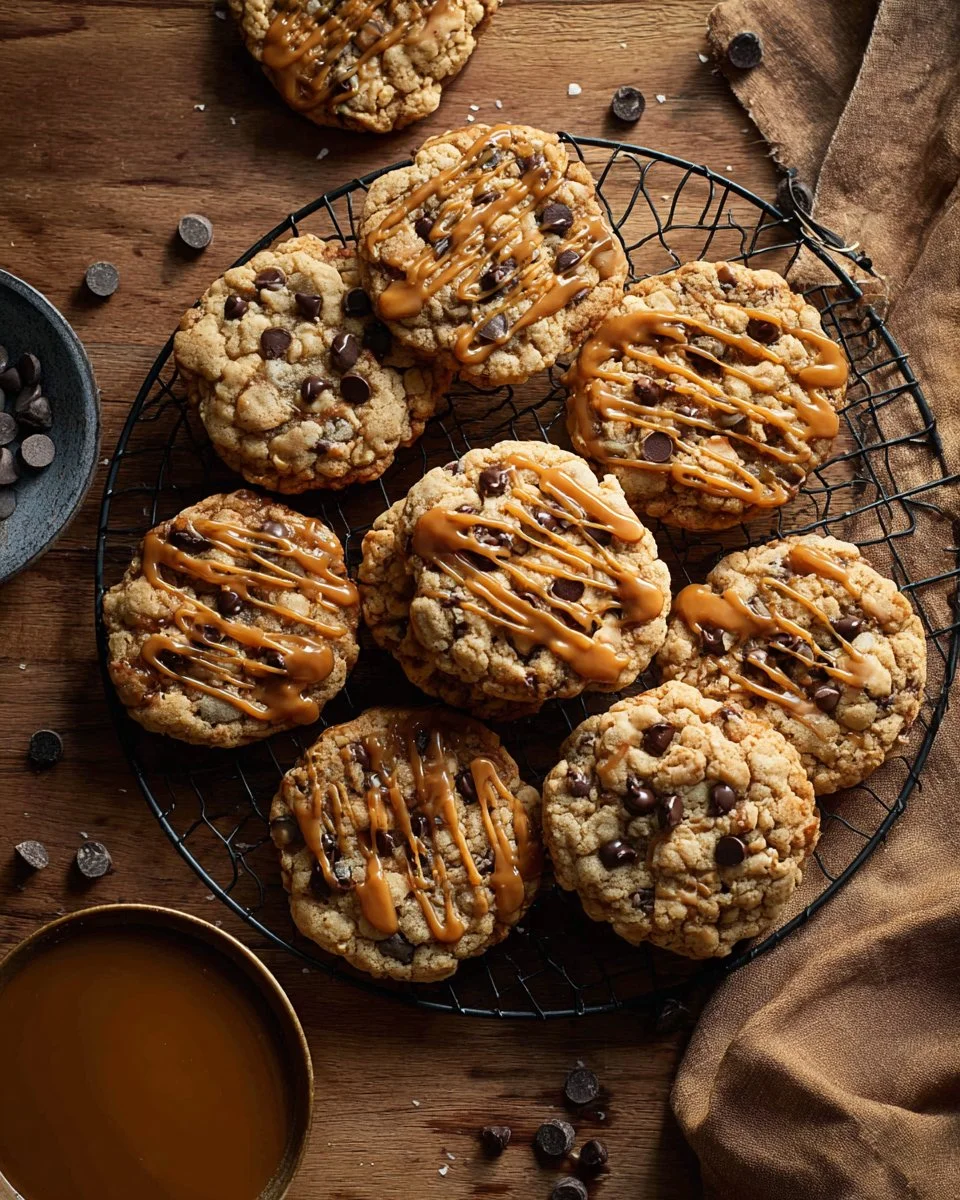
Carmelita Cookies are an enchanting blend of flavors and textures that originated in the USA, often hailed as a luxurious treat for any occasion. Imagine the hearty chewiness of old-fashioned oats paired with velvety caramel bits and rich semi-sweet chocolate chips—each cookie is like biting into a warm piece of nostalgia.
These cookies stand out because they marry the comforting crunch of oats with the gooey sweetness of caramel, creating a delightful experience with every bite. The combination delivers a distinct contrast between textures, where the slightly crisp edges melt into a soft, chewy center. They’re perfect for parties, holidays, or simply when you want to indulge yourself after a long day.
Bake them to share at gatherings, or keep them all to yourself—no judgment here!
Why You’ll Love This Recipe
Simpler than You Think: This Carmelita Cookies recipe is incredibly easy to follow, even if you’re new to baking! With only a few simple steps, you can impress your friends and family with minimal effort.
Cost-Effective Delight: Compared to overpriced store-bought cookies, making your own Carmelita Cookies is a budget-friendly endeavor. Plus, you know exactly what goes in them!
Customization Galore: Want to switch things up? You can easily customize these cookies with different mix-ins like nuts, dried fruits, or even various flavor chocolates. The sky’s the limit!
Unforgettable Taste: These cookies are far superior to any restaurant version you’ve tried. They’re packed with flavor and texture, making every bite an experience you won’t forget.
Quick Bake Time: In just under 20 minutes, you can have warm, freshly baked cookies ready to devour. Who doesn’t love a treat that comes together so quickly?
With such a perfect combination of flavor and ease, I promise these Carmelita Cookies will become a favorite in your home, just like they are in mine!
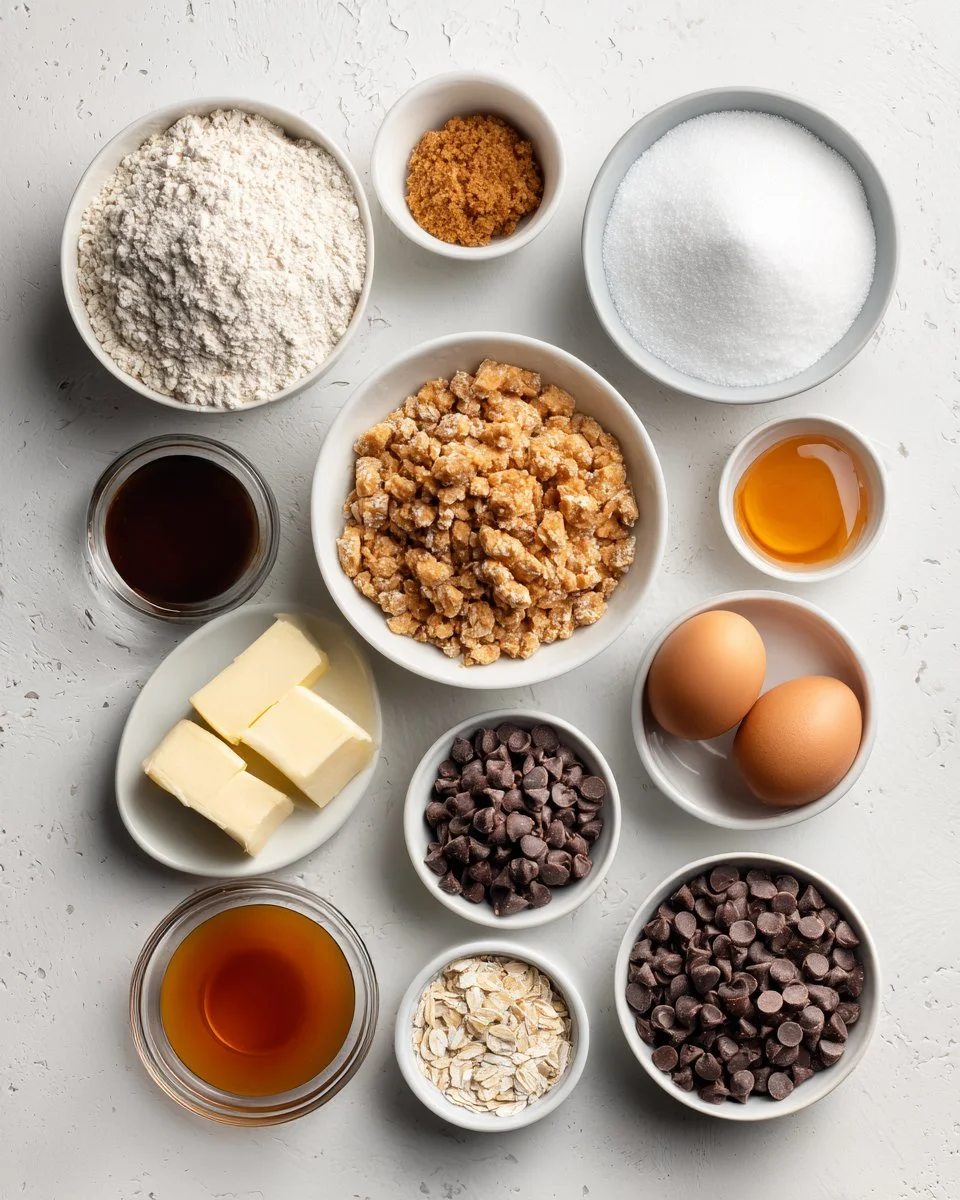
Ingredients
- 2 cups old-fashioned oats: Use certified gluten-free oats if necessary; they provide a hearty chewiness.
- 1 1/2 cups all-purpose flour: A great base for the right texture; feel free to swap with almond flour for a nutty twist.
- 1/2 teaspoon baking powder: Helps the cookies rise slightly.
- 1/2 teaspoon baking soda: Adds a nice fluff when combined with the brown sugar.
- 1/2 teaspoon kosher salt: Enhances all the flavors.
- 1/2 cup unsalted butter (room temperature): It’s essential for achieving that gooey richness; I recommend using high-quality butter like Kerrygold.
- 1 cup light brown sugar, packed: This gives the cookies that deep caramel flavor.
- 2 large eggs (room temperature): Brings moisture and richness.
- 1 tablespoon molasses: A secret ingredient that deepens the flavor.
- 1 teaspoon vanilla extract: A must-have for enhancing the sweetness.
- 1 cup caramel bits: They melt beautifully; I usually use Kraft brand.
- 1 cup semi-sweet chocolate chips: Chocolate lovers won’t argue with this addition.
- Caramel sauce, for garnish: Go for homemade for that special touch or store-bought for convenience.
Prep Notes: Ensure your butter and eggs are at room temperature for the best results. Also, consider pre-measuring your ingredients for a smoother baking process.
Step-by-Step Instructions
Preheat the Oven: Start by preheating your oven to 400°F (200°C). This step is crucial for baking perfection!
Prepare Baking Sheet: Line a baking sheet with parchment paper; this minimizes sticking and cleanup.
Mix Dry Ingredients: In a large mixing bowl, whisk together the oats, flour, baking powder, baking soda, and salt. Set this aside.
Cream Butter & Sugar: In your stand mixer, combine the room temperature butter and brown sugar. Beat on low speed until the mixture is smooth and creamy, roughly 1-2 minutes.
Add Eggs and Flavorings: Once the butter and sugar are combined, add in the eggs, molasses, and vanilla extract. Mix until fully incorporated.
Combine with Dry Ingredients: Slowly add the dry ingredients to the wet mix while the mixer is on low speed. You want everything combined but don’t overmix!
The Sweet Mix-Ins: Gently fold in the caramel bits and chocolate chips using a spatula. Trust me, this is where the magic happens!
Scoop the Dough: Using a 2-tablespoon scoop, drop balls of dough onto your lined baking sheet, giving them slight space for spreading. Lightly flatten the tops with your palm.
Bake: Slide the baking sheet into the preheated oven and bake for about 7-8 minutes until the edges turn golden. Trust your nose; you’ll smell them before you see them!
Cool and Drizzle: Allow your cookies to rest on the baking sheet for 2-3 minutes. Then transfer them to a wire rack to cool completely. Drizzle with caramel sauce before serving for that extra indulgence.
Expert Tips & Tricks
Don’t Overbake: Keep an eye on the cookies—overbaking can lead to them becoming hard. A slight soft center is perfect as they will firm up as they cool.
Store Smartly: Let cookies cool completely before storing them in an airtight container. They last about 3-5 days at room temperature, but you can store them in the fridge for up to a week.
Make-Ahead Option: You can prepare the dough a day in advance. Simply refrigerate it, and when you’re ready, scoop and bake – fresh cookies on demand!
Troubleshooting: If your cookies come out flat, try chilling the dough for about 30 minutes before baking. This helps solidify the fats and prevents spreading too much.
Quality Over Quantity: Using high-quality chocolate and caramel bits elevates the flavor and makes a noticeable difference!
Serving Suggestions
Carmelita Cookies are perfect on their own, but consider adding a glass of chilled milk or a steaming mug of coffee for an indulgent snack. For a delightful presentation, serve them on a colorful platter with a drizzle of caramel sauce and a sprinkle of sea salt on top. These cookies are ideal for any occasion—be it a holiday gathering, a casual get-together, or simply a cozy night in.
Variations & Substitutions
- Chocolate & Nut Variations: Swap semi-sweet chips for milk chocolate or dark chocolate; add chopped nuts like pecans or walnuts for crunch.
- Seasonal Spice: Add a teaspoon of cinnamon or a sprinkle of nutmeg during the fall for a warm, seasonal twist.
- Dietary Adaptations: If you’re avoiding gluten, substitute the flour with a gluten-free flour blend and make sure your oats are certified gluten-free.
- Vegan Option: Use coconut oil in place of the butter and flax eggs for the eggs (1 tablespoon ground flaxseed + 3 tablespoons water per egg, let sit for 5 minutes).
Nutrition & Storage Info
- Prep Time: 10 minutes
- Cook Time: 8 minutes
- Total Time: 18 minutes
- Yield: Approximately 24 cookies
- Estimated Calories per Serving: About 150 calories per cookie
- Storage: Store cookies in an airtight container at room temperature for up to 5 days, or in the fridge for up to a week. For longer storage, freeze them in a single layer and transfer to an airtight container, lasting up to 3 months.
FAQ Section
Can I freeze caramel bits?
Yes! You can freeze caramel bits and they will remain fresh, just allow them to come to room temperature before using.Can I replace oats with something else?
Oats are essential for the texture, but you could try using crushed graham crackers for an alternative flavor.How do I make these cookies gluten-free?
Substitute the all-purpose flour with a gluten-free blend and ensure your oats are certified gluten-free.What’s the best way to melt caramel sauce?
Use a microwave-safe bowl, heating in 15-second intervals, stirring after each, until melted.Can I use other types of sugar?
Light brown sugar makes a chewy cookie, but you can experiment with granulated sugar for a different texture.What’s the difference between soft and chewy cookies?
The ratio of flour to wet ingredients affects the texture—the more moisture, the chewier the cookie.Can I use homemade caramel in the recipe?
Yes! Homemade caramel adds an extra layer of deliciousness and can be drizzled on top for garnish.What can I serve these cookies with?
They pair wonderfully with coffee, milk, or even a scoop of vanilla ice cream for the ultimate dessert experience!How long do they need to cool?
Let them cool on the baking sheet for about 5 minutes before transferring them to a wire rack for complete cooling.How do I get that gooey center?
Baking just until golden, with a slight underbake, will give you that perfect gooey texture.
Conclusion
This recipe for Carmelita Cookies isn’t just about baking; it’s about creating delicious memories and traditions that last a lifetime. With each bite, you’ll be reminded of home and warmth. I encourage you to give this recipe a try and share your feedback! Let me know how your cookies turn out or if you plan to make any delicious variations. If you loved this recipe, don’t forget to check out my other delightful treats, such as my classic chocolate chip cookies and decadent peanut butter bars. Happy baking!

Carmelita Cookies
Ingredients
Dry Ingredients
- 2 cups old-fashioned oats Use certified gluten-free oats if necessary.
- 1 1/2 cups all-purpose flour Can be substituted with almond flour for a nutty twist.
- 1/2 teaspoon baking powder Helps the cookies rise slightly.
- 1/2 teaspoon baking soda Adds fluffiness when combined with brown sugar.
- 1/2 teaspoon kosher salt Enhances overall flavors.
Wet Ingredients
- 1/2 cup unsalted butter (room temperature) High-quality butter like Kerrygold is recommended.
- 1 cup light brown sugar, packed Provides deep caramel flavor.
- 2 large eggs (room temperature) Brings moisture and richness.
- 1 tablespoon molasses Deepens the flavor.
- 1 teaspoon vanilla extract Essential for sweetness enhancement.
Mix-Ins
- 1 cup caramel bits Melt beautifully, Kraft brand is often used.
- 1 cup semi-sweet chocolate chips For chocolate lovers.
For Garnish
- to taste Caramel sauce Homemade or store-bought.
Instructions
Preparation
- Preheat your oven to 400°F (200°C).
- Line a baking sheet with parchment paper.
- In a large bowl, whisk together the dry ingredients: oats, flour, baking powder, baking soda, and salt.
- In a stand mixer, cream together the butter and brown sugar until smooth and creamy, about 1-2 minutes.
- Add the eggs, molasses, and vanilla extract to the mixture and mix until fully incorporated.
- Gradually add the dry ingredients to the wet mix, mixing on low speed until just combined.
- Gently fold in the caramel bits and chocolate chips using a spatula.
Baking
- Using a 2-tablespoon scoop, drop balls of dough onto the lined baking sheet, spacing them out slightly.
- Lightly flatten the tops with your palm.
- Bake in the preheated oven for about 7-8 minutes until the edges turn golden.
- Cool on the baking sheet for 2-3 minutes before transferring to a wire rack.
- Drizzle with caramel sauce before serving.