

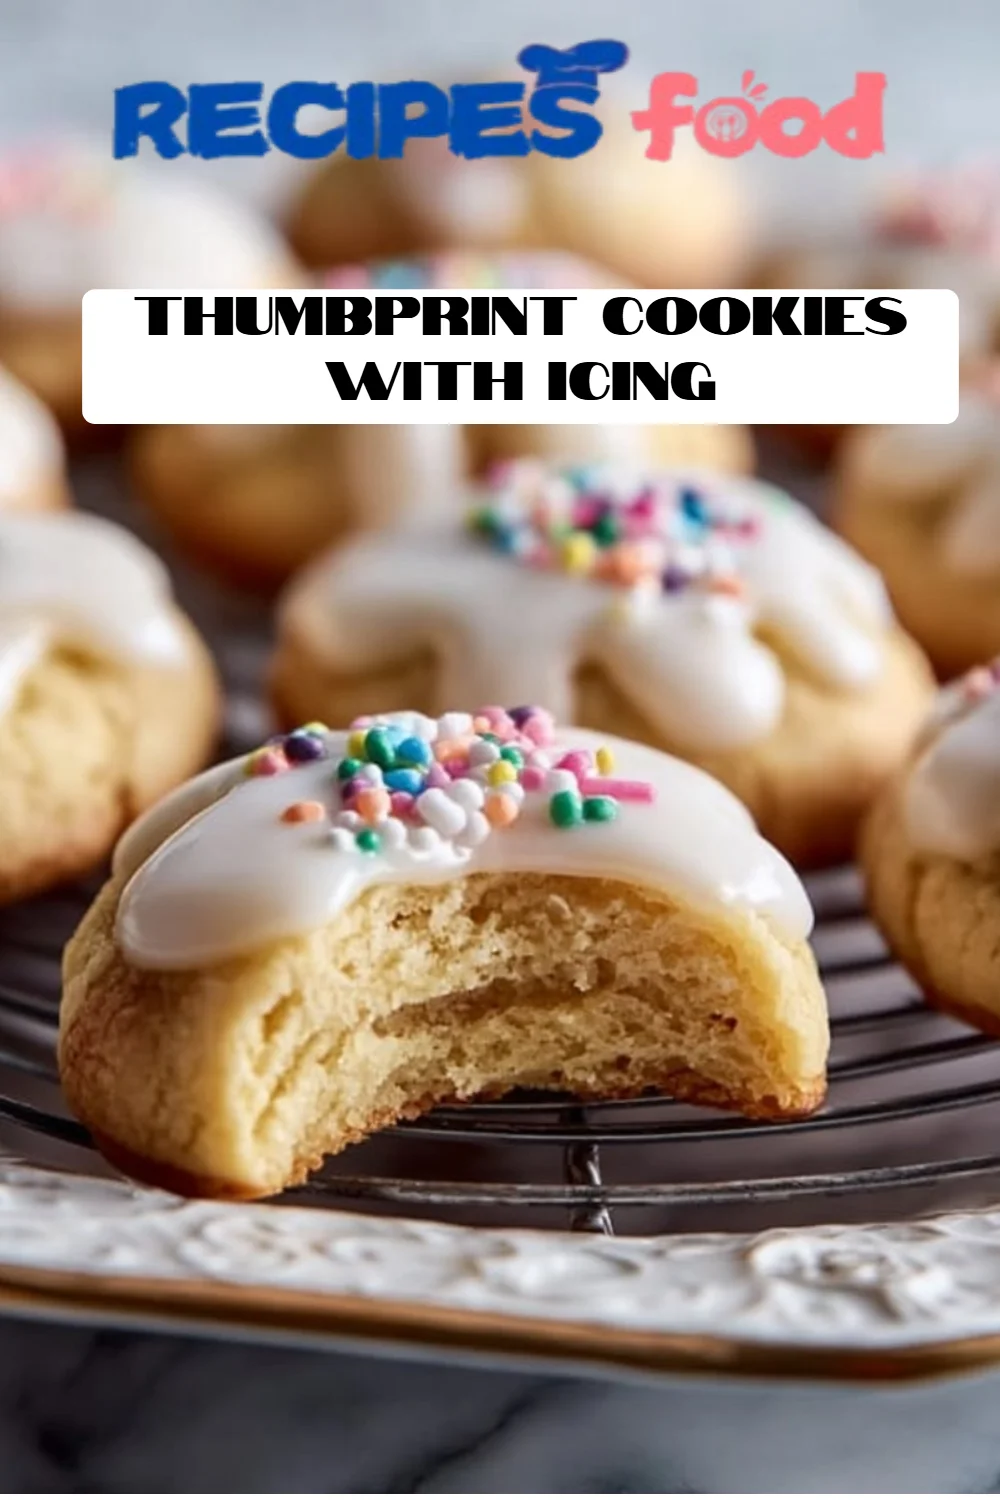
Irresistibly Sweet Thumbprint Cookies With Icing: A Family Favorite
There’s something so comforting about baking cookies that transport me back to my childhood. Growing up, baking with my grandmother was one of my favorite pastimes, and we always kicked off our baking days with a batch of Thumbprint Cookies With Icing. The delicious aroma of warm buttery cookies filled the air as we anticipated the sweet surprise of icing nestled in the center of each treat.
These Thumbprint Cookies are more than just a dessert; they evoke nostalgia and joy with each bite. What makes this recipe special is the perfect combination of a tender, buttery cookie that’s slightly crisp on the edges and soft in the middle, all topped with a luscious icing that melts in your mouth. Trust me, these cookies are not like the dry, crumbly ones you might find at the store. This recipe is intense in flavor and personal, and I promise you’ll feel that emotional bond with every dough you roll and every thumbprint you make.
In this blog post, I’ll share my cherished recipe for Thumbprint Cookies With Icing while offering tips and tricks that ensure success even for baking newbies. Get ready to create some delicious memories of your own!
What Are Thumbprint Cookies With Icing?
Thumbprint cookies have a delightful origin story rooted in European baking traditions, often attributed to the Swedish. These cookies are characterized by their round shape and a signature thumbprint or indentation filled with jam or icing. Traditionally filled with homemade jam, my version takes a sweet twist with the addition of a creamy icing that transforms these cookies into a truly indulgent treat.
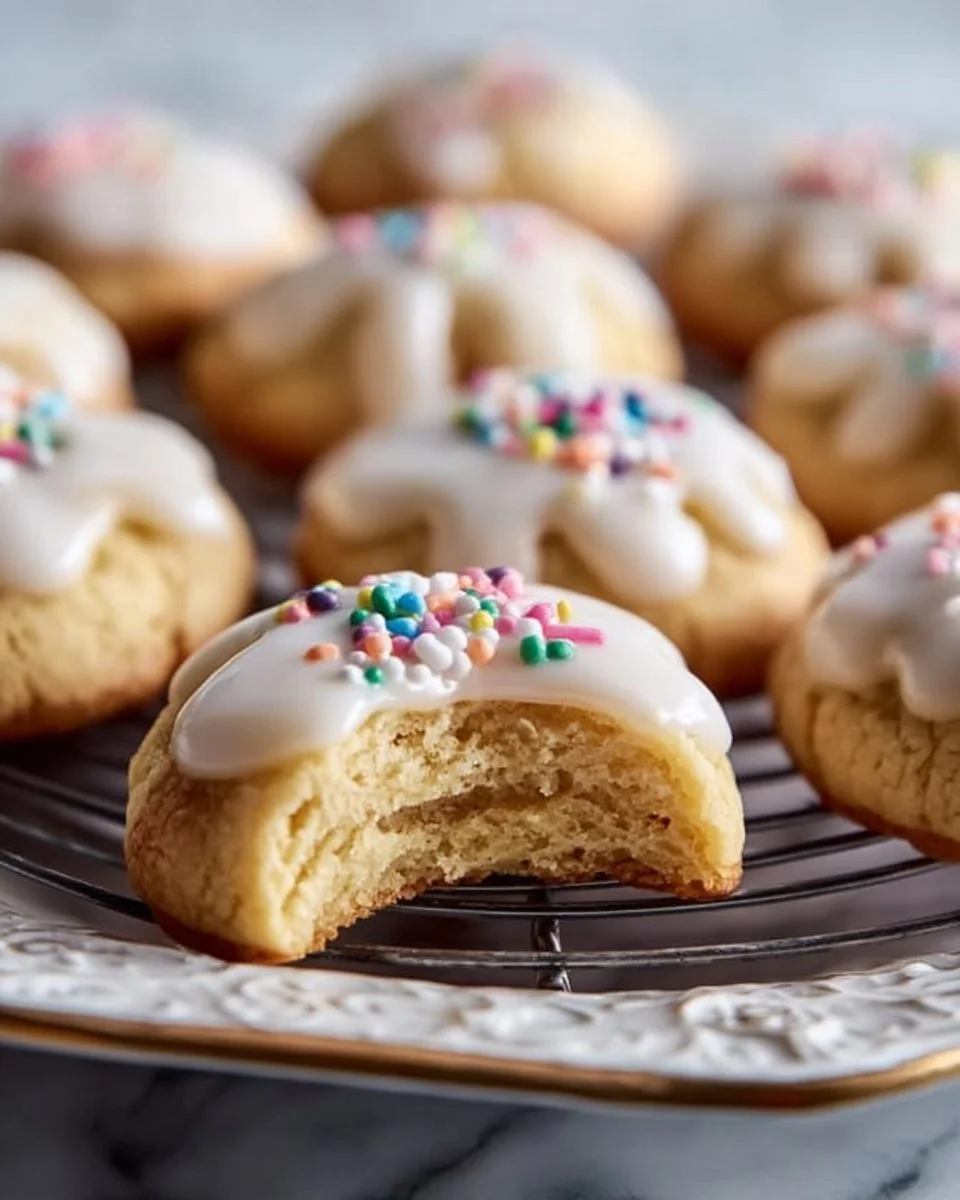
The taste is a heavenly balance of buttery, melt-in-your-mouth goodness paired with a sweet, glossy icing that adds a hint of vanilla and sweetness. Texture-wise, they’re rich yet tender, with a slight crispness from baking, making each cookie absolutely irresistible.
These cookies are perfect for any occasion—whether it’s a cozy family gathering, a festive holiday party, or simply when you need a touch of sweetness in your day. Every bite is a reminder of love, laughter, and simpler times.
Why You’ll Love This Recipe
Flavor Explosion: Unlike store-bought cookies, these Thumbprint Cookies With Icing are bursting with richly buttery flavor. The icing elevates each bite, adding both sweetness and visual appeal.
Customization: One of my favorite things about this recipe is the ability to customize the cookies. You can experiment with different icings or even fill the thumbprint with fruit preserves, chocolate ganache, or nut butter, making them your own.
Cost-Effective: Baking provides an opportunity to save money compared to overpriced cookies at bakeries. This recipe uses basic pantry ingredients, making it budget-friendly while you whip up a batch of love.
Easy to Make: Even if you’re not a seasoned baker, this recipe is straightforward and offers simple steps that guarantee success. With minimal kitchen equipment, you’ll be enjoying fresh cookies in no time.
Perfect for Any Skill Level: This is a beginner-friendly recipe! With just a few tips and tricks, you can create a batch of beautiful cookies that your friends and family will rave about.
Now that you’re enthusiastic about these amazing cookies, let’s dive into the ingredients you’ll need to bring this sweet treat to life!
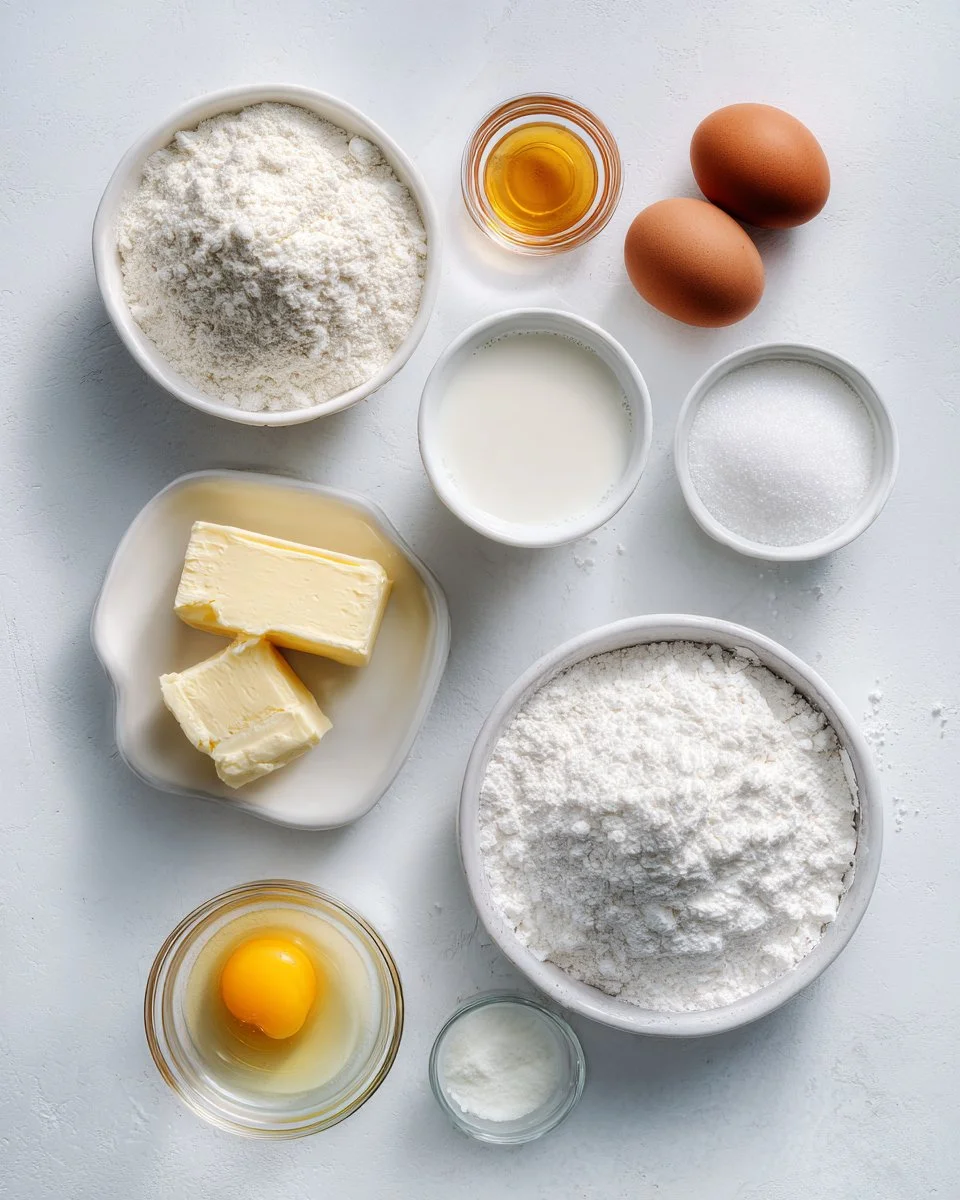
Ingredients
- 2 cups all-purpose flour: Always use good-quality flour, preferably unbleached, for the best results.
- 1/2 teaspoon baking powder: This will help your cookies rise a little in the oven.
- 1/4 teaspoon salt: A pinch of salt balances the sweetness perfectly.
- 1 cup unsalted butter, softened: Room temperature butter (think cool and soft, not melted) is essential for a nice, creamy batter.
- 3/4 cup granulated sugar: This will sweeten your cookies beautifully.
- 1 large egg yolk: Just the yolk gives richness; save the egg white for meringues or another recipe!
- 2 teaspoons vanilla extract: Use pure vanilla for superior flavor.
For the Icing:
- 1 cup powdered sugar: The star of the show!
- 2 tablespoons milk: Adjust for consistency, thicker for spreading, thinner for drizzling.
- 1/2 teaspoon vanilla extract: Again, pure is best.
Feel free to get creative with the icing flavors by using almond extract or lemon juice for a twist!
Step-by-Step Instructions
Preheat the oven to 350°F (175°C). This step is vital! Preheating ensures even baking.
In a bowl, whisk together flour, baking powder, and salt. Make sure to sift if your flour is lumpy!
In a separate bowl, cream together the softened butter and granulated sugar until light and fluffy. This usually takes about 3-5 minutes with an electric mixer. You want a pale, creamy mixture.
Beat in the egg yolk and vanilla extract. Mix until completely incorporated.
Gradually add the flour mixture to the butter mixture and mix until combined. The dough should be soft yet not sticky.
Roll dough into small balls (about 1 inch in diameter) and place them on a baking sheet lined with parchment paper, spaced at least 2 inches apart.
Make an indentation in the center of each ball using your thumb, pressing down gently but firmly.
Bake for 12-15 minutes or until the edges are lightly golden. Keep an eye on them; every oven varies!
Allow to cool completely on a wire rack.
To make the icing, whisk together powdered sugar, milk, and vanilla extract until smooth. You want a silky-smooth consistency—add more milk if necessary.
Fill the indentations on the cookies with the icing. Use a spoon or a piping bag for precision!
Let the icing set before serving. This usually takes about 30 minutes to an hour.
Chef’s Tips:
- Don’t skip the resting time for your cookies before baking. It helps develop flavors.
- Avoid over-baking to keep the softness intact.
Expert Tips & Tricks
Ingredient Quality Matters: Using fresh, quality ingredients truly elevates your cookies. I recommend brands like King Arthur Flour and Plugra Butter for the best results.
Storage Recommendations: Store your cookies in an airtight container at room temperature. They’ll stay fresh for about 5 days.
Make-Ahead Instructions: You can prepare the dough ahead of time! Roll into balls, place them on a baking sheet, and freeze until firm. Transfer them to a Ziploc bag and use them within one month. Just add a couple of extra minutes to the baking time when you bake from frozen.
Troubleshooting Common Problems: If your cookies spread too much, check the temperature of your butter. It should be softened, not melted.
Using a Stand Mixer: If you own a stand mixer, use the paddle attachment to make the mixing process smoother and faster.
Serving Suggestions
These delightful Thumbprint Cookies With Icing are perfect on their own; however, they pair beautifully with a cup of tea or coffee for an afternoon treat. Want to impress at a gathering? Present them on a tiered cake stand, even mixing in some colorful fruit tarts for a stunning dessert table. These cookies are fantastic for holidays, family gatherings, or a cozy afternoon with friends.
Variations & Substitutions
- Flavored Icings: Try matcha powder, cocoa powder, or fruit purees in your icing for creative twists!
- Nut-Based Versions: If you’re feeling adventurous, add finely chopped nuts like pecans or almonds into the dough.
- Dietary Friendly: Make them gluten-free by substituting with a 1:1 gluten-free flour blend. Use dairy-free butter for a vegan option!
Nutrition & Storage Info
- Prep time: 15 minutes
- Cook time: 12-15 minutes
- Total time: 30 minutes (plus cooling)
- Yield: About 24 cookies
- Estimated calories per serving: 120 calories (1 cookie)
- Storage: Store at room temperature for up to 5 days, or in the refrigerator for 1 week. For longer storage, freeze them and enjoy them within one month.
FAQ Section
Can I use jam instead of icing?
Absolutely! These cookies are traditionally made with jam. A simple raspberry or apricot preserves would be delicious!Why are my cookies falling apart?
Make sure you allowed the butter to soften properly and followed the measurements closely.Can I make these gluten-free?
Yes! You can use a gluten-free 1:1 flour for a perfect substitute.What can I do if I don’t have an egg yolk?
An alternative would be to use a flax egg (1 tablespoon ground flaxseed mixed with 2.5 tablespoons water), let it sit for a few minutes until it thickens, and then add it to the mixture.Is there any alternative to powdered sugar for the icing?
You could blend granulated sugar in a blender to create powdered sugar if you’re in a pinch!Can I freeze the baked cookies?
Yes, these cookies freeze beautifully. Just make sure they are completely cooled before placing them in an airtight container.What flavor variations do you recommend for the icing?
You can use almond extract, lemon zest, or even a bit of orange juice for different flavor profiles.How do I prevent overbaking?
Start checking your cookies a minute or two before the minimum baking time.Can I double the recipe?
Definitely! This recipe doubles well, making it perfect for larger gatherings.How do I make the icing thicker?
Simply add more powdered sugar until you reach your desired consistency.
Conclusion
These Thumbprint Cookies With Icing are a delightful mix of nostalgia and deliciousness. They’re easy to make, customizable, and bursting with flavor—definitely a treat worth sharing with your loved ones. I can’t wait for you to try this recipe and create some sweet memories in your own kitchen.
Give these cookies a go, and don’t forget to leave me a comment to share your experience! And if you’re looking for more sweet ideas, check out my other favorite recipes on the blog. Happy baking!

Thumbprint Cookies With Icing
Ingredients
Cookie Ingredients
- 2 cups all-purpose flour Preferably unbleached for the best results.
- 1/2 teaspoon baking powder Helps cookies rise.
- 1/4 teaspoon salt Balances sweetness.
- 1 cup unsalted butter, softened Room temperature.
- 3/4 cup granulated sugar Sweetens the cookies.
- 1 large egg yolk Provides richness.
- 2 teaspoons vanilla extract Use pure for better flavor.
Icing Ingredients
- 1 cup powdered sugar Main ingredient for icing.
- 2 tablespoons milk Adjust for consistency.
- 1/2 teaspoon vanilla extract Use pure for flavor.
Instructions
Preparation
- Preheat the oven to 350°F (175°C).
- In a bowl, whisk together flour, baking powder, and salt.
- In a separate bowl, cream together the softened butter and granulated sugar until light and fluffy, about 3-5 minutes.
- Beat in the egg yolk and vanilla extract.
- Gradually add the flour mixture to the butter mixture and mix until combined.
Baking
- Roll dough into small balls, about 1 inch in diameter, and place on a baking sheet lined with parchment paper, spaced at least 2 inches apart.
- Make an indentation in the center of each ball using your thumb.
- Bake for 12-15 minutes or until the edges are lightly golden.
- Allow to cool completely on a wire rack.
Icing
- To make the icing, whisk together powdered sugar, milk, and vanilla extract until smooth.
- Fill the indentations on the cookies with the icing and let set.