

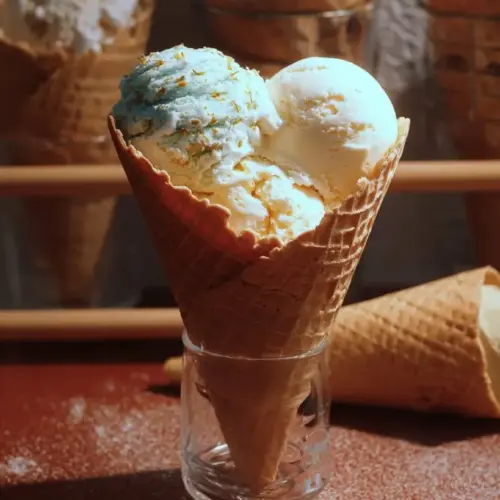
Indulge in the Delights of Viral Snow Ice Cream: A Whimsical Winter Treat
As a passionate food blogger and home cook, I’m always looking for ways to share joyful memories through delicious bites. You see, there’s something magical about a snowy day – especially when it provides us with the perfect ingredient for Viral Snow Ice Cream. I still remember the first time my kids and I stumbled upon the idea of making ice cream from freshly fallen snow. We were bundled up, frolicking in the winter wonderland, when I thought, "Why not take this fluffy white goodness and turn it into a sweet treat?"
What makes this recipe extra special is its simplicity and ability to evoke those nostalgic feelings associated with snow days. Unlike store-bought frozen desserts, this is a delightful, customizable treat that you can whip up right at home with just a few ingredients. Plus, it brings everyone together for a fun, memorable experience. You’ll not only learn how to make this easy recipe but also discover variations and tips to elevate your chilly creation. Join me in crafting a snow-inspired wonder that will melt your heart and tickle your taste buds!
What Are Viral Snow Ice Cream?
The story behind Viral Snow Ice Cream is as enchanting as its taste. Originating from the creativity of snow lovers looking for a refreshing treat during winter, this delight combines the playful essence of snow with simple kitchen staples. Picture this: a creamy, sweet mixture that feels light as air, melting in your mouth; that’s exactly what you can expect from this ethereal dessert.
What sets this ice cream apart is the extraordinary base of fresh snow, which needs just a few key ingredients to transform into a frozen delight. It’s the perfect way to embrace winter while enjoying a cool treat! Anytime you find yourself with an abundance of snow, whether it’s for a fun family activity or a winter celebration, this recipe is an invitation to create delicious memories.
Why You’ll Love This Recipe
Here are five compelling reasons why this Viral Snow Ice Cream recipe is a must-try:
Easily Customizable: This recipe allows you to become your own ice cream artist. Want to add chocolate chips, crushed cookies, or seasonal fruits? Go for it! You’re not tied to a flavor or texture – it’s all about your preference.
Cost-Effective: In the grand scheme of treats, making Viral Snow Ice Cream is a budget-friendly option compared to artisanal ice creams. With minimal ingredients you likely already have at home, you can create a delightful dessert without breaking the bank.
Simple and Quick: This recipe is incredibly easy, perfect for all skill levels. If you can gather a bowl and mix a few ingredients, you’re on your way to some delectable snow-cream in approximately 10 minutes!
Nostalgic Comfort: There’s something deeply comforting about eating ice cream made from fresh snow. It harks back to childhood memories and snowy adventures, making it a heartwarming dessert to share with family and friends.
Eco-Friendly: With no package waste compared to store-bought products, this homemade ice cream is a sustainable treat! You’re using a natural resource, the snow, to create a delicious dessert, which is a unique way to connect with the environment.
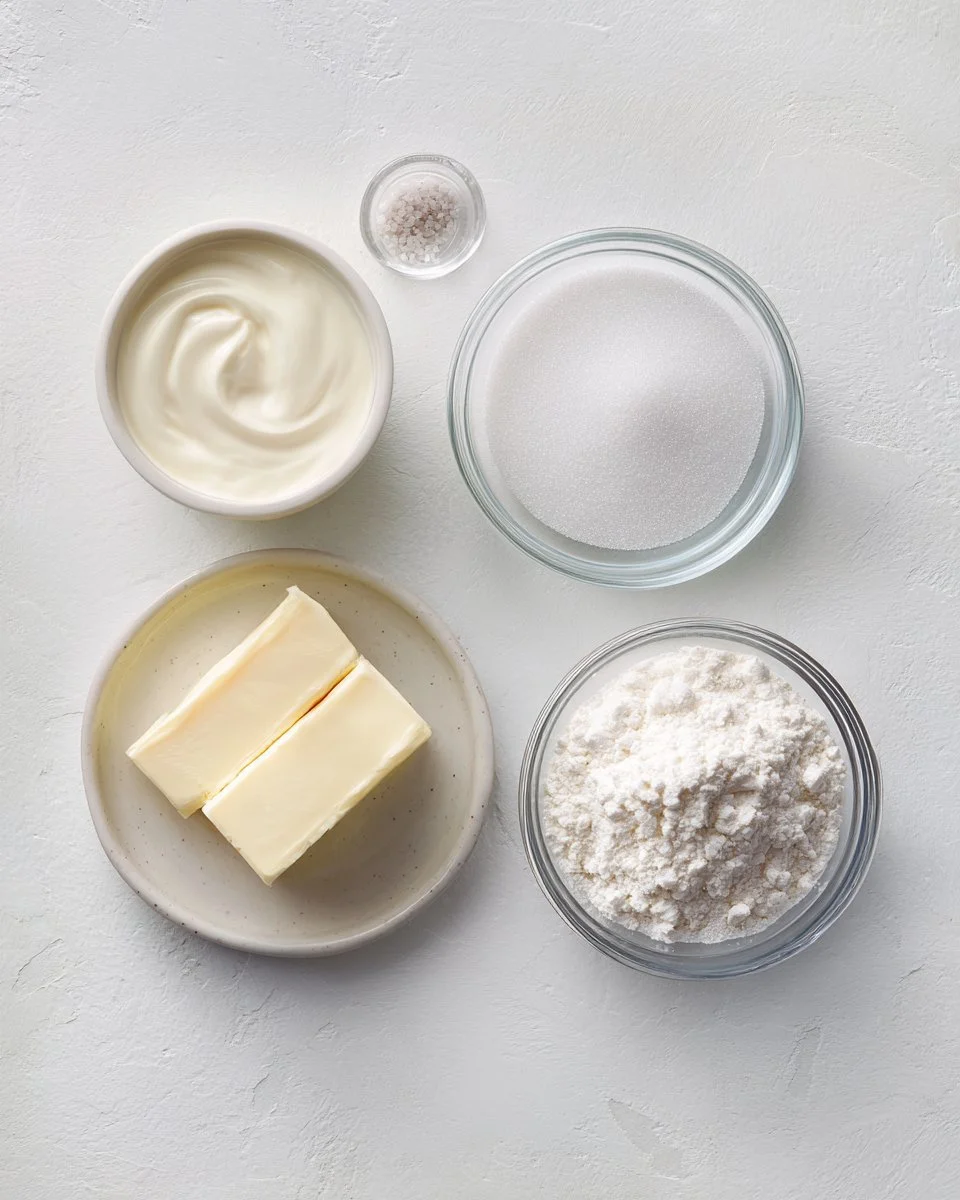
Ingredients
Here’s what you’ll need to whip up your dynamic Viral Snow Ice Cream. This recipe starts with the foundation and offers some custom twists along the way!
- 1 small container (about 1 cup) whipping cream (35% fat)
- For a plant-based version, substitute with full-fat coconut milk, oat creamer, or cashew cream.
- 1 teaspoon vanilla extract (adjust to taste)
- Feel free to experiment with flavored extracts like almond or mint for a fun twist.
- 1/2 cup powdered sugar (adjust to taste)
- This adds sweetness; if you prefer less sugar, start with 1/4 cup and adjust from there.
- Salt
- A pinch enhances the sweetness – do not skip this!
Chef’s Tip: Aim for high-quality cream; organic and non-GMO brands will yield creamier results. If using a milk substitute, choose a full-fat version for that rich texture.
Step-by-Step Instructions
Now, let’s get to the fun part: making your Viral Snow Ice Cream! Follow these directions, and you’ll have a delightful treat in no time:
Find the Perfect Snow: On a fresh snow day, head outside to find clean, fluffy snow. Remember, the best snow is light and powdery (not the slushy or dirty stuff).
Make a Snow Well: Using a bowl, make a deep indent in the snow to create a well.
Add Salt: Pour a generous amount of salt into the bottom of this well – it will help stabilize the cream later on.
Reposition the Bowl: Put your bowl back in the well, ensuring it sits snugly on the salt.
Mix the Ingredients: Add the whipping cream, vanilla extract, and powdered sugar into the bowl.
Stir it Up: Mix the ingredients thoroughly until the mixture starts to solidify. You can use a whisk or a spatula – it might take a minute but trust me, the results will be mesmerizing!
Enjoy: Once it has reached a soft-serve consistency, scoop into bowls and indulge!
Chef’s Tip: For a thicker texture, replace part of the cream with sweetened condensed milk. You can also stir in candies, sprinkles, chopped nuts, or fruit for added flair.
Expert Tips & Tricks
To ensure your Viral Snow Ice Cream turns out perfectly every time, consider these expert recommendations:
Use Fresh Snow: Always collect fresh, clean snow. The quality of your “ingredient” truly matters!
Make-Ahead Instructions: If you plan on making this treat for a gathering, prepare the base just before serving to keep it its best texture.
Storage Recommendations: While this dessert is best enjoyed fresh, leftovers can be stored in an airtight container in the freezer for up to 1-2 days. However, the texture can become icier over time.
Troubleshooting Common Problems: If your ice cream turns out too runny, ensure that your snow is fluffy enough; you might need to add more snow for stabilization.
Experimentation is Key: Don’t hesitate to adjust the sweetness and flavorings to suit your taste buds.
Perfect Snow Texture: If you can, test the snow between your fingers – it should crumble easily and feel light.
Serving Suggestions
To make your Viral Snow Ice Cream even more special, consider pairing it with some delightful accompaniments. Serve alongside chocolate chip cookies for a sandwich-style treat, or top it with whipped cream and fresh berries for a lovely presentation. It’s perfect for snowy family gatherings, outdoor winter parties, or even as an unexpected dessert at festive dinners!
Variations & Substitutions
Embrace creativity with these Viral Snow Ice Cream variations:
- Chocolate Delight: Stir in cocoa powder or melted chocolate for a rich chocolate flavor.
- Mint Chocolate Chip: Add a wee bit of peppermint extract and some dark chocolate shavings for a refreshing twist.
- Fruit-Fusion: Fold in your favorite fruit, such as strawberries, blueberries, or even oranges for a citrusy kick.
For dietary restrictions, you can make this recipe vegan and dairy-free with full-fat coconut milk or oat-based creamer, ensuring everyone can enjoy!
Nutrition & Storage Info
- Prep time: 10 minutes
- Total time: 10 minutes
- Yield: Approximately 4 servings
- Estimated calories per serving: 150 calories (depending on additions)
- Storage instructions: Keep in an airtight container in the freezer; best enjoyed within 1-2 days.
FAQ Section
Can I use any type of snow for this recipe?
- It’s best to use clean, fluffy, and powdery snow. Avoid slushy or dirty snow for health reasons.
How can I make it less sweet?
- Start with a smaller amount of powdered sugar and adjust based on your taste.
Can I use dairy-free alternatives?
- Yes! Full-fat coconut milk or oat creamer works wonderfully.
What if my ice cream is too icy?
- Ensure a good balance of snow and cream and consider mixing in some sweetened condensed milk for creaminess.
Can this recipe be doubled?
- Absolutely! Adjust the quantity according to the snowfall and your crowd!
What’s the best serving temperature?
- Serve immediately after making it for the best texture.
How do I store leftovers?
- Store your ice cream in an airtight container in the freezer and consume within 1-2 days.
Can I add alcohol?
- A splash of flavored liqueur can add a charming twist, but be cautious with the amount to avoid impacting the texture.
Can kids help make this recipe?
- Definitely! It’s a fun and engaging activity for kids with adult supervision.
Any tips for achieving the best flavor?
- Always taste and adjust flavorings as you go! Make it your own!
Conclusion
This Viral Snow Ice Cream recipe is not just a treat; it’s a delightful pathway to create cherished memories with friends and family. It reconnects us with the simple pleasures of childhood and snowy days. Give it a try in your kitchen – you won’t regret it! I would love to hear your thoughts and any variations you tried! Remember to check out other delightful winter recipes on my blog, perfect for cozy nights in. Happy snow-cream making!
Viral Snow Ice Cream
Ingredients
Ice Cream Base
- 1 small container (about 1 cup) whipping cream (35% fat) For a plant-based version, substitute with full-fat coconut milk, oat creamer, or cashew cream.
- 1 teaspoon vanilla extract Adjust to taste, feel free to experiment with flavored extracts like almond or mint.
- 1/2 cup powdered sugar Adjust to taste; can start with 1/4 cup for less sweetness.
- a pinch salt Enhances sweetness; do not skip this!
Instructions
Preparation
- Find clean, fluffy snow on a fresh snow day.
- Make a well in the snow using a bowl.
- Pour a generous amount of salt into the well to stabilize the cream.
- Place the bowl back into the well, ensuring it sits snugly on the salt.
- Add the whipping cream, vanilla extract, and powdered sugar into the bowl.
- Mix the ingredients thoroughly until it begins to solidify.
- Enjoy the mixture once it reaches a soft-serve consistency, scooping it into bowls.