
Sip into Sweetness: Unveiling the Magic of Homemade Cherry Juice
Growing up, summer meant two beautiful things: sunny days and cherry-picking adventures with my family. The smell of fresh cherries wafting through the air as we filled our baskets is a memory I cherish. Back home, we’d turn our bounty into homemade cherry juice, a vibrant crimson delight that tied our family together. With every glass, I was reminded of those joyful afternoons spent under blue skies, laughter ringing out like music in the breeze. This homemade cherry juice is more than just a recipe—it’s a piece of nostalgia, comfort, and love.
What makes my cherry juice special? It’s a simple, homemade concoction that surpasses anything you can find in stores. While many commercial juices are loaded with preservatives and added sugars, my recipe harnesses the true essence of fresh fruits, allowing the natural sweetness and tartness of cherries and plums to shine through. By the end of this post, you’ll not only learn how to craft this luscious beverage but also discover its unique benefits and how to customize it to your preference. So, grab a seat, and let’s embark on this flavorful journey together!
What Are Cherry Juice?
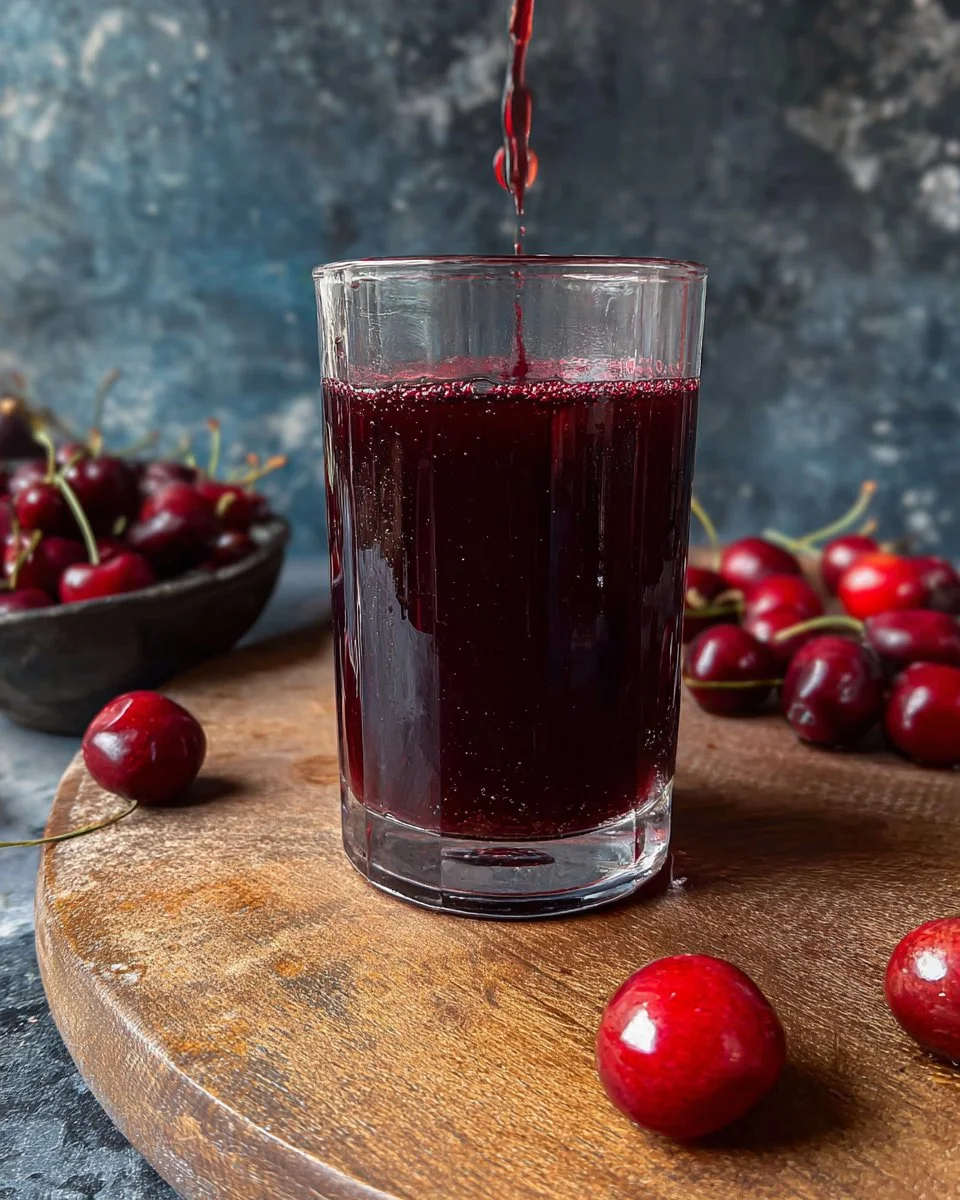
Cherry juice is a refreshing drink made by extracting the liquid from ripe cherries, often enhanced with other fruits for an extra kick. The heart of a good cherry juice lies in its taste—a perfect blend of sweet and tart, with a beautifully rich, ruby-red hue that catches the eye. The texture is smooth and velvety, with tiny bits of fruit floating if you choose to keep some pulp in the mix.
This delightful beverage has roots steeped in tradition. Cherished for centuries, cherries were once considered a culinary treasure, enjoyed both fresh and in liquids. You might whip up cherry juice to cool off on a hot summer day or as a base for cocktails that impress your guests. Plus, it’s a wonderful way to preserve the summer’s bounty and bring a taste of warmth into chilly winter months.
Why You’ll Love This Recipe
Fresh and Flavorful: Unlike store-bought cherry juice filled with artificial flavors, my recipe features fresh fruits that promise a burst of authentic taste. Imagine sipping on a homemade cherry juice that makes your taste buds dance with joy!
Cost-Effective: Making your cherry juice at home is a fraction of the price of purchasing premium bottled options. With just a few simple ingredients, you can create a delicious drink and save some dollars for that cherry-picking adventure!
Customizable Creation: Feel free to experiment! My recipe allows for endless variations, whether you prefer a sweeter finish, a touch of spice, or a tangy twist. Add more or fewer plums, mix in spices like cinnamon or vanilla, or even throw in some herbs like mint for an herbal kick.
Simple Steps: With just a few ingredients and straightforward steps, this recipe caters to all skill levels, from seasoned chefs to curious novices. Rather than spending hours in the kitchen, you’ll be enjoying your beverage in no time.
Family-Friendly Fun: Involving your family in the cherry juice-making process creates memories that they’ll cherish forever. It’s a fun way to spend time together, and kids love watching the vibrant transformation of whole fruits into delicious liquid gold.
Ingredients
To create this luscious cherry juice, gather these ingredients:
- 3.5 litres filtered water – Ensure the water is fresh and clean for the best flavor infusion.
- 8 cups fresh cherries, pitted (optional) – Use sweet, ripe cherries. If you can, buy organic; they taste so much better!
- 6 red plums, pits removed – Juicy plums add a depth of flavor and are wonderful for their tartness.
- 1 cup golden raisins – These add a hint of natural sweetness and are a great source of flavor.
- 1 apple, cored and halved – The apple not only sweetens the juice but also brings in a lovely aromatic quality.
Feeling adventurous? You can substitute other stone fruits or berries based on preferences or availability.
Make sure to let your fruits come to room temperature for a more efficient extraction process. I often use organic cherries from local farmers’ markets, and trust me, the taste is unparalleled!
Step-by-Step Instructions
Prep the Water: In a large pot, add 3.5 litres of filtered water. Turn on the stove to medium-high heat, bringing it to a boil.
Add the Fruits: Gently place 8 cups of pitted cherries and 6 red plums into the water. Bring the contents to a joyful boil, partly covering the pot with a lid, and then reduce the heat to medium-low. Let it simmer away for 60 minutes, allowing those beautiful fruity flavors to meld happily together.
Sieve the Mixture: After the hour has passed, use a sieve or kitchen spider to remove the fruit from the pot. Set the fruit aside; you can blend it with a sweetener to make a lovely fruit puree or compost it—no food waste here!
Cool and Strain: Allow the gorgeous liquid to cool to room temperature. Then strain it into a bowl or mason jars, and pop it into the fridge to chill.
Serve with Style: Once chilled, pour your homemade cherry juice over ice with a sprig of mint if you’re feeling fancy. Trust me; your taste buds will thank you!
Chef’s Tips
- Use a candy thermometer to ensure your water is boiling (around 212°F or 100°C) before adding the fruit.
- To avoid a soupy overcooked mixture, keep an eye on the bubbles—if it’s boiling rapidly, reduce the heat.
Common Mistakes to Avoid: Don’t rush the simmering process; it’s essential for extracting all that delicious flavor.
Expert Tips & Tricks
Storage Recommendations: Store any leftover juice in airtight containers in the fridge, where it should last about 5–7 days. If you want to keep some for longer, pour into ice cube trays and freeze—perfect for quick smoothies or a refreshing drink later!
Make-Ahead Instructions: This cherry juice can be made days in advance. Just ensure you keep it chilled and enjoy it at its peak freshness.
Troubleshooting: If your juice isn’t as sweet as you’d like, stir in some honey, maple syrup, or a sweetener of your choice while it’s warm.
Experiment with Infusions: Add herbs (like rosemary or basil) during the simmering process for a sophisticated twist!
Don’t Forget the Pulp: Use it as a base for smoothies, pancakes, or even baking! You’ll find it makes excellent muffin filler.
Serving Suggestions
When serving your homemade cherry juice, consider these delightful pairings and presentation ideas:
Serve alongside: A light summer salad, a cheese platter, or even as a sparkly cocktail mixer with sparkling water and fresh fruit.
Presentation: Dress your glassware with a slice of lemon or a few floating cherries to make it Instagram-ready!
Occasion Recommendations: Perfect for summer picnics, family gatherings, or even as a refreshing treat during scouting for fall leaves!
Variations & Substitutions
Different Flavor Combos: Experiment with other fruits like peaches, strawberries, or even add a sprinkle of cinnamon for an autumn twist!
Dietary Adjustments: For a sugar-free option, consider substituting with stevia or monk fruit. And if you’re avoiding gluten, rest easy—this recipe is naturally gluten-free!
Seasonal Variations: In the fall, try incorporating spices like clove and nutmeg for a chai-inspired cherry juice!
Nutrition & Storage Info
- Prep Time: 20 minutes
- Cook Time: 60 minutes
- Total Time: 1 hour 20 minutes
- Yield: Approximately 10 servings (based on a standard cup being around 8 oz)
- Estimated Calories: Roughly 60 calories per serving
- Storage Instructions: Store in the fridge for up to 7 days, or freeze for up to 3 months.
FAQ Section
Can I use frozen cherries?
Yes! Frozen cherries work well too; however, the texture may be slightly different.How do I sweeten my cherry juice?
You can start with sugar, honey, or any preferred sweetener. Add gradually to achieve the desired taste.Is it safe to keep homemade cherry juice unrefrigerated?
For best quality and safety, always store it refrigerated.Can I use other fruit besides cherries?
Absolutely! Feel free to mix and match with your favorite fruits.How long can I store cherry juice?
An airtight container in the fridge keeps it fresh for about a week. Freeze for longer storage!What health benefits does cherry juice have?
Cherry juice is rich in antioxidants and can help with inflammation and recovery post-exercise.Can I turn this juice into a cocktail?
Yes! Add a splash of vodka or mix with sparkling wine for a refreshing summer cocktail.Can I use a juicer instead?
For an even smoother juice, feel free to use a juicer but remember that it might not extract all the flavors like slow simmering does.What can I do with leftover pulp?
You can use the pulp in smoothies, baked goods, or even make jams!Is this recipe suitable for children?
Totally! This juice is a great and nutritious drink for the whole family.

Conclusion
This cherry juice recipe is a heartfelt tribute to family bonds, cherished memories, and delectably refreshing sips on warm days. I hope you take the plunge and try making it yourself—you truly won’t regret it! I’d love to hear your thoughts, experiences, and how you customized the recipe. Don’t forget to check out my blog for more delightful recipes that celebrate the flavors of each season. Happy juicing!

Homemade Cherry Juice
Ingredients
Main Ingredients
- 3.5 litres filtered water Ensure the water is fresh and clean for the best flavor infusion.
- 8 cups fresh cherries, pitted Use sweet, ripe cherries. Organic is preferred.
- 6 pieces red plums, pits removed Juicy plums add depth of flavor.
- 1 cup golden raisins Adds a hint of natural sweetness.
- 1 piece apple, cored and halved Sweetens the juice and adds an aromatic quality.
Instructions
Preparation
- In a large pot, add 3.5 litres of filtered water. Turn on the stove to medium-high heat, bringing it to a boil.
- Gently place 8 cups of pitted cherries and 6 red plums into the water. Bring to a boil and then reduce to medium-low, partially covering the pot. Let it simmer for 60 minutes.
- After an hour, use a sieve to remove the fruit from the pot. Set aside the fruit for mixing with a sweetener or composting.
- Allow the liquid to cool to room temperature, then strain it into bowls or mason jars and chill in the fridge.
- Once chilled, serve the homemade cherry juice over ice, optionally garnished with a sprig of mint.