
Irresistible No-Bake Cheesecake Recipe: A Deliciously Easy Dessert
There’s something magical about a creamy, luscious cheesecake that brings back fond memories of family gatherings. Whether it’s summer barbecues or winter holidays, my family always found a way to bring this decadent dessert to the table. But who wants to spend hours baking in a hot oven? That’s where my No-Bake Cheesecake Recipe comes to the rescue! Trust me, this easy recipe has become a favorite not just for its melt-in-your-mouth texture but also because it’s a breeze to whip up.
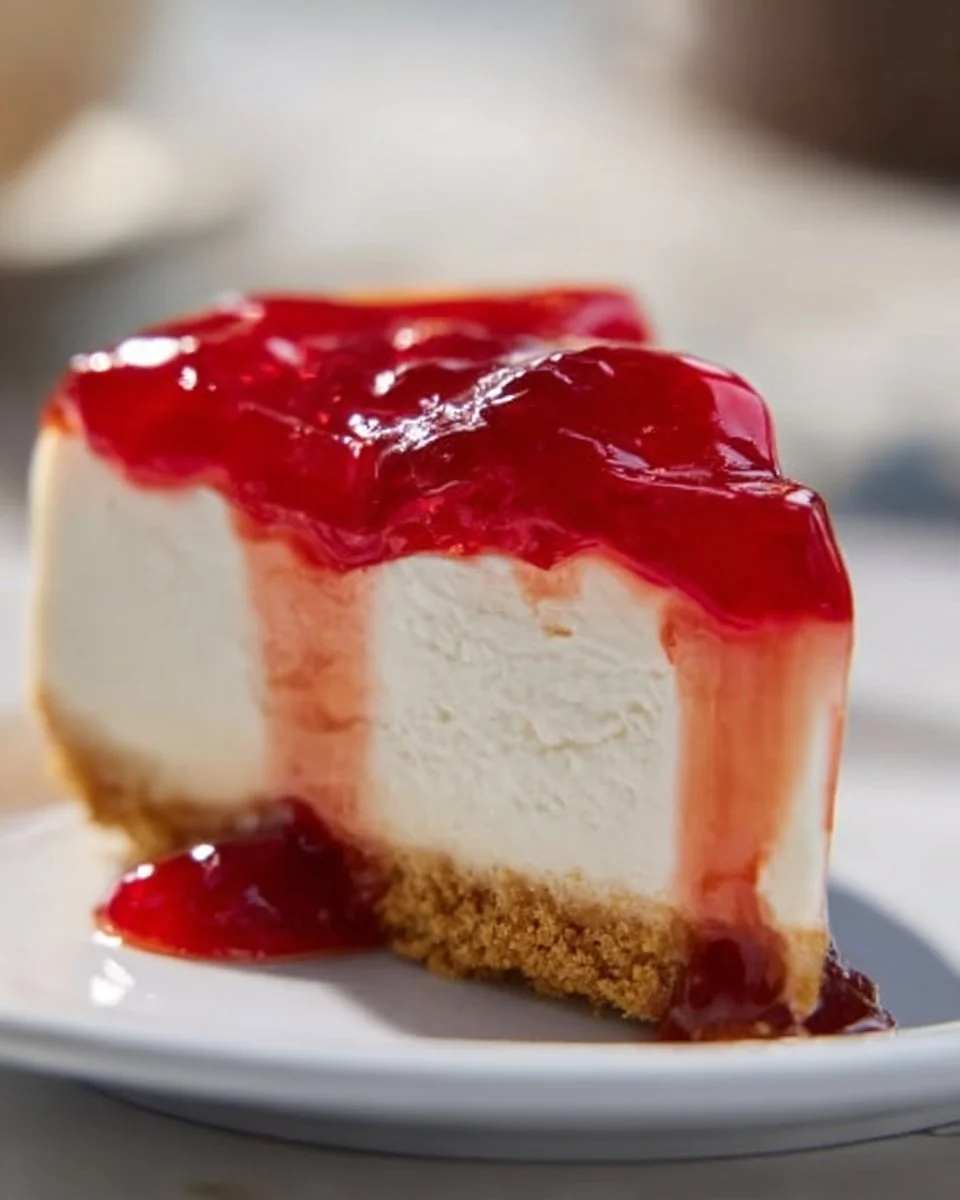
What makes this cheesecake so special? It’s not just the heavenly combination of cream cheese and whipped cream, but the nostalgia it evokes with each bite. Picture yourself enjoying a slice topped with your favorite fruit pie filling—a cherry or blueberry, perhaps—as you reminisce about sun-soaked afternoons spent laughing with loved ones. This recipe stands out among the rest due to its simplicity and the ability to customize flavors to your heart’s content.
So, are you ready to create your own no-bake cheesecake masterpiece? In this post, I’ll share step-by-step instructions, expert tips, and mouth-watering variations to take your dessert game to the next level!
What Are No-Bake Cheesecakes?
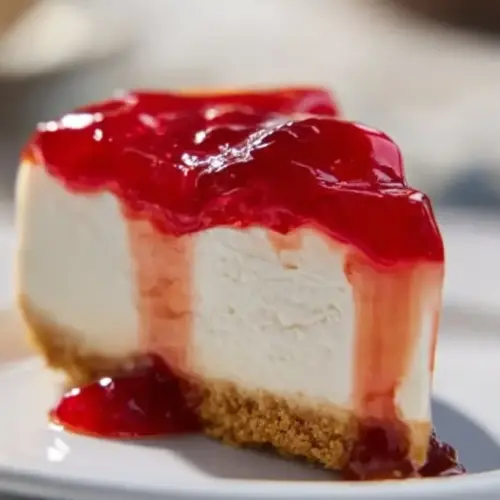
Ah, the no-bake cheesecake—a simple yet refined dessert that has origins traced back to ancient Greece! Traditionally made with fresh cheese, it has evolved into the creamy, delightful version we know and love today. The beauty of no-bake cheesecakes lies in their versatility and airy texture. Imagine diving into a luscious, creamy filling, embraced by a buttery graham cracker crust that crumbles lightly with each bite.
The best time to whip up a no-bake cheesecake is any time you crave something sweet without the hassle of baking. From casual weekend gatherings to elegant dinner parties, this dessert fits any occasion. Plus, it’s a crowd-pleaser that never fails to impress!
Why You’ll Love This Recipe
Here are five delicious reasons to make my No-Bake Cheesecake Recipe:
Effortlessly Easy: You don’t need to worry about ovens or baking times. This cheesecake is as easy as mixing and refrigerating. Seriously, you’ll have more time to enjoy life while it chills!
Wallet-Friendly: Forget about those overpriced cheesecakes from the store. This homemade version is budget-friendly, costing only a fraction of what you would pay for a restaurant-quality dessert.
Completely Customizable: You’ll find endless ways to customize this recipe. Want a little lemon zest? Go for it! Prefer a decadent chocolate twist? Yes, please! It’s perfect for those who like to experiment in the kitchen.
Suitable for All Skill Levels: Whether you’re a seasoned baker or a novice, you’ll easily master this recipe. It requires minimal effort but produces maximum flavor!
Perfect Make-Ahead Dessert: This cheesecake gets better with time! You can make it a day ahead, freeing up your schedule for the big day. Just pull it out of the fridge and watch your guests’ faces light up.
Ingredients
Here’s what you’ll need, along with some tips on ingredient quality:
1 1/4 cups graham cracker crumbs: Ensure they’re finely crushed for that buttery crust. Trader Joe’s graham cracker crumbs work great too!
6 tablespoons butter (melted): Use unsalted butter for better control over the flavor. Make sure it’s at room temperature for easy mixing.
16 oz cream cheese (softened, two 8 oz packages): Opt for full-fat cream cheese for a rich texture. Philadelphia is my go-to brand, offering a consistently smooth blend.
1/2 cup granulated sugar: Regular granulated sugar will do the trick, but if you prefer a sweeter dessert, feel free to add a little extra.
2 teaspoons vanilla extract: Invest in pure vanilla extract for an authentic flavor. It makes a significant difference!
1 cup heavy cream (cold): This is crucial for achieving that airy, fluffy filling. Whip it cold for optimal results!
1 cup canned pie filling (cherry, blueberry, etc.) or topping of choice: Feel free to get creative! Fresh fruits or chocolate sauce also work wonderfully.
Preparation Notes:
- Make sure your butter and cream cheese are at room temperature for optimal blending.
- The heavy cream must be cold for whipping; trust me on this one!
Step-by-Step Instructions
Prepare the Crust: In a small bowl, combine 1 1/4 cups of graham cracker crumbs and 6 tablespoons of melted butter. Stir until the crumbs are moistened and hold together.
- Chef’s Tip: Press down firmly into an 8 or 9-inch glass pie plate, creating an even layer. Refrigerate the crust for about 20-30 minutes to set.
Make the Filling: In a large mixing bowl, beat 16 oz of softened cream cheese and 1/2 cup of granulated sugar together until smooth. Don’t rush this part; mixing thoroughly will prevent lumps.
- Visual Cue: Aim for a creamy, well-blended mixture without lumps.
Add Vanilla: Stir in 2 teaspoons of vanilla extract and mix until incorporated.
Whip the Cream: With the mixer on low, gradually add in 1 cup of cold heavy cream in four additions, letting it blend thoroughly into the cream cheese mixture after each increment.
- Timing: This should take about 2-3 minutes until it thickens and lightens.
Combine: Gently fold the whipped cream into the cream cheese mixture until fully combined, scraping the sides to ensure even mixing.
- Chef’s Tip: Be careful not to deflate the mixture!
Pour & Chill: Pour the creamy filling into your prepared crust and smooth the top. Cover with plastic wrap and refrigerate for at least 2 hours, or overnight for best flavor.
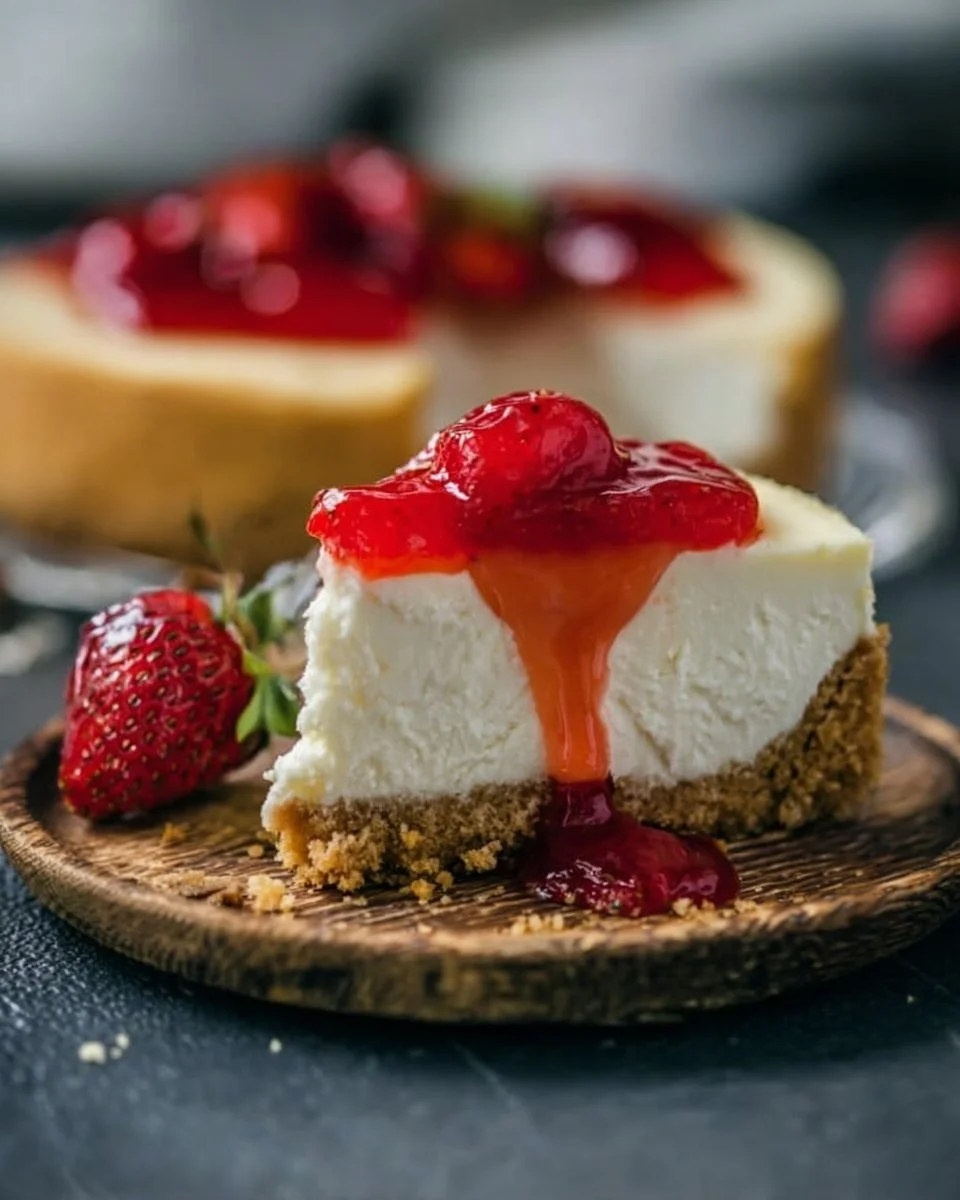
Serve: Slice into pieces, topping with 2 tablespoons of your favorite pie filling or whipped cream before serving.
- Presentation Tip: Use fresh mint leaves or fruit slices for a pop of color on your cheesecake!

Expert Tips & Tricks
Quality Ingredients Matter: Always use high-quality cream cheese and vanilla extract. They make a world of difference.
Don’t Skip Chilling: Make sure to refrigerate your cheesecake long enough. Cooling enhances flavor and texture.
Storage: Keep any leftovers covered in the fridge for up to 5 days. You can also freeze slices wrapped tightly for future indulgence!
Make-Ahead: This no-bake cheesecake can be made up to two days in advance; the flavors meld beautifully while it cures in the fridge.
Common Issues: If your filling doesn’t thicken, make sure to whip the cream long enough. If it’s too dense, try mixing a little more cream until you reach your desired consistency.
Serving Suggestions
Pair this heavenly cheesecake with a light fruit salad for a refreshing contrast. Alternatively, serve it after a hearty meal as a perfect sweet touch.
For presentation, consider garnishing with fresh berries or edible flowers—your guests will be wowed! This cheesecake is perfect for birthday parties, anniversaries, or just a cozy evening at home.
Variations & Substitutions
Feeling adventurous? Here are some flavor combinations to try:
- Chocolate Delight: Substitute 1 cup of cream cheese with melted semisweet chocolate.
- Lemon Zest: Add juice from one lemon and a tablespoon of lemon zest for a refreshing twist.
- Pumpkin Spice: Swap 1 cup of the cream cheese for pumpkin puree and add 1 teaspoon of pumpkin spice—perfect for fall!
If you or someone you know has dietary restrictions, consider using dairy-free cream cheese or coconut cream for a vegan version.
Nutrition & Storage Info
- Prep Time: 15 minutes
- Total Time: 2-8 hours (includes chilling)
- Yield: 8 slices
- Estimated Calories: Approx. 320 calories per slice
- Storage: Keep covered in the fridge for up to 5 days, or freeze for up to 2 months.
FAQ Section
Can I use low-fat cream cheese?
Yes, though the texture may be slightly different. For the best results, full-fat is recommended.How long should I chill the cheesecake?
Chill for at least 2 hours, but overnight is best for optimal flavor.Can I use homemade graham cracker crumbs?
Absolutely! Homemade crumbs can add a delightful personal touch.Is there a gluten-free version?
Substitute graham crackers with gluten-free cookies or crust alternatives.Can I make mini cheesecakes?
Yes! Use mini graham cracker crusts and adjust the chilling time accordingly.What fruits can I use for topping?
Berries, peaches, or even kiwi work beautifully!How do I prevent cracks in the filling?
Refrigerate thoroughly and avoid over-mixing the filling.Can I substitute sugar with a sweetener?
Yes, but make sure it’s suitable for baking, like erythritol or coconut sugar.What’s the best way to serve leftovers?
Just grab a slice and enjoy! You can also turn it into a parfait with fresh fruits.Can I use non-dairy whipped cream?
Definitely! Coconut cream is a fantastic substitute.
Conclusion
This No-Bake Cheesecake Recipe is not just delicious; it’s a time machine that takes you back to cherished family moments, sweet celebrations, and all things comforting. With its simple steps and customizable flavors, this cheesecake will become a staple in your dessert arsenal.
I would love for you to give this recipe a try and share your thoughts! Your feedback fuels my passion for baking and sharing delectable recipes. Don’t forget to check out other fantastic recipes on my blog—let’s keep those ovens buzzing and our tables filled with love and joy!
No-Bake Cheesecake
Ingredients
For the Crust
- 1 1/4 cups graham cracker crumbs Ensure they're finely crushed for a buttery crust.
- 6 tablespoons unsalted butter (melted) Use at room temperature for easy mixing.
For the Filling
- 16 oz cream cheese (softened) Opt for full-fat cream cheese for a rich texture.
- 1/2 cup granulated sugar Adjust for a sweeter dessert if desired.
- 2 teaspoons vanilla extract Use pure vanilla extract for best flavor.
- 1 cup heavy cream (cold) Important for achieving airy filling.
- 1 cup canned pie filling or topping of choice Creative options include fresh fruits or chocolate sauce.
Instructions
Preparation of Crust
- In a small bowl, combine graham cracker crumbs and melted butter. Stir until crumbs are moistened.
- Press down firmly into an 8 or 9-inch glass pie plate and refrigerate for about 20-30 minutes.
Making the Filling
- In a large mixing bowl, beat softened cream cheese and granulated sugar together until smooth.
- Stir in vanilla extract until mixed.
- Gradually add cold heavy cream in four additions, mixing each time until thickened and lightened.
- Gently fold the whipped cream into the cream cheese mixture until fully combined.
Final Steps
- Pour the filling into your prepared crust and smooth the top.
- Cover and refrigerate for at least 2 hours, preferably overnight.
- Serve sliced and topped with pie filling or whipped cream.