
Irresistible Mini Cheesecakes: A Bite-Sized Delight for Every Occasion
There’s something magical about mini cheesecakes. They take me back to family gatherings where my grandma would whip up a batch of her famous cheesecake, filling the kitchen with that sweet, creamy aroma. Those little bites of heaven have become a cherished comfort food over the years, stirring up warmth and nostalgia with every delicious bite. What I love about these mini cheesecakes is their versatility; they’re not just desserts, but a canvas for creativity—perfect for any occasion from birthdays to cozy nights in.
After experimenting with countless recipes, I’ve found that my take on mini cheesecakes stands out because of the creamy texture and the way they melt in your mouth, all while being incredibly simple to make. Unlike their store-bought counterparts, which can be overly sweet or dense, these mini gems strike the perfect balance between rich and light. They’re adaptable to any flavor you crave, making them your go-to recipe for impressing friends and family alike.
In this post, I’ll guide you through the delightful process of crafting your own mini cheesecakes, complete with step-by-step instructions, pro tips, and plenty of customization ideas. Get ready to create memories and indulge in every creamy, dreamy bite!
What Are Mini Cheesecakes?
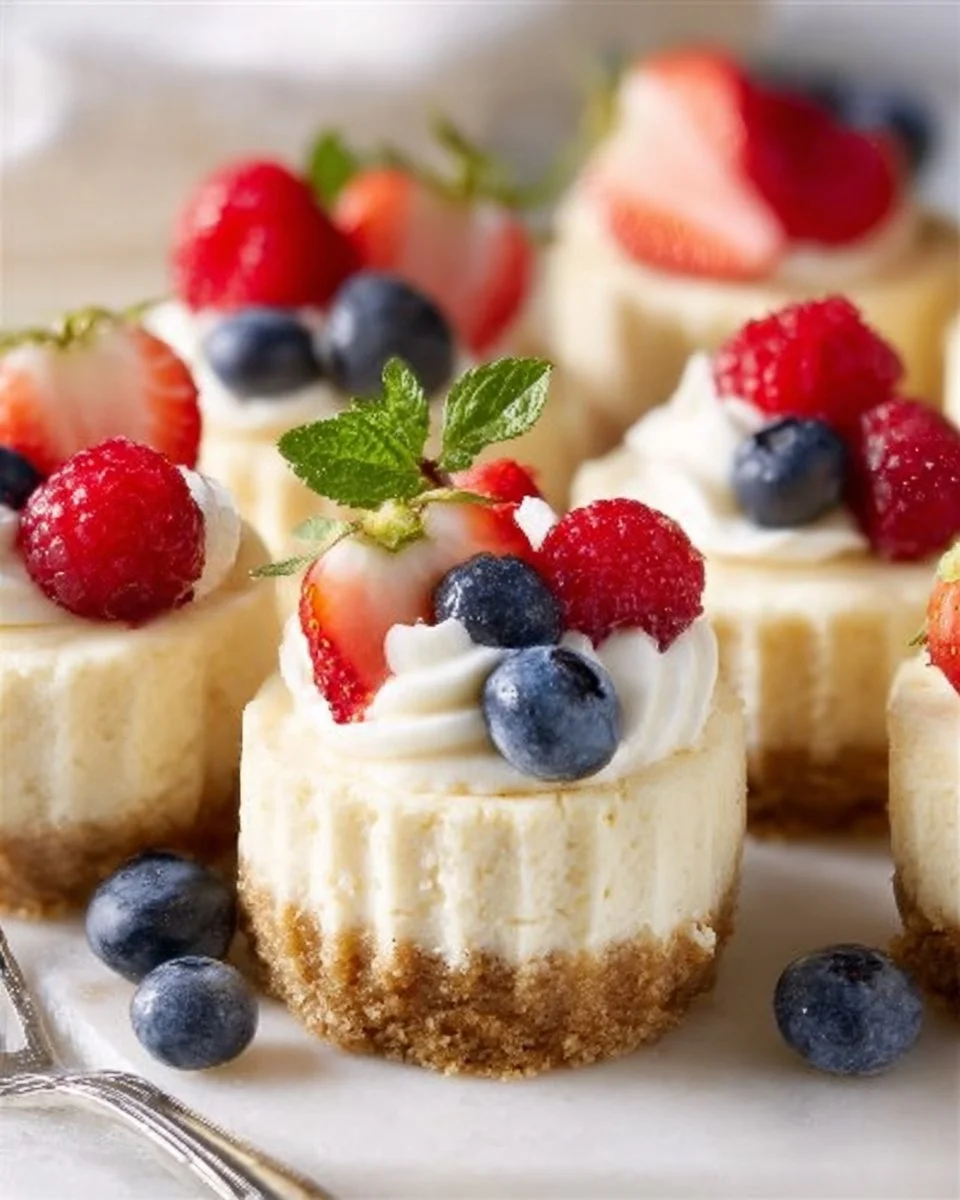
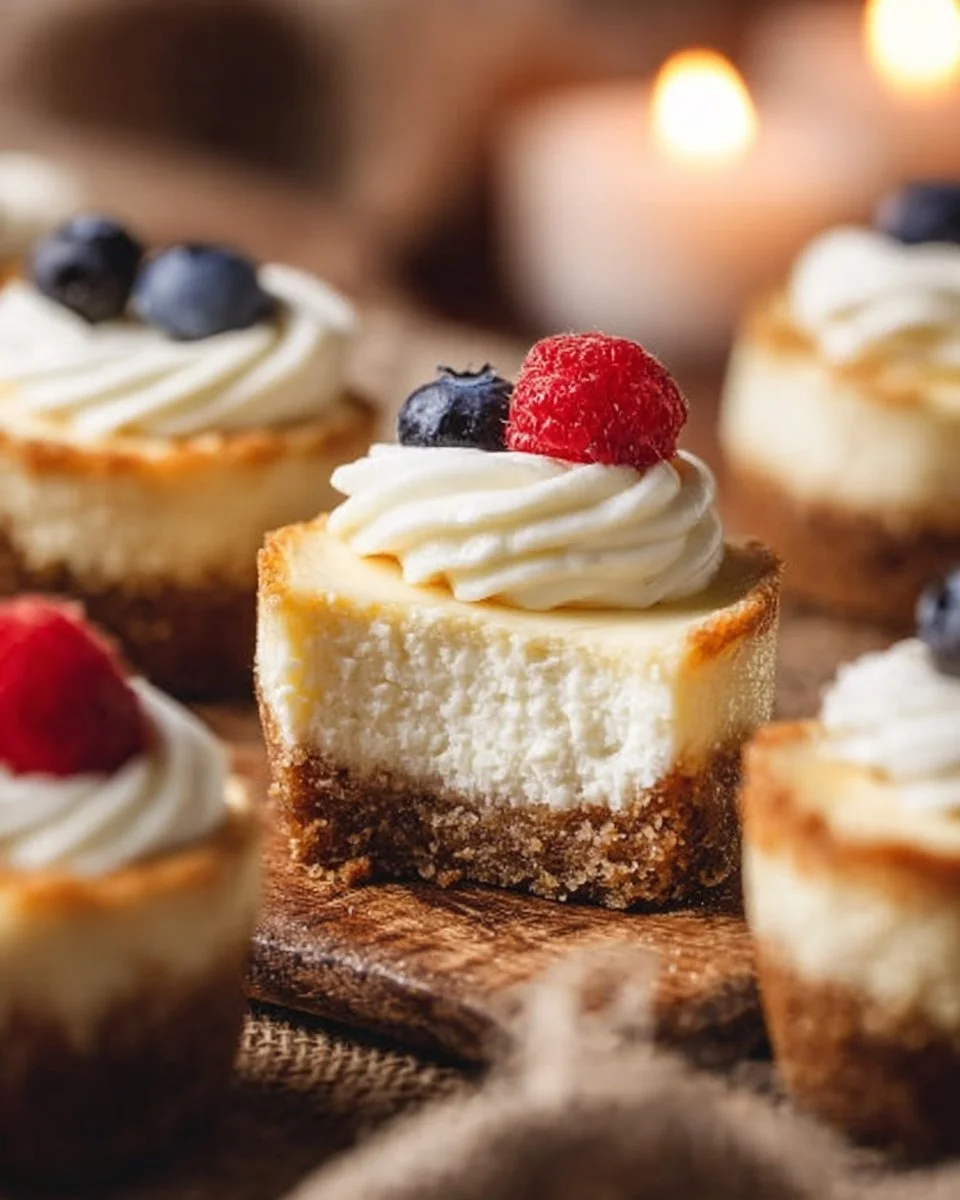
Mini cheesecakes are essentially bite-sized versions of the classic cheesecake, typically baked in muffin tins or specialty pans. Originating from the idea of portion control (though let’s be honest — who can eat just one?), these little treats have garnered a devoted following for their perfect balance of crust and creamy filling. The texture is smooth and velvety, while the taste is a heavenly mix of tangy cream cheese, sweet vanilla, and a hint of buttery crust.
What sets mini cheesecakes apart is their customizable nature. You can dress them up with various toppings, flavors, and crust options—think chocolate, fruit, or even caramel. They’re perfect for celebrations, casual get-togethers, or simply a cozy evening at home when you want a little sweet something without the guilt of a full slice of cake.
These little delights are ideal when you need a dessert that doesn’t require you to spend hours in the kitchen. Trust me, once you try them, you’ll want to make them for every occasion!
Why You’ll Love This Recipe
Quick & Easy: This mini cheesecake recipe is incredibly user-friendly! With just a few simple steps, you’ll have delightful treats ready to bake in no time. Compared to those labor-intensive layer cakes, mini cheesecakes are certainly less of a hassle.
Cost-Effective: You can whip up a batch of these treats for a fraction of the price of store-bought cheesecakes. Plus, the ability to customize flavors means you can create festive treats without breaking the bank.
Customizable for Any Taste: Whether you crave chocolate, want to add seasonal spices like pumpkin pie for fall, or prefer fruity toppings, this recipe opens the door for endless variations. Your guests will be impressed by your flavor creativity!
Perfect for Any Occasion: Whether it’s a fancy dinner party, a casual gathering, or a potluck, mini cheesecakes are the crowd-pleaser you need. They’re always a hit, and their portioned size makes them easy to serve.
Difficulty Level: Easy: Even if you’re just starting out in your baking journey, you’ll find this recipe approachable. No fancy skills required—just some mixing and baking!
Ingredients Section
To make these delightful mini cheesecakes, gather the following ingredients:
- 8 oz cream cheese, softened: Use a high-quality brand like Philadelphia for the best flavor. Let it sit at room temperature for an hour before mixing for a smooth consistency.
- 1/2 cup sugar: Regular granulated sugar works perfectly, but you could swap for cane sugar for a richer taste.
- 1 teaspoon vanilla extract: Opt for pure vanilla extract for a deeper flavor—you won’t regret it!
- 2 large eggs: Choose organic or free-range eggs for a fresher taste.
- 1/2 cup sour cream: This adds creaminess and balance. You could substitute Greek yogurt if you’re looking for a lighter option.
- Graham cracker crumbs (for crust): Crush your own or buy ready-made crumbs, but I love using brand-name graham crackers for that classic taste.
- Butter, melted (for crust): Use unsalted butter for better control over sweetness. Let it cool slightly before mixing in.
- Toppings of choice: The sky’s the limit—fresh fruit, chocolate ganache, or a drizzle of caramel elevates these mini cheesecakes to the next level!
Prep Notes
Make sure all dairy ingredients are at room temperature for a smooth mixture. This will help avoid lumps and give you that luxurious, creamy texture.
Step-by-Step Instructions
Let’s dive into the fun part—making our mini cheesecakes!
Preheat your oven to 325°F (163°C).
- Chef’s Tip: This is key for even baking! Take your time to get this done before moving on to mixing.
Prepare the crust: In a medium bowl, mix together graham cracker crumbs with melted butter until well combined. Press the mixture tightly into the bottom of muffin tins lined with cupcake liners.
- Visual Cue: The mixture should resemble wet sand; if it clumps together when squeezed, it’s ready to go.
Make the filling: In a separate bowl, beat the cream cheese with an electric mixer until smooth. Gradually add sugar and vanilla, mixing well until fully incorporated.
Incorporate the eggs: Add eggs one at a time, mixing until smooth after each addition. This prevents overmixing!
Add the sour cream: Stir in the sour cream until totally blended. Your batter should be thick and creamy.
Fill the tins: Pour the cheesecake mixture over the crust in the muffin tins, filling each about two-thirds full.
- Common Mistake: Avoid overfilling to prevent spillage!
Bake: Place in the preheated oven and bake for approximately 15-20 minutes. You’ll know they’re ready when they’re set but still slightly jiggly in the center.
- Timing Tip: Keep an eye on them around the 15-minute mark.
Cool down: Remove from the oven and let them cool at room temperature. Chill in the refrigerator for a few hours (or overnight for best results) before serving.
Add toppings: Right before serving, add your desired toppings. Fresh berries, whipped cream, or a drizzle of chocolate work beautifully!

Expert Tips & Tricks
1. Use Room Temperature Ingredients: Cold ingredients can lead to lumps, so always ensure your cream cheese and eggs are at room temperature before starting.
2. Test for Doneness: Take them out when they are just set. Overbaking can lead to dry mini cheesecakes.
3. Storage Recommendations: Store any leftovers covered in the refrigerator for up to 5 days, or freeze for up to 2 months. They’re just as good thawed!
4. Make-Ahead Instructions: Feel free to bake these a day in advance! Just be sure to add toppings right before serving to maintain freshness.
5. Troubleshooting: If your mini cheesecakes crack on top, consider lowering the oven temperature slightly next time, as a gentle bake results in a smoother top.
6. Flavor Infusions: Experiment with different extracts, like almond or lemon, to switch up the flavor profile!
Serving Suggestions
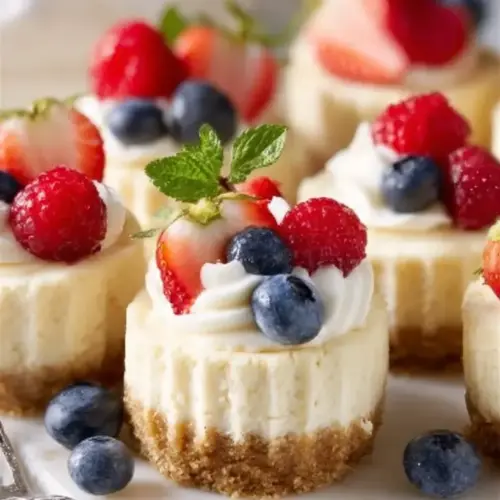
Pair your mini cheesecakes with freshly brewed coffee or a sweet dessert wine for an indulgent experience. For presentation, arrange the cheesecakes on a beautiful serving platter and garnish with mint leaves or additional fruit. They’re delightful for birthdays, holidays, or even just a cozy dinner at home. You’ll love how these mini desserts become the centerpiece of attention!
Variations & Substitutions
- Flavor Combinations: Try adding lemon zest for a zesty lemon version or mix in crushed cookies like Oreos for a cookies-and-cream twist!
- Dietary Adaptations: You can make them gluten-free by using gluten-free graham crackers and substituting sour cream with a dairy-free version.
- Seasonal Variations: Pumpkin puree and spices can create a cozy fall delight, while fresh berries make these mini cheesecakes a summer treat.
Nutrition & Storage Info
- Prep Time: 20 minutes
- Cook Time: 15-20 minutes
- Total Time: 2-3 hours (including chilling)
- Yield: Approximately 12-16 mini cheesecakes
- Estimated Calories: 150 calories per serving
- Storage: Store in the refrigerator for up to 5 days or freeze for up to 2 months. Thaw overnight in the fridge before serving.
FAQ Section
Can I make them ahead of time?
Absolutely! These mini cheesecakes can be prepared a day in advance. Just add toppings right before serving.Why do my cheesecakes have cracks?
Overbaking or a sudden temperature change can cause cracks. Try baking at a lower temperature for a longer time.Can I use low-fat cream cheese?
Yes, but the texture might be a bit different—less creamy than full-fat versions.How do I freeze them?
After cooling, wrap them tightly in plastic wrap and place them in an airtight container before freezing.What are some holiday variations?
Consider spiced pumpkin for fall or peppermint flavors for the winter holidays! Just adjust your flavoring to suit seasonal ingredients.What crust alternatives can I use?
You can experiment with cookie crusts like Oreos, or even nut-based crusts for a gluten-free alternative!How do I prevent overmixing?
Mix the filling just until combined after adding eggs; you want a smooth batter but not overworked.Can these be made dairy-free?
Yes! Use dairy-free cream cheese and a dairy-free sour cream substitute for rich flavor.Are there egg substitutes to make these vegan?
For a vegan option, try using flaxseed eggs or commercial egg replacers, but results may vary.What toppings work best?
The classic route would be fresh fruit or chocolate drizzle, but feel free to get creative with your favorites!
Conclusion
This mini cheesecake recipe is not just about baking; it’s about sharing moments and creating joy through food. Their customizable nature allows you to cater to everyone’s tastes while still being the star of any dessert table. I encourage you to try your hand at these delightful treats—you just might create a family favorite like I did. I would love to hear your thoughts and personal variations, so be sure to leave a comment! If you’re on the hunt for more delectable recipes, check out my blog for all things sweet and scrumptious. Happy baking!
Mini Cheesecakes
Ingredients
For the cheesecake filling
- 8 oz cream cheese, softened Use a high-quality brand like Philadelphia for the best flavor.
- 1/2 cup sugar Regular granulated sugar works well; cane sugar can be used for a richer taste.
- 1 teaspoon vanilla extract Opt for pure vanilla extract for deeper flavor.
- 2 large eggs Choose organic or free-range eggs.
- 1/2 cup sour cream Can substitute Greek yogurt for a lighter option.
For the crust
- 1 cup graham cracker crumbs Use crushed brand-name graham crackers for the classic taste.
- 1/4 cup butter, melted Use unsalted butter for better control over sweetness.
For toppings
- to taste toppings of choice (fruit, chocolate ganache, caramel) Fresh fruits or drizzles can elevate the flavor.
Instructions
Preparation
- Preheat your oven to 325°F (163°C).
- In a medium bowl, mix together graham cracker crumbs with melted butter until well combined. Press the mixture tightly into the bottom of muffin tins lined with cupcake liners.
- In a separate bowl, beat the cream cheese with an electric mixer until smooth. Gradually add sugar and vanilla, mixing until fully incorporated.
- Add eggs one at a time, mixing until smooth after each addition.
- Stir in the sour cream until fully blended. Your batter should be thick and creamy.
- Pour the cheesecake mixture over the crust in the muffin tins, filling each about two-thirds full.
Baking
- Bake for approximately 15-20 minutes, until they are set but still slightly jiggly in the center.
- Remove from the oven and let them cool at room temperature. Chill in the refrigerator for a few hours (or overnight) before serving.
Serving
- Add your desired toppings right before serving.