

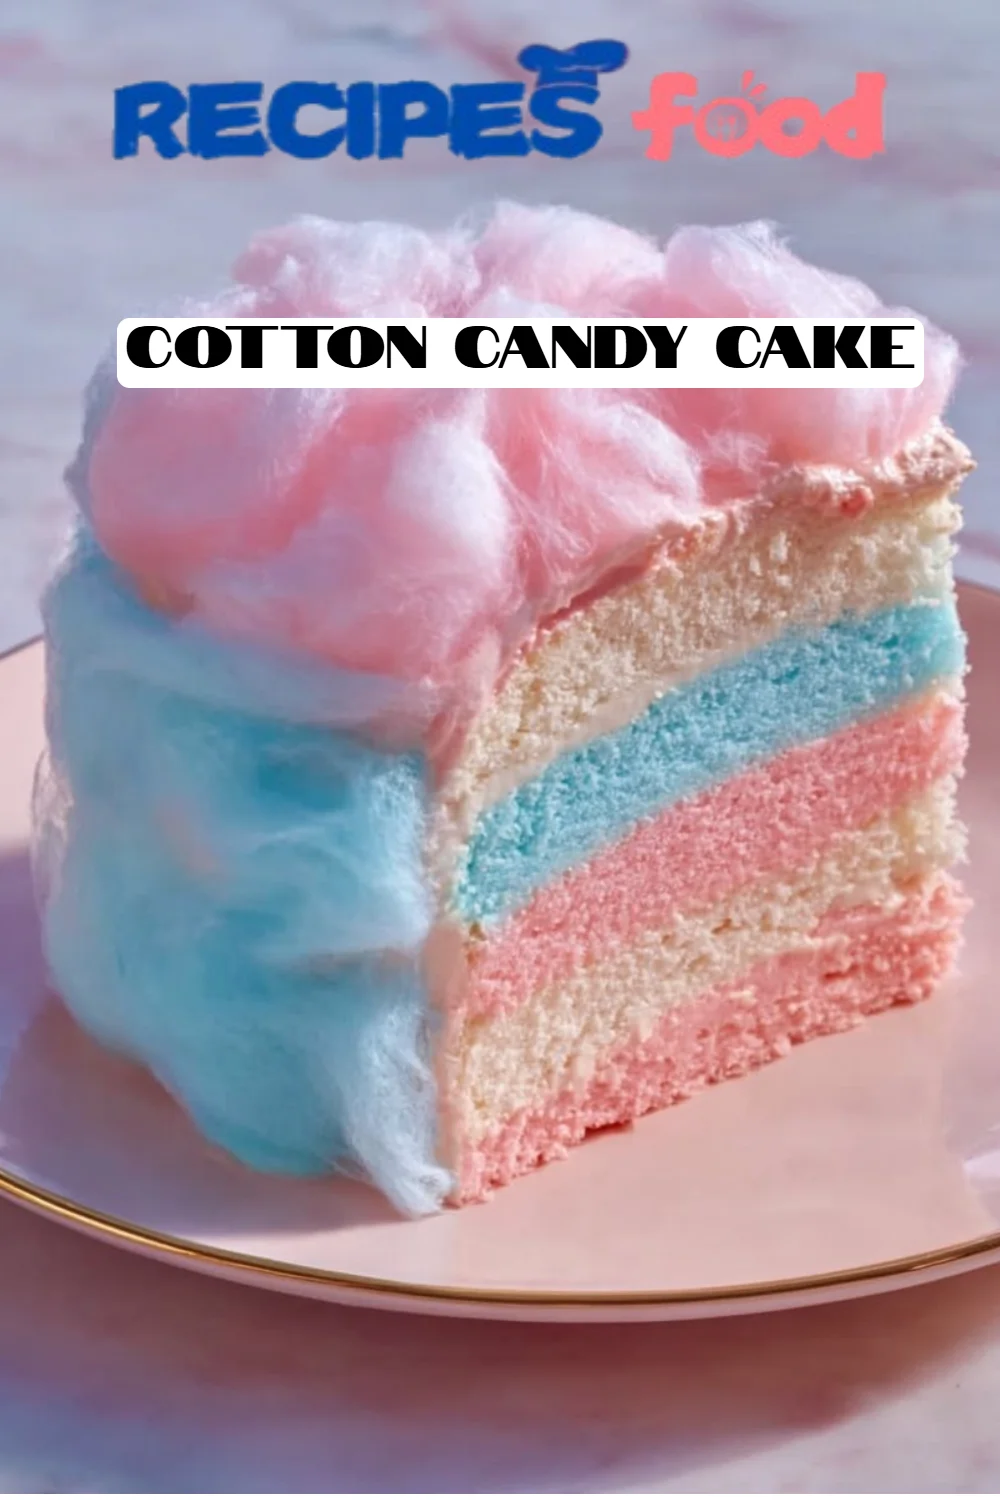
Delightfully Sweet Cotton Candy Cake: A Fun and Flavorful Adventure in Baking!
Growing up, my summers were adorned with sweet nostalgia—breezy afternoons at the fair with the swirling aroma of deep-fried treats and, of course, the ever-fabulous cotton candy! That sugary cloud of joy always made me smile, and it wasn’t long before I found a way to capture that bliss in a cake. Let me tell you about my delightful Cotton Candy Cake—a whimsical treat that is as visually stunning as it is delicious!
What makes this cake so special? It’s not just about the enchanting colors or the fluffy textures; it’s the nostalgic connection that reminds me of those carefree summer days. Unlike run-of-the-mill recipes you might find in cookbooks, my version layers classic vanilla cake with a sugary twist, topped with fluffy clouds of cotton candy. This cake instantly transports you to a fairground with every bite.
As you embark on this baking adventure with me, I promise you’ll learn not just how to make this magnificent dessert but also how to sprinkle a bit of joy into your life and loved ones. So, grab your apron and let’s whip up something magical!
What Are Cotton Candy Cakes?
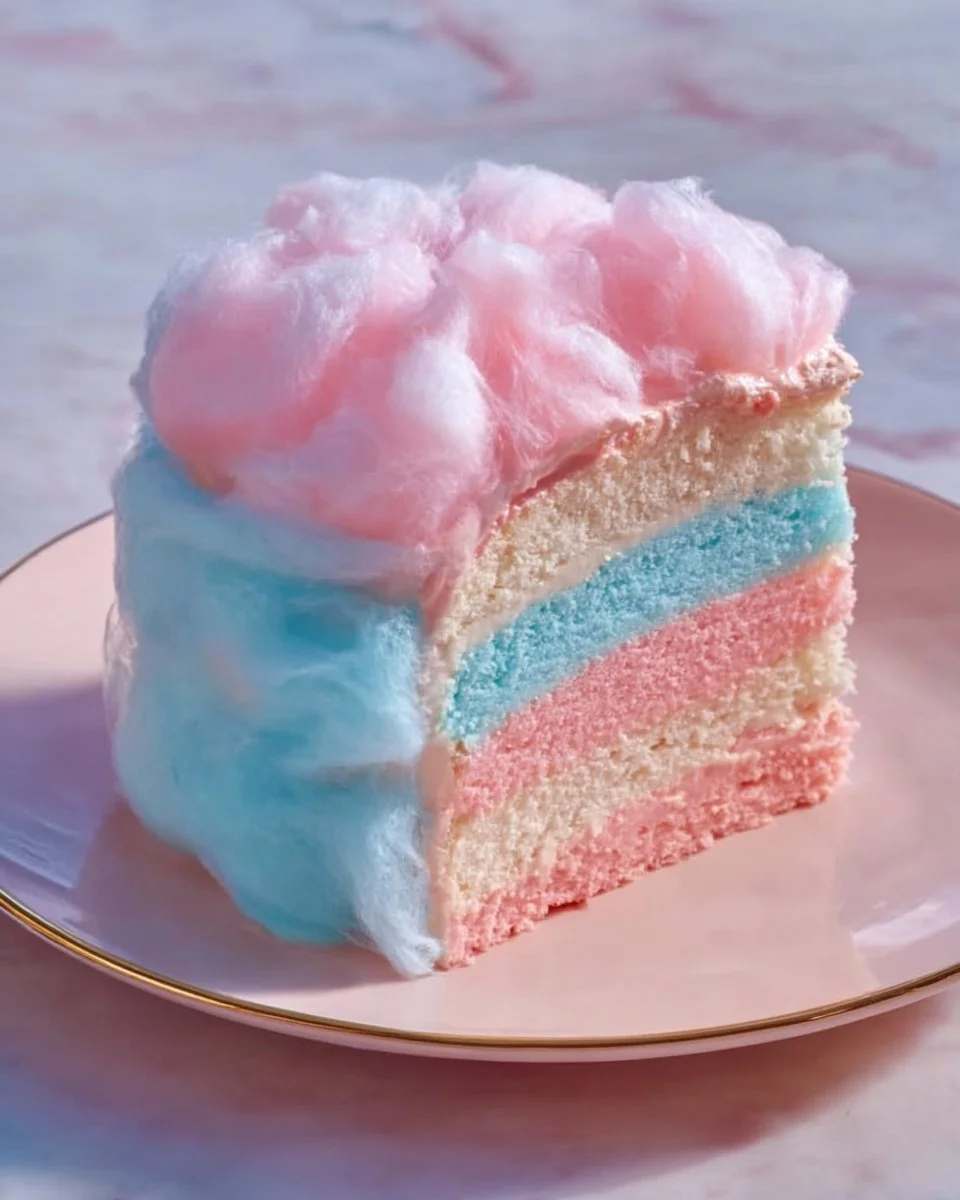
Cotton Candy Cakes are the flavorful embodiment of childlike joy, combining the light, airy taste of vanilla cake with the enchanting flavor and pastel colors of cotton candy. The concept originated from the playful world of carnival treats, where the delicate threads of spun sugar create a delightful experience. The cake itself is typically soft and moist, with a tender crumb that melts in your mouth, mirroring the sensation of eating cotton candy.
What sets these cakes apart is, of course, the cotton candy topping, which creates a stunning visual impact. The combination of the cake’s sweetness with the fluffy, airy texture of cotton candy is like a carnival ride for your taste buds. Perfect for birthdays, summer gatherings, or even a whimsical touch on a simple dessert table, this cake is a celebration of joy. Each slice is a sweet reminder that life should be sprinkled with fun and sweetness!
Why You’ll Love This Recipe
Comforting Nostalgia: This cake captures the essence of childhood summers, making it more than just a dessert; it’s a heartfelt experience you can share with friends and family.
Customization Galore: Whether you want an extravagant three-tier masterpiece or a simple one-layer cake, you can easily adjust the size and decoration. Add vibrant food coloring to every layer, or mix in different flavors—think fruity or chocolate!
Cost-Effective: Making your Cotton Candy Cake at home is often more budget-friendly than purchasing a similar specialty cake from a bakery. Plus, you can control the quality and ingredients, ensuring an impressive yet affordable treat.
Satisfies All Skill Levels: Whether you’re a seasoned baker or a novice, this recipe is easy to follow, and the results will impress everyone. The layering process is forgiving, and even if you’re a beginner, you can make necessary adjustments along the way.
Less Work, More Fun: The total time for this recipe is under two hours, including prep and bake time, which means you’re just a few simple steps away from serving a captivating cake that’s a showstopper!
Ingredients
- 2 1/2 cups all-purpose flour: Look for a high-quality brand like King Arthur Flour for the best results.
- 2 1/2 tsp baking powder: Ensure it’s fresh to make your cake rise perfectly.
- 1/2 tsp salt: A small addition that enhances sweetness.
- 1 cup unsalted butter, softened: Room temperature butter is key here, so allow it to sit out for about an hour before you start.
- 2 cups sugar: Feel free to use organic sugar for a refined taste.
- 4 large eggs: Fresh eggs contribute to the cake’s richness and moisture; look for farm-fresh if possible!
- 1 tsp vanilla extract: Always opt for pure vanilla for a deeper flavor profile.
- 1 cup milk: Whole milk works best for that moist texture; you can use almond or oat milk for a dairy-free option.
- Cotton candy: For decoration—look for fresh cotton candy from a local fair or a specialty store.
- Food coloring (optional, for layers): Gel food coloring gives brighter and more vibrant hues without altering the cake’s texture.
Step-by-Step Instructions
Preheat & Prep: Preheat the oven to 350°F (175°C). Grease and flour three 8-inch round cake pans. This ensures that your cakes won’t stick—nobody wants that!
Mix Dry Ingredients: In a bowl, whisk together flour, baking powder, and salt until well combined. Set aside.
Cream It Up: In another large bowl, cream together the softened butter and sugar using an electric mixer until light and fluffy—about 3-4 minutes. The mixture should look pale and creamy.
Incorporate Eggs: Add the eggs one at a time, mixing well after each addition. This helps to emulsify the mixture for a smoother batter.
Flavor It: Stir in the vanilla extract until thoroughly mixed.
Combine Wet & Dry: Gradually add the flour mixture to the creamed mixture, alternating with milk. Start and finish with the flour mixture. Gently mix until just combined to avoid overworking the batter, which can lead to dense cakes.
Divide & Tint: Divide the batter evenly among the prepared pans. If desired, add food coloring to create different pastel layers before baking.
Bake: Bake for 25-30 minutes or until a toothpick inserted in the center comes out clean. Keep an eye on your cakes! Oven temperatures can vary.
Cool Down: Allow cakes to cool in pans for about 10 minutes, then carefully turn them onto wire racks to cool completely. Ensure they’re completely cool before frosting to prevent melting!
Assemble & Decorate: Once cooled, layer the cakes, frosting between each layer with your preferred icing. For the ultimate finish, top with a tower of cotton candy! Garnish with sprinkles for extra flair if desired.
Serve & Enjoy: Slice, serve, and get ready for smiles all around. Your Cotton Candy Cake is ready to transport everyone to a nostalgia-filled carnival!
Expert Tips & Tricks
Use Room Temperature Ingredients: Ensuring that butter, eggs, and milk are at room temperature helps the batter blend better, giving you that ideal cake texture.
Avoid Overmixing: When combining the wet and dry ingredients, mix just until combined. Overmixing can develop gluten, resulting in a dense cake rather than a light and fluffy one.
Indentation Test: To check if your cake is done, lightly press the top with your finger. If it springs back, it’s ready. If it leaves an indentation, it needs a few more minutes!
Storage Wisdom: Wrap leftover cake tightly in plastic wrap or place it in an airtight container. It can last up to 3 days at room temperature or a week in the fridge. For longer storage, freeze slices individually.
Make Ahead: You can bake the cakes a day in advance. Just make sure to wrap them well to keep them fresh! Then, frost on the day you serve.
Avoiding Dry Cakes: Keep an eye on the baking time and check early. If your cakes bake too long, they can become dry.
Serving Suggestions
Pair your Cotton Candy Cake with a scoop of vanilla ice cream for a delightful dessert treat! Additionally, serving it with fresh berries can add a nice tartness that contrasts nicely with the sweetness. Presentation is key—consider placing your cake on a whimsical cake stand and garnishing with colorful sprinkles or edible glitter for that extra wow factor. Perfect for birthday parties, summer family get-togethers, and any whimsical gathering where fun is the focus!
Variations & Substitutions
Flavor Options: Swap out the vanilla extract for almond or lemon extract for a unique twist. You can also fold in citrus zest for a bright, fresh flavor.
Dietary Restrictions: For a gluten-free option, use a 1:1 gluten-free flour blend and ensure that your baking powder is gluten-free.
Seasonal Ideas: Use seasonal fruits for decoration—add some strawberries in summer, or incorporate pumpkin spices for a fall-themed cake!
Nutrition & Storage Info
- Prep Time: 30 minutes
- Cook Time: 30 minutes
- Total Time: 1 hour
- Yield: Approximately 12 servings
- Estimated Calories per Serving: 350 calories
- Storage: Keep at room temperature for up to 3 days, in the refrigerator for 1 week, or freeze individual slices for up to 3 months. Just thaw at room temperature before serving.
FAQ Section
Can I use boxed cake mix?
Absolutely! If you’re short on time, a quality boxed vanilla cake mix can be an excellent substitute. Just follow the instructions on the box.How can I make my cake more colorful?
You can separate the batter into different bowls and add gel food coloring to each bowl, then create color layers in the cake.Where can I buy cotton candy?
Many grocery stores and candy shops sell pre-packaged cotton candy. You can also make your own using a cotton candy machine!Can I add other flavors to my cake?
Definitely! Incorporate chocolate chips, nuts, or even cocoa powder for a chocolate cotton candy cake.What icing pairs well with this cake?
A classic buttercream icing complements the flavors really well, but cream cheese frosting works beautifully too!Is this cake good for freezing?
Yes! Wrap slices tightly in plastic wrap, then store in an airtight container or a freezer bag for up to 3 months.What do I do if the cake domes while baking?
You can trim the domed tops with a serrated knife once cooled to create a flat surface for layering.How can I avoid a dry cake?
Make sure not to overbake and use room temperature ingredients for maximum moisture retention.Can this cake be made gluten-free?
Yes! Just substitute regular flour with a gluten-free blend.What occasions are best for this cake?
It’s perfect for birthdays, summer parties, school events, or any time you want to add a bit of fun to your dessert spread!
Conclusion
This Cotton Candy Cake recipe isn’t just about baking; it’s about evoking joy and creating lasting memories. With its whimsical flavors and delightful aesthetics, making this cake can be a cherished experience for you and your loved ones. I genuinely hope you give it a try—I can’t wait to hear how it turns out for you!
If you loved this recipe, be sure to check out my other sweet treats on the blog, including my famous Rainbow Layer Cake and Birthday Cake Pancakes! Enjoy every bite and happy baking!
Cotton Candy Cake
Ingredients
Dry Ingredients
- 2.5 cups all-purpose flour Look for a high-quality brand like King Arthur Flour.
- 2.5 tsp baking powder Ensure it’s fresh.
- 0.5 tsp salt Enhances sweetness.
Wet Ingredients
- 1 cup unsalted butter, softened Room temperature is key.
- 2 cups sugar Organic sugar is recommended.
- 4 large eggs Fresh eggs are preferred.
- 1 tsp vanilla extract Use pure vanilla for best flavor.
- 1 cup milk Whole milk works best, can use almond or oat milk for dairy-free.
Decoration
- Cotton candy For decoration Look for fresh cotton candy from a local fair.
- Food coloring Optional, for layers Gel food coloring gives brighter hues.
Instructions
Preparation
- Preheat the oven to 350°F (175°C). Grease and flour three 8-inch round cake pans.
- In a bowl, whisk together flour, baking powder, and salt until well combined. Set aside.
- In another large bowl, cream together the softened butter and sugar using an electric mixer until light and fluffy—about 3-4 minutes.
- Add the eggs one at a time, mixing well after each addition.
- Stir in the vanilla extract until thoroughly mixed.
- Gradually add the flour mixture to the creamed mixture, alternating with milk. Start and finish with the flour mixture.
- Divide the batter evenly among the prepared pans. If desired, add food coloring to create different layers.
Baking
- Bake for 25-30 minutes or until a toothpick inserted in the center comes out clean.
- Allow cakes to cool in pans for about 10 minutes, then carefully turn them onto wire racks to cool completely.
Assembly
- Once cooled, layer the cakes, frosting between each layer with your preferred icing.
- Top with a tower of cotton candy and garnish with sprinkles if desired.
- Slice, serve, and enjoy!