

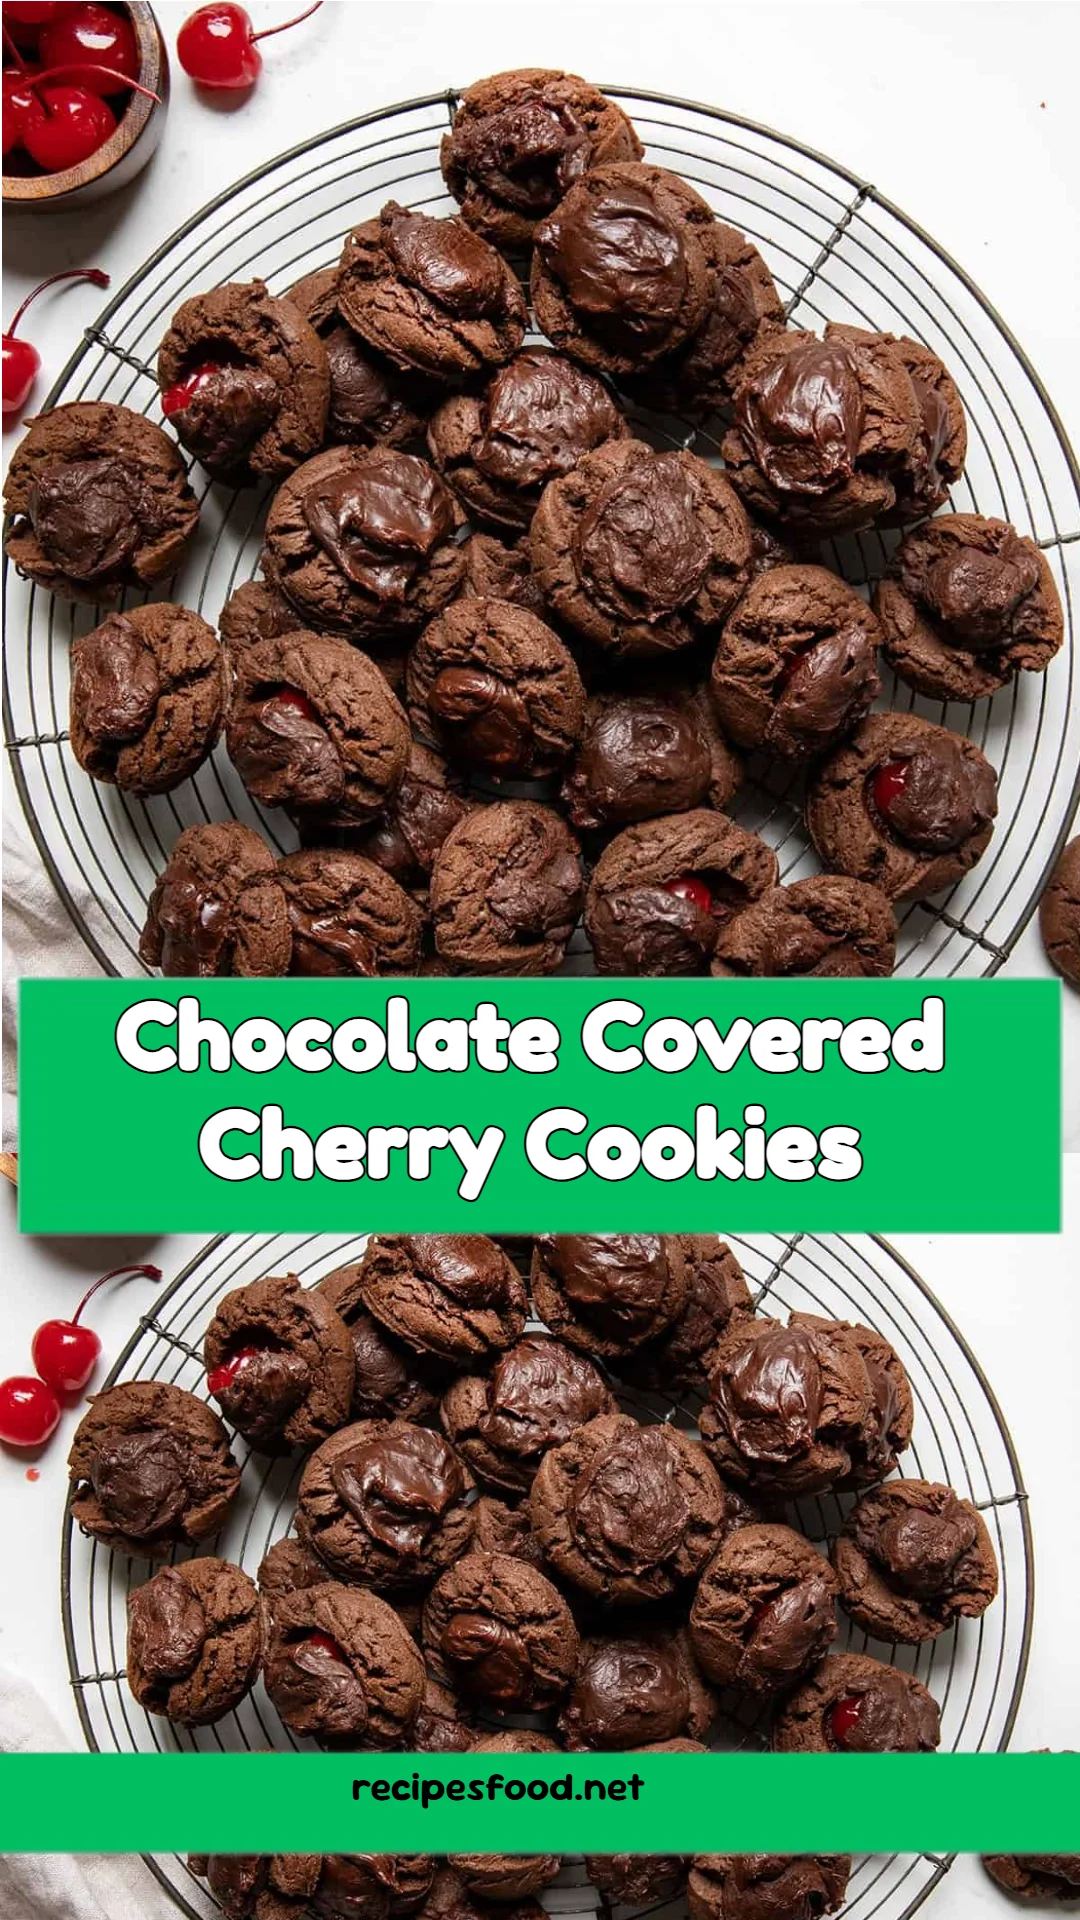
Decadent Chocolate Covered Cherry Cookies: A Cherished Family Delight
As a child, there was something magical about walking into my grandmother’s kitchen during the holidays. The sweet, rich aroma of freshly baked cookies wafting through the air was simply irresistible. Among her many creations, her Chocolate Covered Cherry Cookies held a special place in my heart. What made these cookies so extraordinary was not just their decadent blend of chocolate and cherry but the memories tied to each sweet bite—family gatherings, laughter, and the warmth that only home can bring.
This recipe elevates the classic flavors you know and love, combining them in a way that’s both comforting and indulgent. With a soft, chewy center and a luscious chocolate topping that beautifully envelops a cherry, each cookie transports you back to those cherished moments. Unlike store-bought versions that can feel bland or overly sweet, these cookies strike the perfect balance and are incredibly customizable.
Get ready to learn how to create these delightful treats that not only taste divine but also hold the power to bring your family together. Trust me, once you bake these cookies, they’ll become a new favorite in your household!
What Are Chocolate Covered Cherry Cookies?
Chocolate Covered Cherry Cookies are a delightful fusion of rich chocolate cookie dough and sweet, juicy maraschino cherries. The origin of this beloved treat likely stems from the classic flavor combination often found in desserts and candies, updated here into a delightful cookie form.
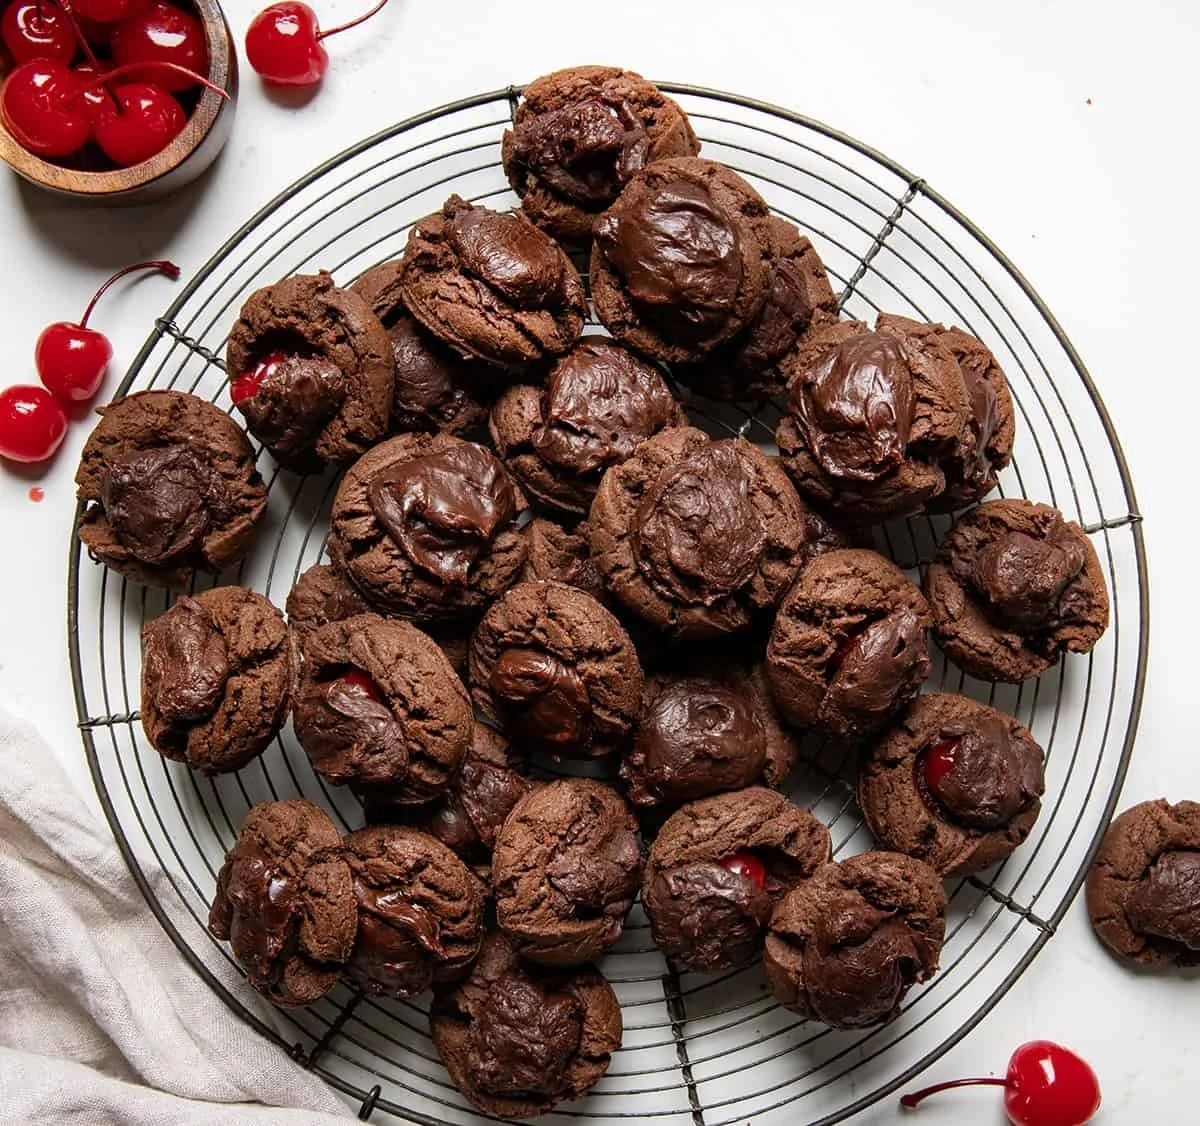
These cookies boast a soft, chewy texture complemented by the sweetness of cherries and a rich chocolate topping. With each bite, you’ll experience a harmonious blend of flavors—sweet, tart, and luxurious chocolate. What makes them particularly unique is the cherry-filled indentation in each cookie, providing a delightful surprise that keeps you coming back for more.
These cookies are perfect for holiday baking, special occasions, or simply as an everyday treat. They also make fabulous gifts, packed in decorative tins for friends and family.
Why You’ll Love This Recipe
Homemade Goodness: There’s nothing quite like the flavor of freshly baked Chocolate Covered Cherry Cookies made right in your own kitchen. Trust me, once you taste these, store-bought cookies will seem lackluster by comparison.
Cost-Effective: Baking at home is not only fun but also budget-friendly! This recipe yields a delicious batch without breaking the bank. You likely have many of these pantry staples on hand.
Customization: One of the beautiful parts of this recipe is how easy it is to customize. Swap in dark chocolate for a richer flavor or use fresh cherries for a seasonal twist—your creativity knows no bounds!
Low Difficulty: Whether you’re a baking beginner or a seasoned pro, this recipe is straightforward and enjoyable. In about 30 minutes, you can have a delicious batch of cookies ready for the oven!
Quick to Make: With a prep and bake time totaling around 40 minutes, this recipe is perfect for a last-minute dessert or an afternoon baking project with kids.
Now that I’ve got you dreaming about a warm cookie from the oven, let’s dive into the ingredients that will make this baking magic happen.
Ingredients
Here’s what you’ll need to whip up these delightful Chocolate Covered Cherry Cookies:
- 1 ½ cups all-purpose flour: Use a high-quality brand for the best texture and taste.
- ½ cup unsweetened cocoa powder: Choose a Dutch-processed cocoa for a deeper flavor.
- ½ cup unsalted butter, room temperature: Allow your butter to soften for optimal mixing.
- 1 cup granulated sugar: This provides the sweetness and helps achieve that soft-baked texture.
- ¼ teaspoon kosher salt: A pinch of salt enhances all the flavors.
- ¼ teaspoon baking powder: This helps the cookies rise a bit for a fluffy bite.
- ¼ teaspoon baking soda: Works in conjunction with the baking powder to create a nice texture.
- 1 large egg, room temperature: Ensures even mixing and a better bake.
- 1 teaspoon vanilla extract: Use pure vanilla for the best flavor.
- 1 jar (10 ounces) maraschino cherries, juice reserved: The star of the show—these will add a juicy, sweet surprise!
- ½ cup semisweet chocolate chips: A must for that rich chocolatey coating.
- ¼ cup sweetened condensed milk: Creamy goodness to help bind the chocolate topping.
Ingredient Notes:
- Substitutions: If you want a dairy-free option, try using vegan butter and non-dairy chocolate chips. For gluten-free cookies, a 1:1 gluten-free flour blend can work well.
- Quality Recommendations: I recommend brands like King Arthur Flour for flour, Ghirardelli for chocolate, and Libby’s for maraschino cherries.
Prep Notes:
- Make sure that your butter, egg, and any other chilled ingredients are brought to room temperature for even mixing and baking.
Now that we have everything prepped, let’s get into the fun part—baking these cookies!

Step-by-Step Instructions
Preheat the Oven: Preheat your oven to 350°F (175°C). Prepare for deliciousness! Line three large baking sheets with parchment paper and set them aside.
Mix Dry Ingredients: In a medium bowl, whisk together the flour and cocoa powder until well combined. Set this mixture aside; your dry base is now ready!
Cream Butter and Sugar: In the bowl of a stand mixer, add the softened butter, granulated sugar, kosher salt, baking powder, and baking soda. Mix on medium speed until light and fluffy, about 2-3 minutes. This is where the magic begins—watch how the texture lightens up!
Add Wet Ingredients: Add the room-temperature egg and vanilla extract to the butter mixture. Mix well, scraping down the sides of the bowl to ensure even incorporation.
Combine Mixtures: Gradually add the flour mixture to the stand mixer on low speed. Mix until combined. Don’t overmix—just until the dry ingredients are fully incorporated.
Scoop the Dough: Using a 1-tablespoon cookie scoop, drop dough onto the prepared baking sheets, placing them about an inch apart. A little space will help them spread nicely!
Make Indents: With your thumb or a small spoon, create an indent in the center of each dough ball. Carefully place a cherry in each indent.
Prepare Chocolate Topping: In a small saucepan over medium-low heat, combine the semisweet chocolate chips, sweetened condensed milk, and 2 teaspoons of reserved cherry juice. Cook, stirring constantly until melted, about 2-3 minutes. Make sure to keep an eye on it to avoid burning!
Fill with Chocolate: Use a teaspoon to fill each cherry indentation with about 1 teaspoon of the melted chocolate mixture, fully covering the cherry.
Bake: Bake for 9-11 minutes or until the cookies are just set. Let them cool slightly on the baking sheets before transferring them to a wire rack to cool completely.
Chef’s Tips:
- Visual Cues: Look for cookies that are slightly puffed in the center but still soft to the touch. They will continue cooking as they cool!
- Common Mistakes: Avoid overbaking—the cookies should appear soft in the middle; they will firm up as they cool.
Now that your kitchen smells amazing, let’s take it to the next level with expert tips for cookie perfection!
Expert Tips & Tricks
Storage Recommendations: These cookies can be stored at room temperature in an airtight container for up to one week. For longer storage, keep them in the fridge for up to two weeks or freeze them for up to three months.
Make-Ahead Instructions: You can make the dough ahead of time and refrigerate it for up to 5 days. Just allow it to come to room temperature before baking.
Troubleshooting: If your cookies spread too much, ensure your butter is adequately softened, but not melted. If they seem too dry, add a splash of milk to the dough.
Reheating: If storing in the fridge, pop them in the microwave for a few seconds to warm them up before enjoying!
Get Creative: Try adding some crushed nuts along with the chocolate for an extra crunch or experiment with flavored extracts, like almond, for a twist.
Now that you’re equipped with tips, how about serving these beauties?
Serving Suggestions
Enjoy your Chocolate Covered Cherry Cookies warm, fresh from the oven alongside a glass of cold milk or with a hot cup of coffee. For an elegant presentation, stack a few on a decorative plate and dust with powdered sugar for a simple yet beautiful touch.
They’re perfect for sharing at family gatherings, holiday cookie swaps, or a cozy movie night at home. You can even package them beautifully for gifting to friends and loved ones!
Variations & Substitutions
Feeling adventurous? Here are some fun variations:
- Flavor Combinations: Swap the maraschino cherries for dried cherries or fresh raspberries for a different taste.
- Dietary Adaptations: Make these cookies gluten-free by using a 1:1 gluten-free flour blend. For vegan cookies, substitute the egg with a flax egg and ensure all other ingredients are plant-based.
- Seasonal Variations: In fall, add some pumpkin spice to the dough for a warm autumn flavor. During Christmas, sprinkle with crushed peppermint for a festive twist.
Nutrition & Storage Info
- Prep Time: 15 minutes
- Cook Time: 15 minutes
- Total Time: 30 minutes
- Yield: About 24 cookies
- Estimated Calories: Approximately 150 calories per cookie
- Storage: Store cookies in an airtight container at room temperature for up to one week, or refrigerated for up to two weeks. Freeze for long-term storage.
FAQ Section
Can I use fresh cherries instead of maraschino cherries?
- Yes! Fresh cherries can be used, but you might want to reduce the sugar in the dough slightly, as fresh cherries are less sweet than maraschino.
How do I store leftover cookies?
- Keep your cookies in an airtight container at room temperature for about a week, or in the fridge for up to two weeks.
Can I freeze these cookies?
- Yes! You can freeze both the dough and the baked cookies for later enjoyment. Just ensure they’re well-wrapped.
What if I don’t have a stand mixer?
- No worries! A hand mixer or even a sturdy whisk will work, just put in a little more elbow grease while mixing.
Can I make these cookies nut-free?
- Absolutely! Just ensure that your chocolate chips don’t contain any nut ingredients, and enjoy!
What type of cocoa powder should I use?
- Using Dutch-processed cocoa powder will give you a deeper, richer flavor, but regular unsweetened cocoa will work as well.
Can these cookies be made gluten-free?
- Yes! Substitute all-purpose flour with a gluten-free flour blend for the same delicious results.
What can I serve these cookies with?
- They pair wonderfully with milk, coffee, or tea. For a dessert platter, add some fruit and a cheese selection for a lovely contrast.
What’s the best way to reheat these cookies?
- Microwave briefly for about 10-15 seconds or pop them in the oven at a low temperature until warmed through.
Can I add additional spices to the dough?
- Definitely! Add a pinch of cinnamon or nutmeg for an extra layer of flavor.
Conclusion
These Chocolate Covered Cherry Cookies are more than just a treat; they’re a bridge to fond family memories and a sweet addition to any gathering. Once you try this recipe, you’ll understand why they’ve become a staple in my home.
I encourage you to get into your kitchen, embrace the comforting art of baking, and create these delicious cookies. As always, I love hearing from you! Let me know how your baking adventure went, and don’t forget to check out more delicious recipes on the blog. Happy baking!