
Irresistible Biscoff Cheesecake: Your New Favorite Dessert
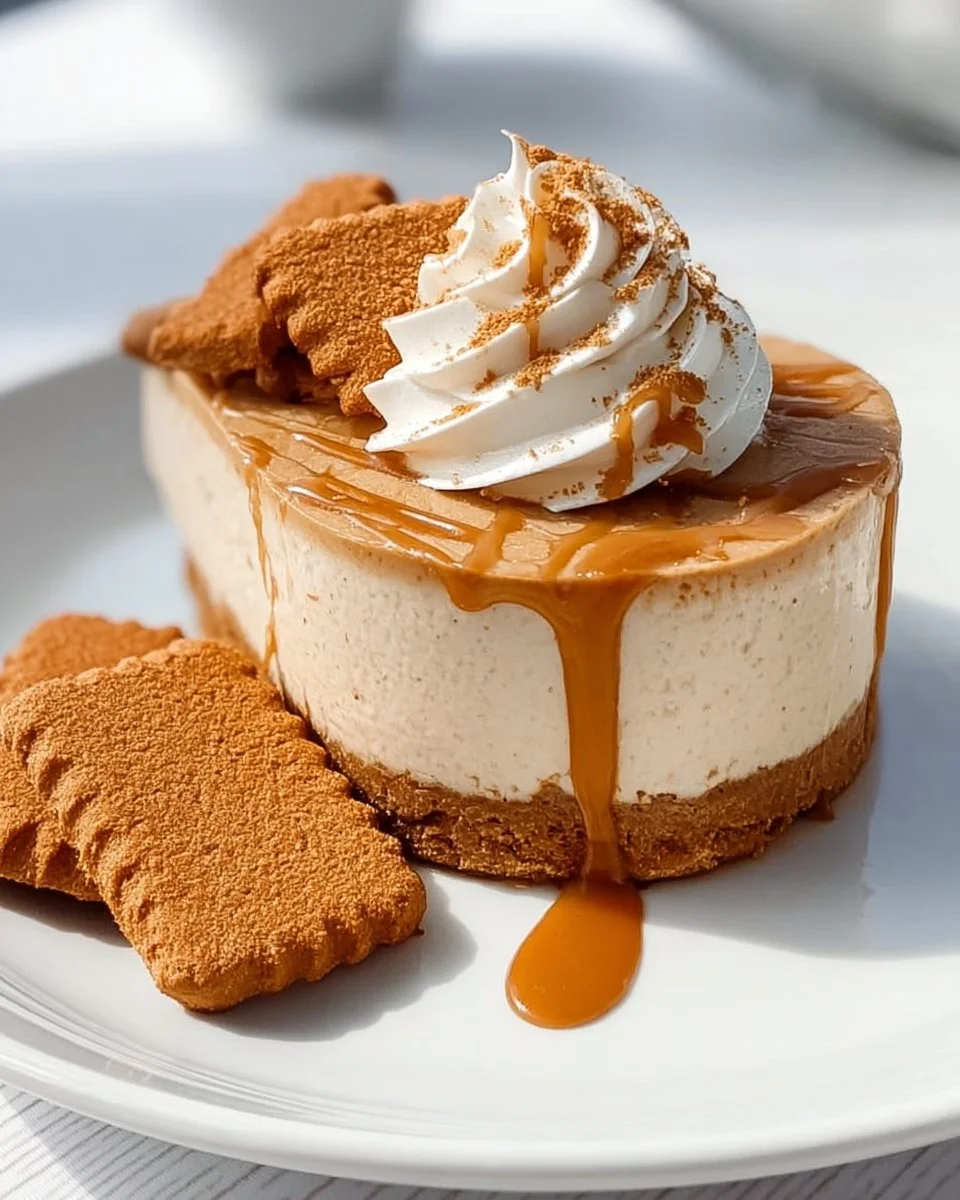
Biscoff Cheesecake is the dessert that dreams are made of, combining velvety cream cheese with the unique flavors of Lotus Biscoff cookies. Ever since I discovered Biscoff cookies, I’ve formed a deep bond with their spiced caramel taste and crunchy texture. The journey from munching on those cookies to turning them into an unforgettable cheesecake has been nothing short of magical.
I remember the first time I brought this dessert to a family gathering. Laughter filled the kitchen as we indulged in creamy bites that melted in our mouths. Everyone was completely smitten, asking for seconds—and even thirds! What makes this Biscoff Cheesecake a cut above the rest is its wonderfully smooth filling, perfectly balanced sweetness, and the crunch of cookie pieces nestled throughout. It’s not just a recipe; it’s a family heirloom in the making, a proven comfort that has a way of bringing people together.
In this blog post, I promise you’ll learn how to recreate that incredible experience, with easy-to-follow steps and expert tips to ensure your cheesecake comes out perfectly every time. Get ready to impress your friends and fill your home with the tantalizing aroma of baked goodness. Let’s dive in!
What Are Biscoff Cheesecakes?
Biscoff Cheesecakes have a delicious backstory that stems from the iconic Lotus Biscoff cookies, which originated in Belgium in the early 1930s. These caramelized biscuits, made from simple ingredients like flour, sugar, and spices, add a delightful crunch and warm flavor profile to any dessert. Imagine biting into a creamy cheesecake where each mouthful is complemented by the sweet and spicy essence of Biscoff!
The taste and texture of a Biscoff Cheesecake are truly unique—a rich, creamy filling mirrors the velvety softness of classic cheesecake, while the Biscoff cookies bring a smoky, caramel note to the party. This dessert is perfect for birthdays, holidays, or simply as a sweet treat to elevate any dinner party. Whether you’re celebrating with family or surprising a friend, Biscoff Cheesecake is sure to steal the show!
Why You’ll Love This Recipe
Decadent Flavor: Unlike store-bought cheesecakes, this DIY version is infused with genuine Biscoff cookie goodness and real cream cheese. The result? A flavor explosion that store shelves simply cannot replicate.
Cost-Effective: Making this cheesecake at home saves money without sacrificing taste. Just a handful of quality ingredients come together to create a gourmet dessert that will impress anyone who tries it.
Infinite Customization: Whether you want to add some crushed cookies on top for extra crunch or drench it in chocolate ganache, this Biscoff Cheesecake can easily adapt to suit your taste buds—and the occasion!
Beginner-Friendly: Even if you’re a novice in the kitchen, this recipe breaks down the steps so you can make an eye-catching dessert without the fuss. The combination of no-bake filling and a simple cookie crust makes it accessible to all.
Perfect Make-Ahead Option: Cheesecake needs time to set, so this recipe is ideal for pre-planning. You can prepare it the day before your event and let the fridge do its magic!
Ingredients
Let’s gather the following beloved goodies for your Biscoff Cheesecake:
- 24 Lotus Biscoff cookies: The star of the show! They will serve as the crust and add delightful pieces to the filling.
- 8 tablespoons (1 stick) unsalted butter: Melted, works to bind the crumb mixture for the crust. Ensure it’s at room temperature for easy mixing.
- 24 oz cream cheese: Make sure to use high-quality cream cheese for a smooth, creamy texture. I recommend brands like Philadelphia or mascarpone for richness, but avoid low-fat versions.
- 1 cup granulated sugar: Balances the tartness of the cream cheese—feel free to adjust based on your sweetness preference.
- 1 teaspoon vanilla extract: Elevates the flavor of the cheesecake itself.
- 1 cup heavy cream: Whipped for a light and airy texture that will perfectly complement the dense filling.
- ½ cup cookie butter: Adds an extra layer of Biscoff flavor to the filling.
Prep Notes:
- Bring cream cheese and egg to room temperature before mixing for a smoother consistency.
Step-by-Step Instructions
Make the Crust: Crush the Biscoff cookies into fine crumbs—like sand—and combine them with the melted butter. Mix until all crumbs are coated. Press this mixture firmly into the bottom of a springform pan to form your crust. Aim for an even layer; this is where the cheesecake will sit.
Prep the Filling: In a mixing bowl, beat the cream cheese until smooth, about 2-3 minutes. Add sugar and vanilla extract, and mix until fully incorporated.
Fold in the Biscoff: Stir in the cookie butter until it’s fully combined. Also, gently fold in pieces of Biscoff cookies—this texture contrast will make your cheesecake even more delightful!
Whip the Cream: In a separate bowl, whip the heavy cream until stiff peaks form—if it starts to look like whipped cream, you’re in the right direction! Gradually fold this cool, fluffy cream into the cheesecake mix. Be gentle to maintain that airy quality.
Combine and Smooth: Pour your filling over the prepared crust, smoothing the top with a spatula for an even surface.
Chill: Cover the pan with plastic wrap or lids and refrigerate for at least 4-6 hours, or until it’s set. This is where the magic happens!
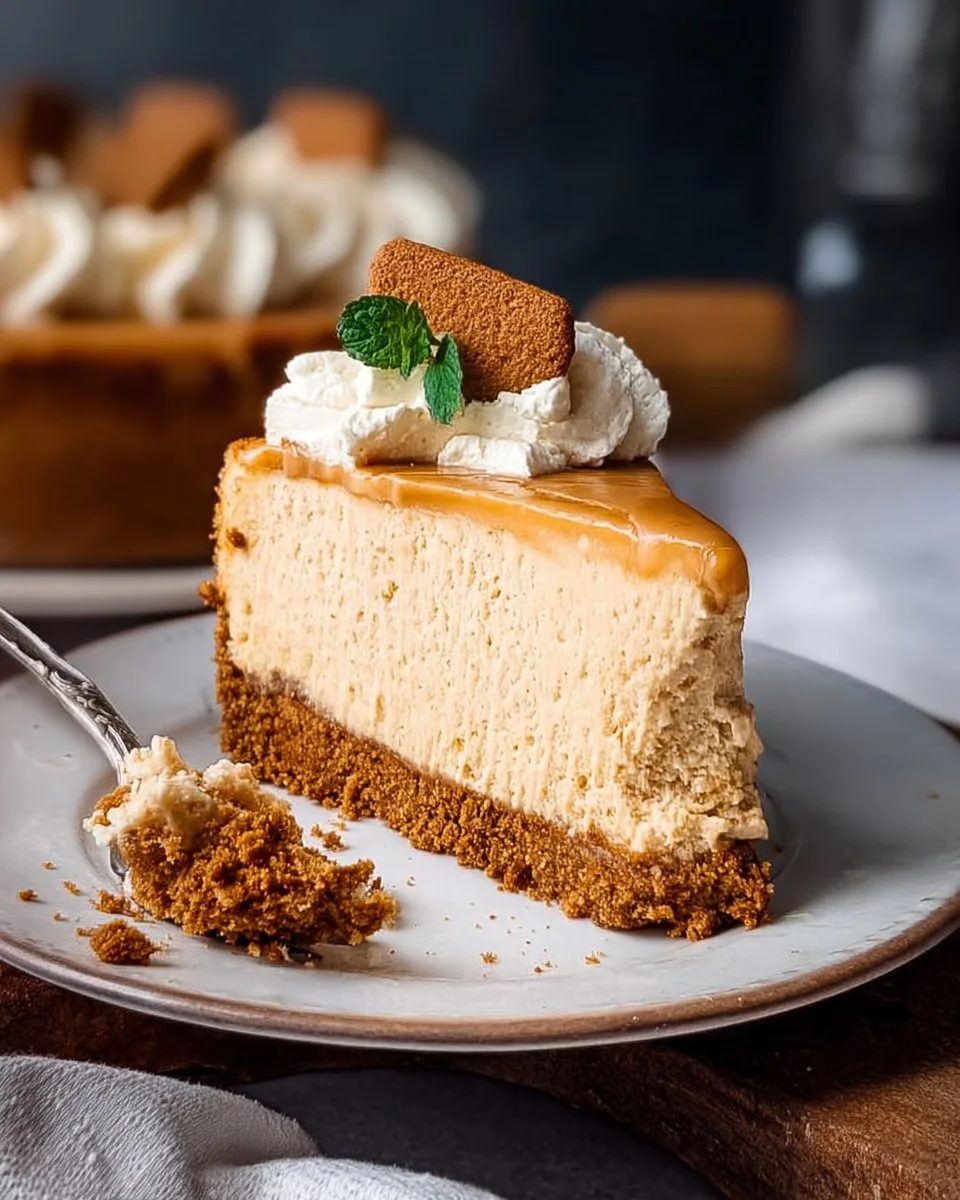
Serve: Once set, carefully remove the cheesecake from the springform pan. Cut into slices and serve chilled. Enjoy every creamy bite!

Expert Tips & Tricks
- Cream Cheese Quality: Use full-fat cream cheese for the best results; avoid the whipped versions.
- Storage: Store leftovers in an airtight container in the refrigerator for up to a week. For longer storage, you can freeze individual slices!
- Make-Ahead Option: Prepare your Biscoff Cheesecake up to 2 days in advance. Just keep it chilled!
- Common Mishaps: If your filling cracks while setting, it may be due to overwhipping the cream or allowing it to chill too fast. A gentle mix is key!
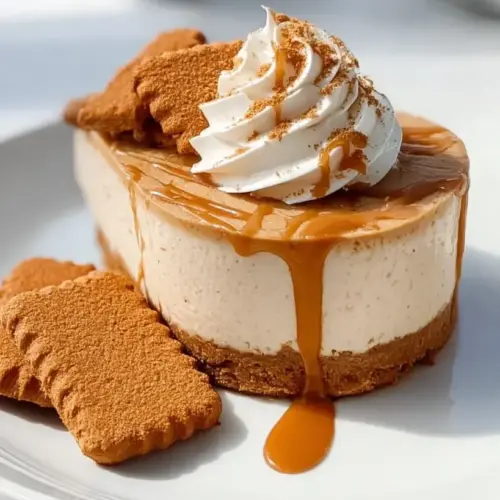
- Topping Ideas: Consider drizzling melted chocolate or a dollop of whipped cream adorned with crushed Biscoff cookies for presentation.
Serving Suggestions
Pair your delectable Biscoff Cheesecake with a coffee, tea, or even a dessert wine to elevate your dessert experience. For a festive touch, sprinkle with sea salt or arrange fresh fruits to add color and taste contrast. This cheesecake is perfect for special occasions like birthdays, holidays, or just because it’s a Tuesday!
Variations & Substitutions
- Flavor Twists: Try adding a swirl of raspberry jam for a fruity contrast or lime zest for brightness.
- Diet-Friendly: Vegan cream cheese and gluten-free cookies can substitute for a dairy-free or gluten-free variation.
- Seasonal Adaptations: During autumn, consider incorporating pumpkin puree with spices for a cozy fall twist on this classic dessert.
Nutrition & Storage Info
- Prep Time: 30 minutes
- Chill Time: 4–6 hours
- Total Time: 5 hours
- Yield: 12 slices
- Estimated Calories: 350 per slice
- Storage Instructions: Store in the refrigerator for 3-5 days. Wrap tightly to freeze, where it can last up to 3 months.
FAQ Section
Can I use low-fat cream cheese?
Yes, but keep in mind it may affect the texture and creaminess of the cheesecake.Can I make this recipe ahead of time?
Absolutely! This cheesecake tastes even better the next day and can be prepared up to 2 days in advance.What can I replace the heavy cream with?
If you’re looking for a lighter option, you can use whipped coconut cream or additional cream cheese, though the texture will differ.Can I use another type of cookie?
Yes! Feel free to use any other buttery, crispy cookies in place of Biscoff, but remember the distinctive flavor will change.Is it necessary to use a springform pan?
While it’s recommended for easy removal, you can use a standard pie dish—just be extra careful when cutting and serving.How should I store leftovers?
Keep them in an airtight container in the fridge for up to a week, or freeze individual slices for longer storage.Can I use cookie butter as a topping?
Yes! Drizzle cookie butter melted slightly over the top before serving for extra deliciousness.Will this recipe work in a larger pan?
It can, but you’ll need to adjust the baking time, making it longer to account for the thickness.What’s the best way to cut cheesecake?
Use a hot, dry knife to slice through for a clean cut—you want to avoid any messy edges!How does this dessert hold up at room temperature?
While it’s best chilled, it can sit at room temperature for about 2 hours without compromising taste.
Conclusion
This Biscoff Cheesecake is truly special, merging the delectable taste of spiced caramel cookies with the creaminess of traditional cheesecake, creating a dessert sure to leave a lasting impression. I encourage you to try whipping up this slice of bliss in your own kitchen—trust me, your taste buds will thank you! Share your thoughts and feedback in the comments, and feel free to explore more fun, tasty recipes on my blog that celebrate the joys of baking!
Biscoff Cheesecake
Ingredients
For the crust
- 24 cookies Lotus Biscoff cookies Crushed into fine crumbs
- 8 tablespoons unsalted butter Melted and at room temperature
For the filling
- 24 oz cream cheese High-quality, full-fat recommended
- 1 cup granulated sugar Adjust based on sweetness preference
- 1 teaspoon vanilla extract For flavor enhancement
- 1 cup heavy cream Whipped until stiff peaks form
- ½ cup cookie butter Adds rich Biscoff flavor
- 24 cookies Biscoff cookies Chopped to add to the filling
Instructions
Preparation
- Crush the Biscoff cookies into fine crumbs and mix with melted butter. Press this mixture into the bottom of a springform pan to form the crust.
- In a mixing bowl, beat the cream cheese until smooth. Mix in sugar and vanilla extract until fully incorporated.
- Fold in the cookie butter and pieces of Biscoff cookies gently.
- Whip the heavy cream until stiff peaks form and fold it into the cheesecake mixture delicately.
- Pour the filling over the prepared crust and smooth the top with a spatula.
- Cover the pan and refrigerate for at least 4-6 hours until set.
- Once set, carefully remove the cheesecake from the springform pan, slice, and serve chilled.