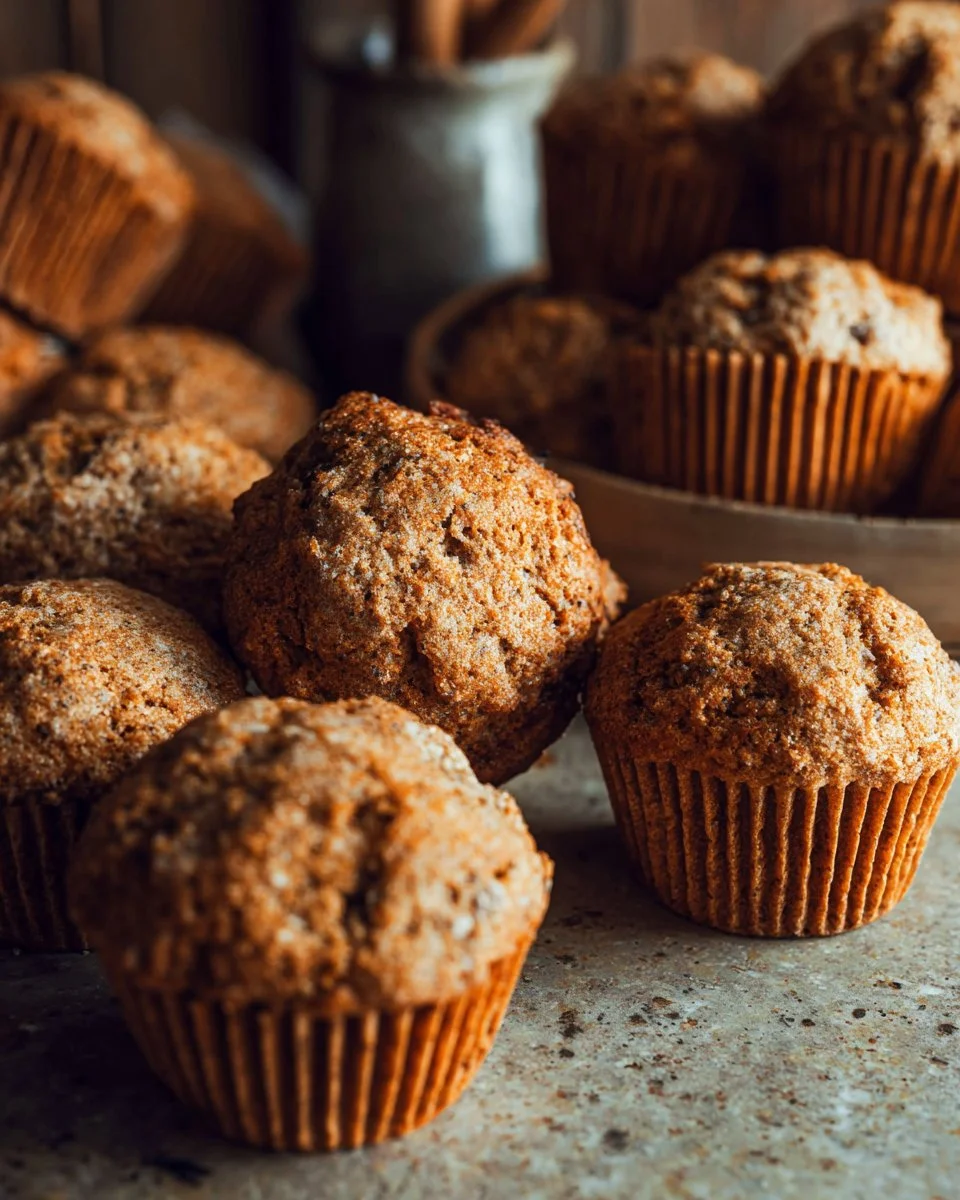
There’s something undeniably comforting about the warm aroma of freshly baked muffins wafting through your kitchen, bringing back cherished memories of weekend breakfasts with family. For me, that sweet scent often meant it was time for my grandmother’s beloved bran muffins. She had a magical way of transforming those humble ingredients into golden, fluffy bites of joy that made everyone feel at home. Today, I’m sharing my own take on those heartwarming bran muffins, with a modern twist that makes them even better.
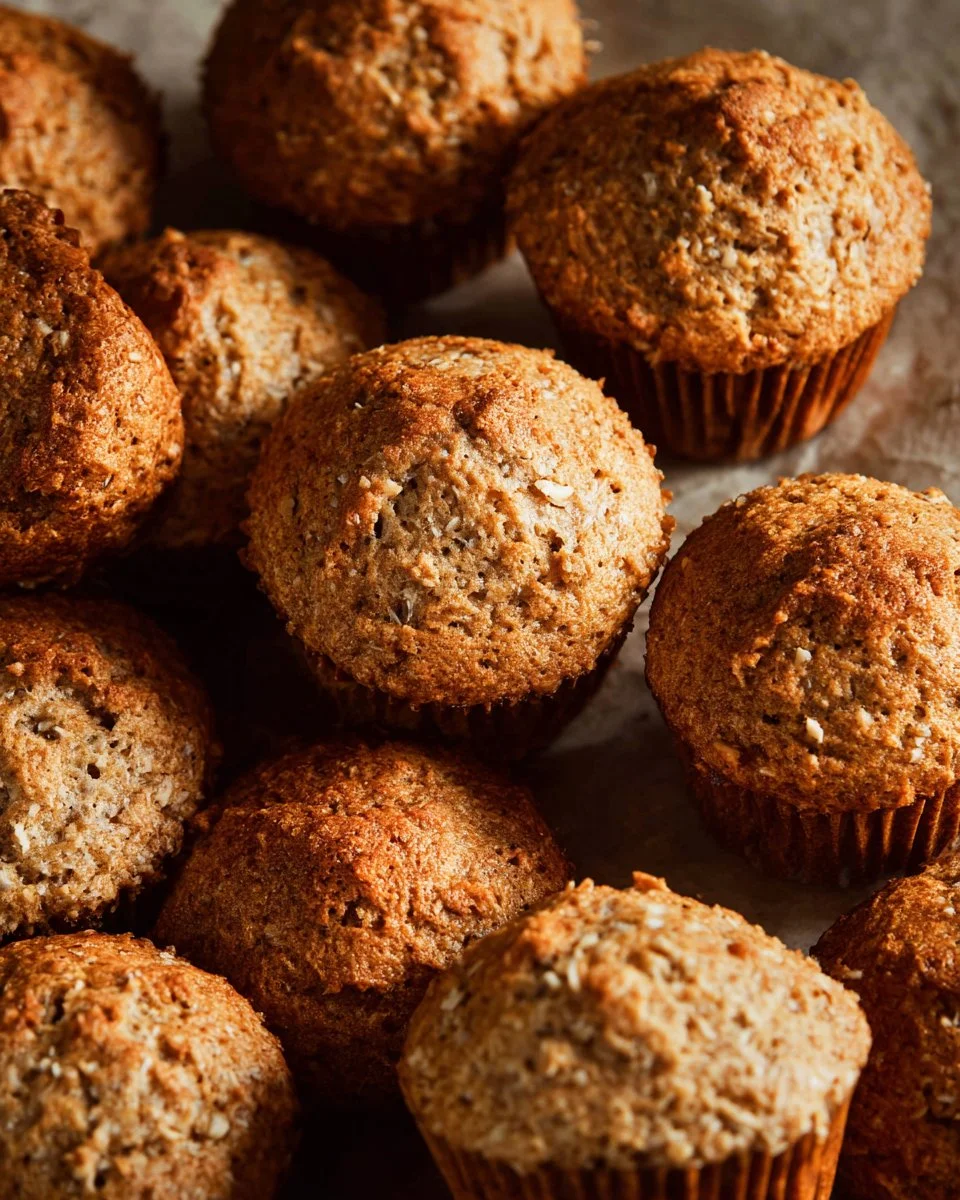
What sets these muffins apart from others is the vibrant balance of flavor and texture, enriched with wholesome ingredients that provide a hearty bite without skimping on taste. These muffins are delightfully moist and fluffy, making them the perfect companion for a cup of coffee or as a wholesome snack throughout the day. You’ll learn how to whip up these delightful treats from scratch, garnished with optional additions that make them entirely your own. Get ready to fill your kitchen with warmth, joy, and a treat that truly nourishes both the body and the soul!
What Are Bran Muffins?
Originating as a popular health food in the late 19th century, bran muffins were primarily endorsed for their digestive benefits, thanks to the high fiber content of wheat bran. But they’re so much more than just healthy! With a slightly nutty taste and a moist, tender crumb, bran muffins offer a comforting rustic flavor that delights the palate. Picture a muffin that’s dense yet not overly heavy, with a light crumb that makes every bite thoroughly satisfying.
Bran muffins make an excellent choice for breakfast on busy mornings or as an afternoon snack. They’re also the ideal way to use up those leftover pantry staples, giving you a delicious reason to experiment in the kitchen. With so many possibilities for customization, there’s always a reason to bake a fresh batch! Whether served warm from the oven or enjoyed later in the day, these muffins have earned their place in the comfort food hall of fame.
Why You’ll Love This Recipe
- Easy and Efficient: This bran muffin recipe is perfect for both novice and seasoned bakers alike. With simple, straightforward instructions, you’ll find yourself whipping up a batch before you know it!
- Wholesome and Nutritious: Say goodbye to the overly sweet store-bought alternatives! This recipe uses wholesome ingredients like wheat bran and buttermilk that are not only delicious but also provide essential nutrients.
- Cost-Effective: Baking your own muffins will save you money in the long run. With pantry staples, you can whip up a dozen muffins for a fraction of the cost of a single coffee shop version.
- Customizable: Feel free to add your favorite mix-ins like nuts, fruits, or even chocolate chips. This versatility means you can create your perfect muffin, tailored to your taste!
- Satisfying and Filling: Thanks to their high fiber content, these bran muffins will keep you satisfied longer, making them a perfect pick for breakfast or a mid-afternoon snack.
Ingredients
Dive into this delightful bran muffin recipe with these foundational ingredients, enhanced with some tips to ensure the best results:
- 2 cups all-purpose flour: For a lighter texture, consider using a mix of whole wheat and all-purpose flour.
- 2 tsp baking powder: Always check the expiration date for maximum effectiveness.
- 1 tsp salt: It enhances the flavors beautifully.
- 1/2 tsp baking soda: This is key for that lovely, airy rise.
- 2 cups wheat bran: Make sure it’s fresh for optimal taste.
- 1/3 cup unsalted butter, softened: Ensure the butter is at room temperature for easy creaming. Brands I love are Kerry Gold or Land O’ Lakes.
- 1/2 cup sugar: You can substitute with brown sugar for a richer flavor or coconut sugar for a healthier option.
- 1 egg: Fresh eggs yield better results for texture.
- 2 cups buttermilk: If you don’t have buttermilk, you can easily make a substitute by adding a tablespoon of vinegar to milk and letting it sit for 5-10 minutes.
Step-by-Step Instructions
- Preheat the oven: Begin by preheating your oven to 400 degrees F. This is crucial—make sure your oven is fully preheated before popping the muffins in!
- Prepare the muffin tin: Lightly spray your muffin tins with cooking spray or line them with paper liners. This will help with easy removal after baking.
- Mix the dry ingredients: In a medium bowl, sift together 1 cup of all-purpose flour, 2 tsp baking powder, 1 tsp salt, and 1/2 tsp baking soda. Then, mix in 2 cups of wheat bran until combined.
- Cream the butter and sugar: In a large bowl, cream together 1/3 cup softened unsalted butter and 1/2 cup sugar using a hand mixer until light and fluffy, about 2-3 minutes. This step creates air pockets that make the muffins fluffy.
- Incorporate the egg: Add in 1 egg and mix until fully combined.
- Combine wet and dry ingredients: Mix half of the dry ingredients into the wet mixture until just combined. Add in 1 cup of buttermilk and mix again. Finally, repeat with the remaining dry ingredients and the final cup of buttermilk. Mix until everything is just combined; over-mixing can lead to dense muffins!
- Bake: Pour the batter into the prepared muffin tins, filling each about 2/3 full. Bake in the preheated oven for about 20 minutes or until they’re golden brown and a toothpick inserted in the center comes out clean.
- Cool: Once done, let them cool in the pan for 10 minutes before transferring them to a wire rack to cool completely.
Chef’s Tip: Use an ice cream scoop to distribute the batter evenly into the muffin tins for perfect muffin shapes!
Expert Tips & Tricks
- Storage: These bran muffins can be stored in an airtight container at room temperature for 2-3 days or in the refrigerator for up to a week. Try freezing them for longer storage—just pop them in a resealable freezer bag.
- Make-ahead: You can prep the dry ingredients ahead of time and store them in a jar, so muffin-making is a breeze on busy mornings!
- Troubleshooting: If your muffins come out too dense, check that you didn’t over-mix the batter. Remember to gently fold the ingredients together.
- Flavor boost: Consider adding a sprinkle of cinnamon or nutmeg for added warmth and depth.
- Perfectly portioned: For mini muffins, fill the mini muffin tin and reduce the baking time to about 12-15 minutes.
Serving Suggestions
These bran muffins make a delightful breakfast treat alongside a steaming cup of coffee or tea. For presentation, consider topping them with a dollop of honey or a smear of cream cheese. They’re also excellent as an on-the-go snack or part of a wholesome brunch spread. Serve with fresh fruit or a yogurt parfait for a balanced meal!
Variations & Substitutions
Feel free to get creative with these bran muffins! Different flavor combinations could include:
- Chocolate Chip Bran Muffins: Add 1/2 cup mini chocolate chips for a sweet twist.
- Fruit Add-Ins: Consider incorporating blueberries, chopped apples, or mashed bananas.
- Nutty Choices: Fold in walnuts or pecans for extra crunch.
- Gluten-Free: Use a gluten-free flour blend to make this recipe suitable for those with dietary restrictions.
- Vegan: Substitute buttermilk for almond milk with a splash of lemon juice and use a flax egg instead of a regular egg.
Nutrition & Storage Info
- Prep time: 15 minutes
- Cook time: 20 minutes
- Total time: 35 minutes
- Yield: 12 servings
- Estimated calories per serving: Approximately 180 calories per muffin
- Storage: Store at room temp for 2-3 days, in the fridge for up to a week, or freeze for up to three months.
FAQ Section
1. Can I use whole wheat flour instead of all-purpose flour?
Absolutely! Whole wheat flour will give your muffins a denser texture and nuttier flavor. You might want to adjust the liquid slightly to compensate.
2. How can I make these muffins sweeter?
If you like a sweeter muffin, you can increase the sugar to 3/4 cup or add a drizzle of honey on top when serving.
3. Can I add nuts to the batter?
Yes! Nuts such as walnuts or pecans make a wonderful addition. Just fold in about 1/2 cup chopped nuts to the batter.
4. How long will these muffins last?
They can last at room temperature for 2-3 days or a week in the refrigerator. They freeze well too—ideal for meal prep!
5. Can I replace buttermilk with something else?
If you don’t have buttermilk, you can mix one cup of milk with either a tablespoon of lemon juice or vinegar. Let it sit for about ten minutes before using.
6. Can I use a sugar substitute?
Yes, you can substitute with stevia or another sweetener, but make sure to check the conversion ratios as they can vary significantly.
7. What if my muffins sink in the middle?
This can happen if the batter is over-mixed or if the baking powder is expired. Gently folding the ingredients helps maintain the airy texture.
8. How do I know when my muffins are done?
Insert a toothpick into the center of a muffin; if it comes out clean, they’re done. If it’s wet, give them another minute or two.
9. Can I make these into mini muffins?
Definitely! Just adjust the baking time to about 12-15 minutes and keep an eye on them to ensure they don’t overbake.
10. Is this recipe suitable for kids?
Absolutely! These bran muffins are a healthy snack option that kids will love, especially with the addition of dried fruits or chocolate chips.
Conclusion
These delicious bran muffins reflect the warmth of family traditions and the joy of baking from scratch. Not only are they nutritious and versatile, but they also deliver that delightful homemade charm that makes every bite special. I invite you to try this recipe and share your feedback—it’s always exciting to hear how you put your unique spin on my creations! And if you’re looking for more delightful baking inspiration, be sure to check out my other recipes on the blog!