

Heavenly Yogurt Banana Bread: A Moist & Flavorful Twist You Can’t Resist!
Picture this: It’s a rainy afternoon, the kind where the sound of droplets gently dancing on the roof creates the perfect backdrop for a cozy kitchen adventure. Armed with three overripe bananas, I’m reminded of my mother’s wonderful banana bread, always waiting for us after school. Growing up, there was something magical about walking into the kitchen and being enveloped by the warm aroma of freshly baked goods. But as much as I loved my mom’s recipe, I wanted to add my own twist. That’s when I discovered the world of Yogurt Banana Bread.
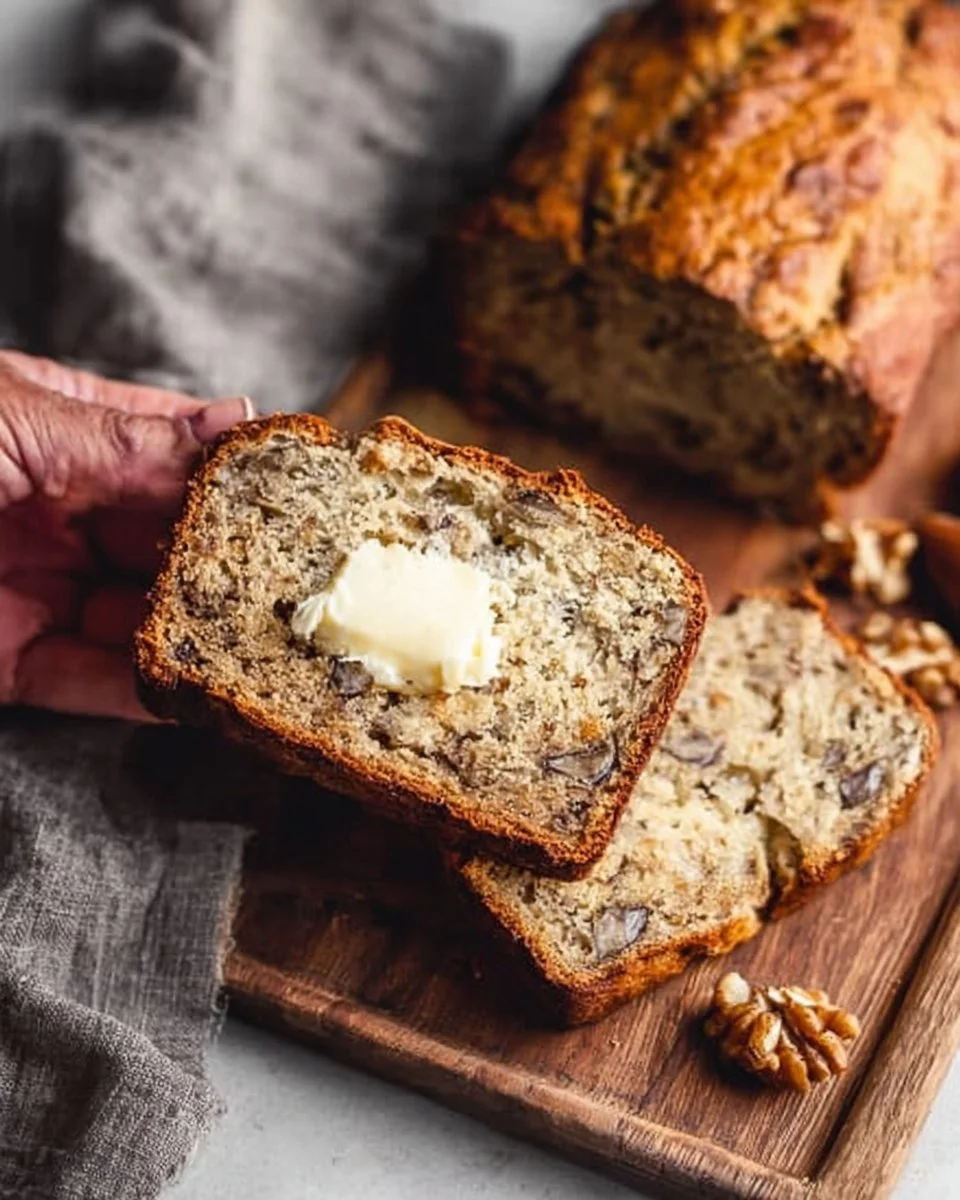
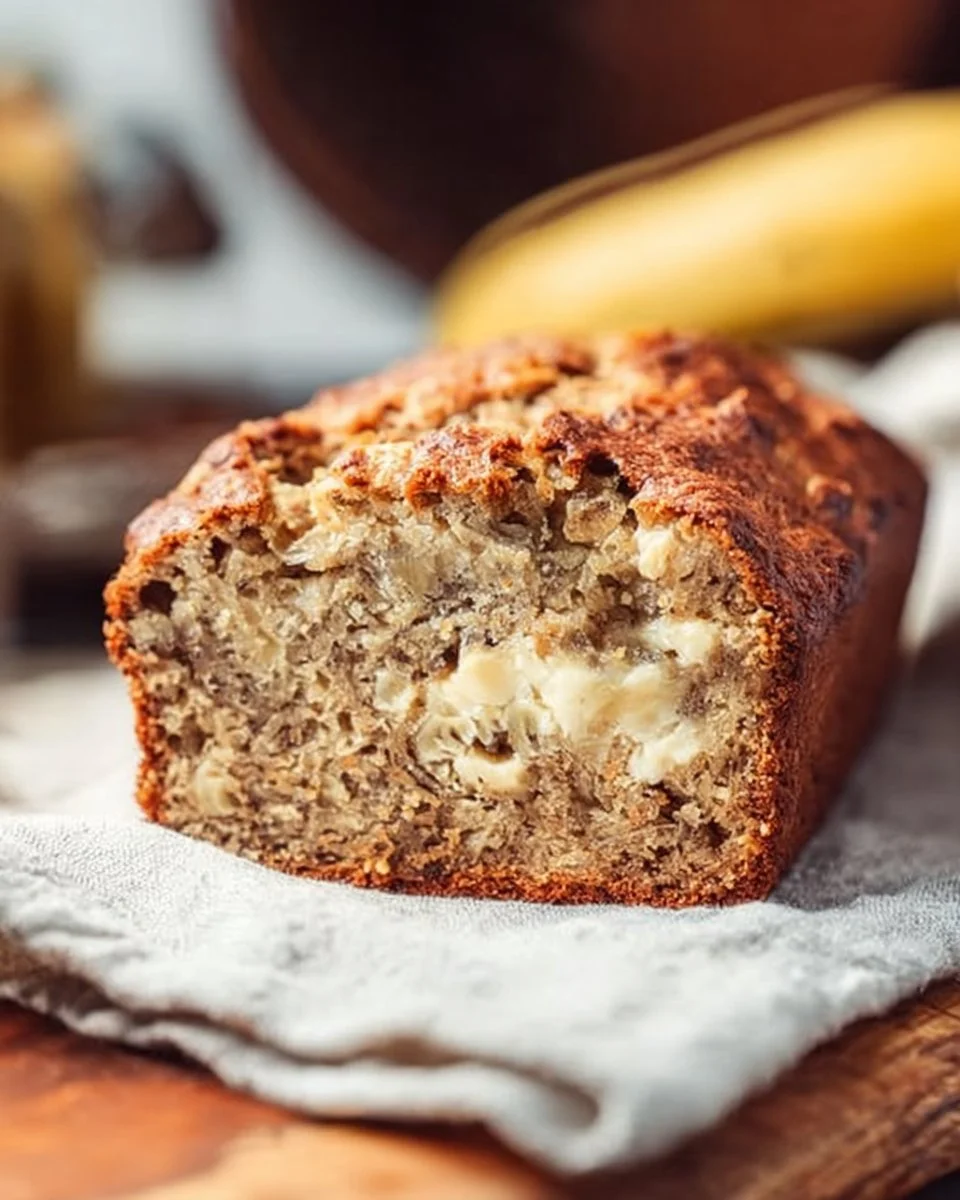
Incorporating yogurt into the mix not only elevates the bread’s moisture to an entirely new level but also offers a tanginess that perfectly balances the sweetness of the bananas. This Yogurt Banana Bread is unlike any other — it’s unbelievably moist, slightly dense, yet light enough to enjoy any time of day. Each bite brings back lavishing memories and a heartfelt connection to home.
In this post, I’ll share my treasured recipe and some tips and tricks that I’ve learned over the years. Get ready to bring a slice of comfort into your home with this delectable Yogurt Banana Bread recipe!
What Are Yogurt Banana Bread?
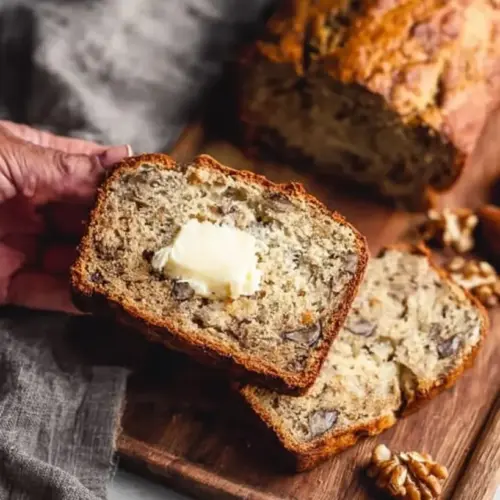
The concept of Yogurt Banana Bread comes from the traditional banana bread that we know and love, but with a delightful enhancement — yogurt! This addition not only elevates the moisture levels but also infuses the bread with a slight tang. The result is a loaf that is incredibly tender, with a crumb that’s soft yet sturdy, perfect for slathering with butter or enjoying plain.
Banana bread as a treat has roots in the early 1930s in the United States, gaining popularity during the Great Depression when resources for baking were limited, making overly ripe bananas a creative solution. Today, bakers everywhere have embraced the fruit in all its glory, including the innovative twist of yogurt, which adds much-needed richness and flavor. Yogurt Banana Bread is an inviting, delectable option to share during family gatherings, brunches with friends, or simply as a treat for yourself — because you deserve it.
Why You’ll Love This Recipe
Unmatched Moisture: This Yogurt Banana Bread is incredibly moist, thanks to the yogurt. It’s that satisfying texture you’ve always dreamed of in a loaf, making each slice irresistible.
Easy and Cost-Effective: Compared to those pricey store-bought loaves, this recipe is not only budget-friendly but also straightforward. With just a handful of ingredients, most of which you might already have at home, you can whip this up without breaking the bank.
Customization at Its Best: Want to include chocolate chips or nuts? Or perhaps, you’re feeling adventurous and want to add a dash of cinnamon or a swirl of peanut butter? This recipe is wonderfully flexible, allowing you to experiment and make it uniquely yours.
Quick Prep and Baking Time: The best part? You can enjoy this treat in about 1.5 hours, with minimal effort involved. No fancy tools or elaborate techniques required!
A Family Favorite: My kids absolutely devour this bread. There’s just something about the combination of bananas and yogurt that makes it a hit. Whether enjoyed as breakfast or a mid-afternoon snack, everyone loves it!
Ingredients Section
For this delicious Yogurt Banana Bread, gather the following everyday ingredients:
- 3 ripe bananas, mashed: The riper, the better! They should have plenty of brown spots for optimal sweetness.
- 1/2 cup yogurt: Greek yogurt offers more protein and creaminess, but regular yogurt also works fine. Opt for plain to avoid added sugars.
- 1/4 cup granulated sugar: This adds sweetness to the bread.
- 1/4 cup brown sugar: For richness and a slight caramel flavor.
- 1/4 cup melted butter or oil: I prefer unsalted butter, but vegetable oil is a great substitute for vegan options.
- 2 large eggs: At room temperature for better mixing.
- 1 teaspoon vanilla extract: A must for flavor depth!
- 1 teaspoon baking soda: The key leavening agent for that lovely rise.
- 1/2 teaspoon baking powder: Works alongside baking soda for extra fluffiness.
- 1/2 teaspoon salt: Balances the sweetness.
- 1 1/2 cups all-purpose flour: This is the base; you can also experiment with whole wheat or almond flour for different textures.
- 1/2 cup walnuts or chocolate chips (optional): Personal choice! If you’re feeling indulgent, go for the chocolate chips.
Ingredient Notes
- Always use room temperature ingredients for the best mixing results. This ensures everything combines smoothly.
- Look for high-quality yogurt like Fage or Chobani — they’ve never let me down!
- Feel free to swap out the sugars for alternatives like maple syrup or coconut sugar if that’s your thing.
Step-by-Step Instructions
Now, let’s get baking!
Preheat and Prepare: Preheat your oven to 350°F (175°C). Grease a 9×5 loaf pan with cooking spray or butter, or line it with parchment paper for easy removal.
Mix Wet Ingredients: In a large bowl, combine the mashed bananas and yogurt. Add in the granulated sugar, brown sugar, melted butter (or oil), eggs, and vanilla extract. Mix well until everything is thoroughly combined, and the batter is smooth.
Whisk Dry Ingredients: In another bowl, whisk together the baking soda, baking powder, salt, and flour. This step ensures that the leavening agents are evenly distributed throughout the flour.
Combine: Gradually add the dry ingredients to the wet ingredients. Stir gently until just combined — be careful not to overmix! If you’re adding walnuts or chocolate chips, fold them in now.
Pour and Bake: Pour the batter into the prepared loaf pan, smoothing the top with a spatula. Bake for 60-70 minutes, or until a toothpick inserted into the center comes out clean. The top should be golden and slightly domed!
Cool It Down: Allow the bread to cool in the pan for about 10 minutes, then gently transfer it to a wire rack to cool completely. The smell wafting through your home will be pure bliss!
Chef’s Tips
- If you’re short on baking time, you can also make mini loaves! Just reduce the baking time to around 25-30 minutes.
- If you find your bread browning too quickly, tent it with aluminum foil halfway through.
- To keep it moist, ensure it’s completely cooled before covering!
Expert Tips & Tricks
Storage Suggestions: Store your Yogurt Banana Bread in an airtight container at room temperature for up to 3 days. You can also refrigerate it, but it tends to lose some moisture.
Freezing for Later: To enjoy later, wrap individual slices in plastic wrap and place them in a freezer-safe bag — they can last up to 3 months! Just thaw in the fridge or at room temperature when you’re ready to enjoy.
Make-Ahead Instructions: You can prepare the batter the night before — just cover it tightly and refrigerate. When ready, bring it to room temperature before baking for even cooking.
Troubleshooting Common Issues: If your bread turns out too dense, check that your baking soda is fresh. Collapse in the middle? It might need more time in the oven.
About the Bananas: If you want to speed up the ripening of your bananas, bake them in their skins at 300°F for 15-20 minutes. The skins will turn black, and the inside will caramelize beautifully!
Spices and Flavors: Don’t hesitate to add nutmeg, cinnamon, or even a hint of orange zest for an additional flavor dimension.
Serving Suggestions
Pair slices of this moist Yogurt Banana Bread with a hot cup of coffee or a chilled glass of almond milk to balance the richness. Drizzle a bit of honey or a dollop of whipped cream cheese atop for a delightful twist. It’s perfect for brunch gatherings, cozy weekends, or lazy afternoons when you need comfort food at its finest.
Feeling a bit fancy? Serve it with a side of freshly made fruit compote or a sprinkle of powdered sugar for a touch of elegance!
Variations & Substitutions
Flavor Upgrades: Try adding 1/2 cup of cocoa powder to the batter for a chocolatey aftermath or swirl in some peanut butter for a nutty flavor.
Dietary Adaptations: For gluten-free options, substitute with almond flour or a gluten-free baking blend. Just note that you may need to adjust liquid ingredients for the texture!
Seasonal Spices: For a festive twist, add pumpkin spice or chopped apples during fall, or fold in fresh berries in summer for a fresh burst.
Nutrition & Storage Info
- Prep Time: 15 minutes
- Cook Time: 60-70 minutes
- Total Time: Approximately 1.5 hours
- Yield: Makes 1 loaf (about 10-12 slices)
- Estimated Calories per Serving: About 180 calories
- Storage Instructions: Keep at room temperature for up to 3 days, or refrigerate for about 5 days. Freeze for up to 3 months, wrapped tightly.
FAQ SECTION
Can I use frozen bananas?
Absolutely! Just thaw them and drain any excess liquid before mashing.Is it possible to make this recipe vegan?
Yes! Substitute the eggs with flax eggs (1 tablespoon of flaxseed meal mixed with 2.5 tablespoons of water per egg) and use a plant-based yogurt.What kind of yogurt should I use?
I suggest regular or Greek yogurt. Just make sure it’s plain to keep the sugar content in check.Can I add other fruits?
Yes! Feel free to incorporate shredded zucchini or apples for a fruity twist.Why is my bread not rising?
Check the freshness of your baking soda. If it’s old, your bread won’t rise as it should.How do I know when the bread is done?
Insert a toothpick into the center; it should come out clean when the bread is ready.Can I double the recipe?
Certainly! Just bake in a larger loaf pan or two separate pans, increasing the baking time as needed.How can I make it more chocolatey?
Add 1/2 cup of cocoa powder or chocolate chips for extra chocolate flavor.Why is my bread dry?
Overbaking might be the culprit! Keep an eye on it towards the end of the baking time.Can I make mini loaves?
Yes! Use mini loaf pans and bake for around 25-30 minutes.
Conclusion
This Yogurt Banana Bread is not just a recipe; it’s an experience filled with warmth, nostalgia, and love. I hope you give it a try and share it with your family — I promise they’ll be clamoring for seconds! If you try this recipe or have suggestions of your own, I would love to hear your thoughts in the comments. Don’t forget to check out more delicious recipes on my blog that will inspire your next baking adventure! Happy baking! 🍌🍞
Yogurt Banana Bread
Ingredients
Main ingredients
- 3 pieces ripe bananas, mashed The riper, the better! They should have plenty of brown spots for optimal sweetness.
- 1/2 cup yogurt Greek yogurt offers more protein and creaminess, but regular yogurt also works fine. Opt for plain to avoid added sugars.
- 1/4 cup granulated sugar This adds sweetness to the bread.
- 1/4 cup brown sugar For richness and a slight caramel flavor.
- 1/4 cup melted butter or oil Unsalted butter preferred, but vegetable oil is a substitute for vegan options.
- 2 large eggs At room temperature for better mixing.
- 1 teaspoon vanilla extract A must for flavor depth!
- 1 teaspoon baking soda The key leavening agent for that lovely rise.
- 1/2 teaspoon baking powder Works alongside baking soda for extra fluffiness.
- 1/2 teaspoon salt Balances the sweetness.
- 1 1/2 cups all-purpose flour The base; can experiment with whole wheat or almond flour for different textures.
- 1/2 cup walnuts or chocolate chips (optional) Personal choice! Add for indulgence.
Instructions
Preparation
- Preheat your oven to 350°F (175°C). Grease a 9x5 loaf pan with cooking spray or butter, or line it with parchment paper for easy removal.
- In a large bowl, combine the mashed bananas and yogurt. Add in the granulated sugar, brown sugar, melted butter (or oil), eggs, and vanilla extract. Mix well until everything is thoroughly combined, and the batter is smooth.
- In another bowl, whisk together the baking soda, baking powder, salt, and flour.
- Gradually add the dry ingredients to the wet ingredients. Stir gently until just combined — be careful not to overmix! If adding walnuts or chocolate chips, fold them in now.
- Pour the batter into the prepared loaf pan, smoothing the top with a spatula. Bake for 60-70 minutes, or until a toothpick inserted into the center comes out clean.
- Allow the bread to cool in the pan for about 10 minutes, then gently transfer it to a wire rack to cool completely.