

Irresistible No-Bake Biscoff Cheesecake: The Ultimate Treat for Cookie Lovers
Have you ever sunk your teeth into a dessert that made you feel like you were wrapped in a warm hug? That’s exactly how I felt the first time I tasted Biscoff cheesecake. It was at a family gathering where laughter and delicious food filled the air, and this creamy, dreamy treat became the star of the evening. The velvety cheesecake, paired with the uniquely spiced flavor of Biscoff cookies, transported me back to my childhood—a time when celebrations were as simple as our favorite dessert rounding off a family dinner.
What makes Biscoff cheesecake so special is its exquisite balance of flavors and textures. The buttery cookie crust meets a rich and airy cheesecake filling, creating a sublime experience with every bite. Unlike other cheesecakes that can sometimes be heavy or overly sweet, this one strikes the perfect harmony that makes you want to savor each bite.
In this post, I’m excited to share my secret recipe for making an unforgettable no-bake Biscoff cheesecake. I promise you’ll learn how to create this indulgent dessert with ease and finesse, impressing friends and family alike. So, grab your apron and let’s dive into this delightful baking adventure!
What Are Biscoff Cheesecakes?
Biscoff cheesecakes are a luscious twist on the classic dessert, featuring the delightful flavor of Biscoff cookies, which are beloved for their caramelized, spiced taste. Originating from Belgium, these cookies, often enjoyed with coffee, make a uniquely delicious base and flavoring for a cheesecake.
When you take a bite of a Biscoff cheesecake, you experience a velvety smooth texture combined with a subtly spiced flavor that is both comforting and indulgent. The creamy filling, along with the crunchy Biscoff base, creates an irresistible contrast that leaves you craving more.
These cheesecakes are perfect for various occasions, whether it’s a holiday gathering, a birthday celebration, or just a sweet treat to enjoy at home. Making them is also a breeze—no baking required! They’re a fantastic option for anyone looking to create a memorable dessert without spending hours in the kitchen.
Why You’ll Love This Recipe
Decadent Flavor: The combination of rich cream cheese and spiced Biscoff cookie spread is truly the stuff dreams are made of. It’s far superior to most store-bought cheesecakes, which often lack depth in flavor.
Cost-Effective: If you’ve ever cringed at the price of desserts from a fancy bakery, this no-bake Biscoff cheesecake will save you money. With simple ingredients, you can make an incredible cheesecake that serves a crowd without breaking the bank.
Customization Galore: This recipe is a canvas for your creativity. Feel free to add chocolate drizzles, fresh fruit, or even a layer of salted caramel on top. Your imagination is the limit!
Quick and Simple: With only a handful of steps and no need for an oven, this recipe proves perfect even for novice bakers. Set aside just a few hours for chilling, and you’ll have an impressive dessert ready to share.
Perfect for Any Occasion: Whether you’re hosting a summer barbecue or cozying up during winter festivities, this cheesecake fits right in and will wow your guests.
Ingredients
When crafting the perfect no-bake Biscoff cheesecake, ingredient quality matters. Here’s what you need:
- 1 package Biscoff cookies (about 24) – for the base, these will create a deliciously crunchy layer at the bottom.
- 2 tablespoons butter, melted – use unsalted butter for better control of the flavor.
- 8 oz cream cheese, at room temperature – softened cream cheese blends better, resulting in a smoother cheesecake filling.
- 1 cup Biscoff cookie spread – this adds richness and a fantastic flavor; I recommend the Lotus brand for authenticity.
- 1/2 cup powdered sugar – for a hint of sweetness; sift for a smooth incorporation.
- 1 cup heavy cream – chilled, this will be whipped to fluffy perfection, contributing to the cheesecake’s airy texture.
Prep Notes: Ensure your butter and cream cheese are at room temperature for easier mixing. If you’re short on time, place the cream cheese in a microwave for 10-15 seconds (but don’t let it melt!).
Step-by-Step Instructions
Prepare the Base: Begin by crushing the Biscoff cookies into fine crumbs. You can use a food processor or zip them in a plastic bag and smash them with a rolling pin. Mix the crumbs with the melted butter until fully combined. Press this mixture firmly into the bottom of a 9-inch springform pan to create a solid base. Aim for an even layer.
Mix the Filling: In a large mixing bowl, beat the room-temperature cream cheese until it’s silky smooth, about 2-3 minutes. Scrape down the sides to ensure everything is mixed evenly.
Add Flavor: Next, add the Biscoff cookie spread and powdered sugar to the cream cheese mixture. Blend until they’re well incorporated, ensuring there are no lumps.
Whip the Cream: In a separate bowl, whip the heavy cream until it forms stiff peaks—this usually takes about 3-5 minutes with a hand mixer.
Combine the Mixtures: Gently fold the whipped cream into the Biscoff cream cheese mixture. Be careful not to deflate the whipped cream; you want to maintain that light, airy texture.
Spread It Out: Spread the cheesecake filling over the cookie base in the springform pan. Smooth the top with a spatula and make sure it’s evenly distributed.
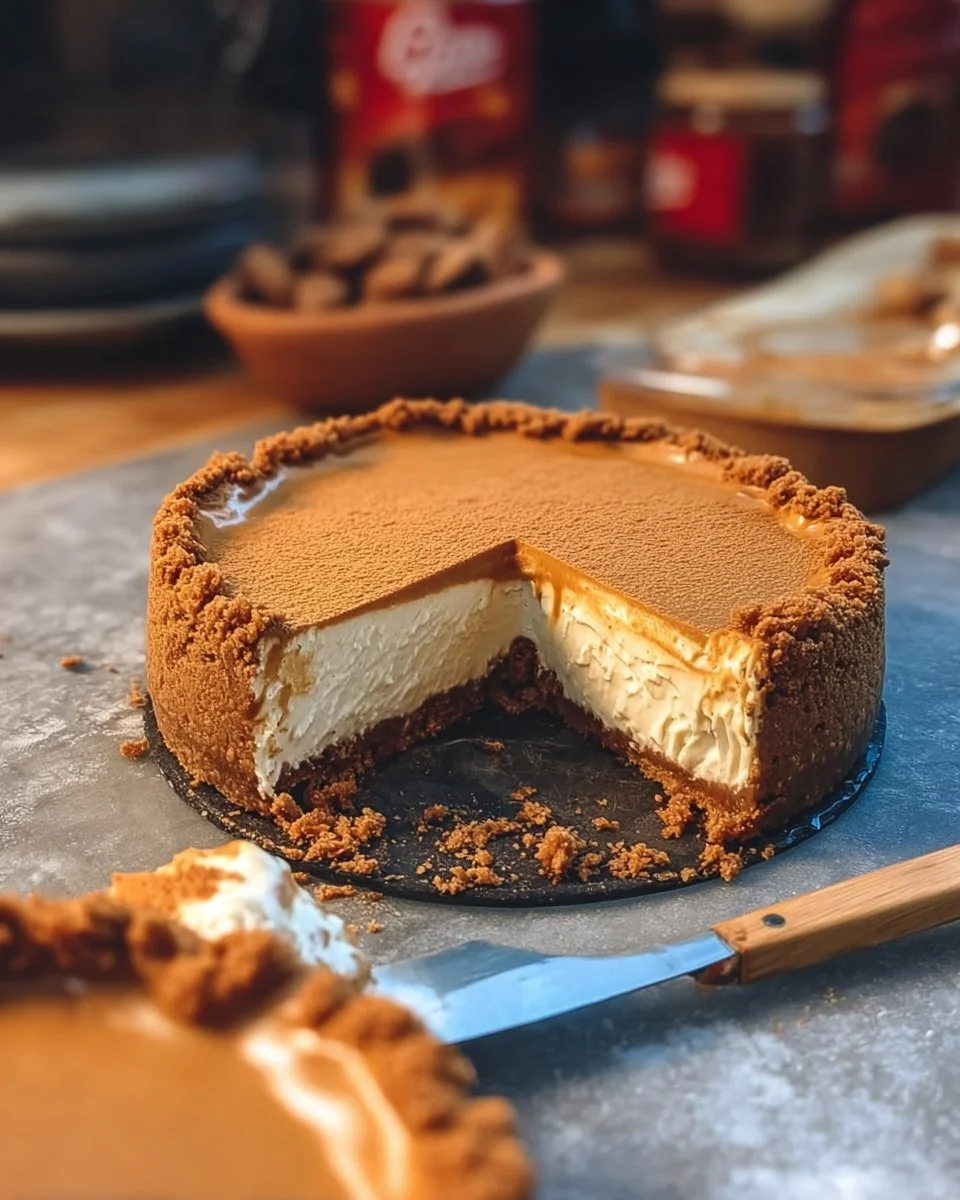
Chill to Perfection: Refrigerate the cheesecake for at least 4 hours, or overnight if possible. This allows it to set properly and makes for cleaner slices when you’re ready to serve.
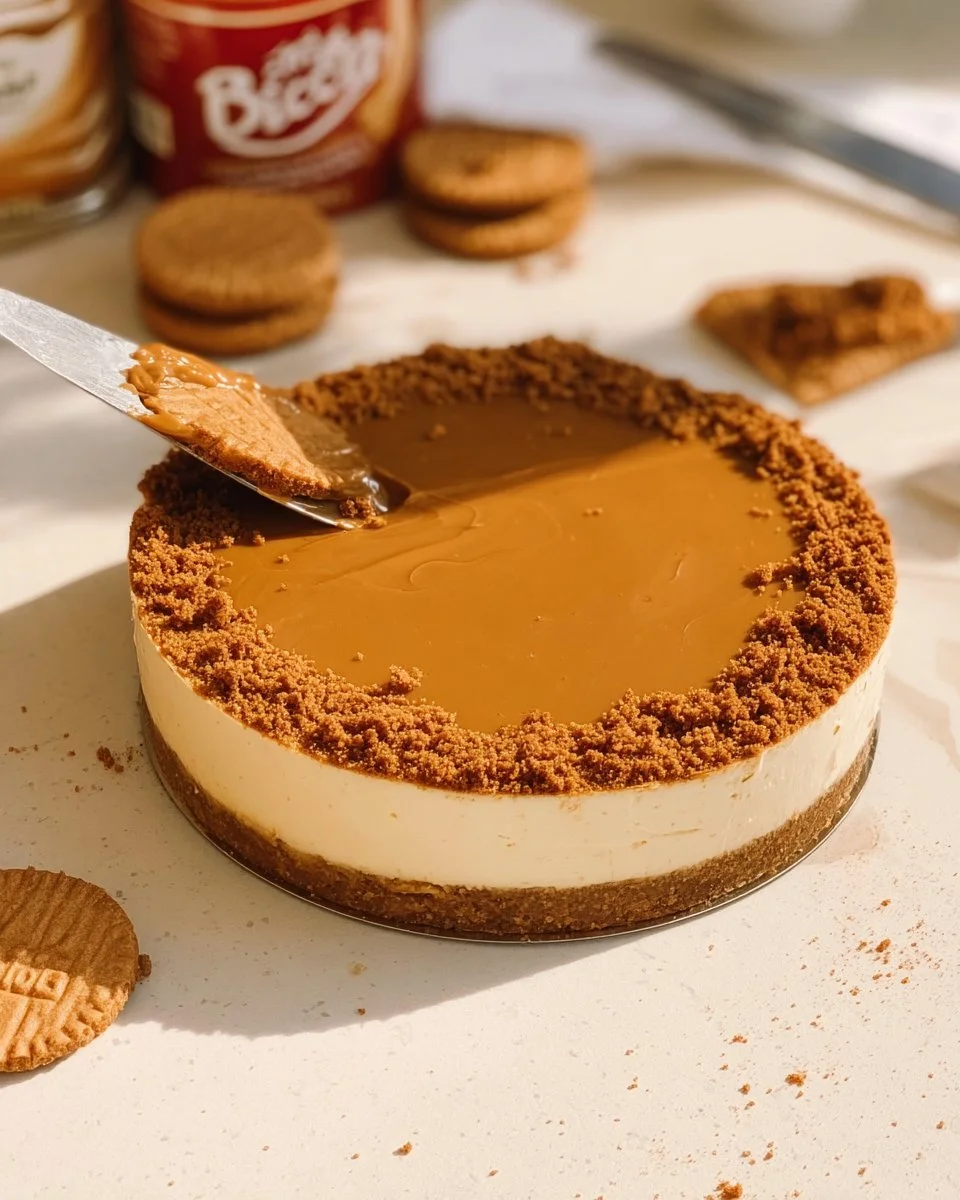
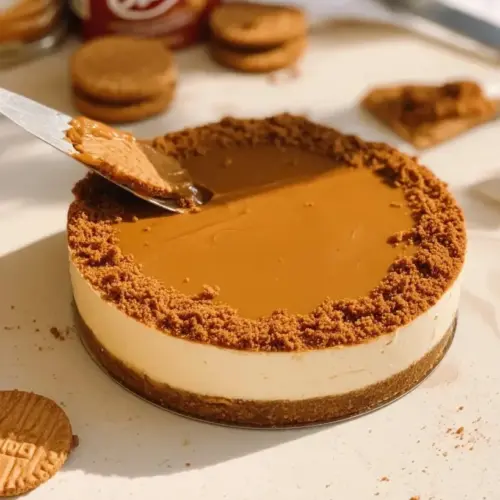
Serve and Enjoy: When ready to indulge, slice the cheesecake and enjoy it chilled. For added flair, consider drizzling it with extra Biscoff spread or topping it with whipped cream.
Chef’s Tips:
- Make sure your ingredients are properly mixed. Over or under-mixing can affect texture.
- Avoid over-whipping your cream in step 4 to maintain its fluffy consistency.
Expert Tips & Tricks
Storage: Your no-bake Biscoff cheesecake can be stored in the fridge for up to 5 days. If you have leftovers, cover it tightly with plastic wrap to keep the moisture in.
Make Ahead: This cheesecake is an excellent make-ahead dessert. Prepare it the day before your event and let it chill overnight—this means you’ll have a stress-free day of hosting.
Troubleshooting: If your cheesecake doesn’t set, it may need more time in the fridge or could have been over-mixed. Aim for a consistent folding motion when combining mixtures to avoid deflation.
Variations: Want to add a twist? Try mixing in lemon zest for a zingy flavor or incorporating mini chocolate chips for some extra sweetness.
Serving Suggestions
Pair your dreamy no-bake Biscoff cheesecake with a warm cup of coffee or a cozy herbal tea for the ultimate indulgence. If you want a little something extra on the side, consider serving it with whipped cream, a sprinkle of crushed Biscoff cookies, or a drizzle of caramel sauce. It’s also perfect for special occasions like birthdays, holiday parties, or an afternoon tea treat with friends.
Variations & Substitutions
Flavors: Consider adapting the recipe by swapping out the Biscoff cookie spread for Nutella or another favorite cookie spread—imagine a chocolate hazelnut cheesecake!
Dietary Adaptations: For a gluten-free version, use gluten-free cookies for the crust and ensure your cookie spread is also gluten-free. You can also explore dairy-free cream cheese and heavy cream alternatives for a vegan option.
Seasonal Updates: In the fall, add a hint of pumpkin spice to the mix, or in the summer, fold in fresh berries for a delightful seasonal twist.
Nutrition & Storage Info
- Prep Time: 20 minutes
- Cook Time: 0 minutes (chill time doesn’t count)
- Total Time: 4 hours (including chill time)
- Yield: Serves 8-10
- Estimated Calories per Serving: Approximately 350 calories
- Storage Instructions: Keep in the fridge for up to 5 days. It’s best served chilled but can be stored at room temperature for no longer than 2 hours.
FAQ Section
Can I make this cheesecake gluten-free?
Yes, use gluten-free Biscoff cookies and a gluten-free cookie spread.How long will this cheesecake last?
It will last about 5 days in the fridge when stored correctly.Can I freeze Biscoff cheesecake?
Yes, wrap it tightly in plastic wrap and store it in the freezer for up to 2 months.What if my cheesecake isn’t setting?
If it hasn’t set after the recommended chilling time, leave it in the fridge for a few more hours.Can I add chocolate to the Biscoff cheesecake?
Absolutely! You can fold in chocolate chips or drizzle melted chocolate over top.What’s the best way to slice cheesecake?
Use a sharp knife dipped in hot water for clean slices. Wipe the knife with a towel between cuts.Can I substitute the Biscoff cookie spread with something else?
Feel free to use any cookie spread, like Nutella or Speculoos butter.What type of springform pan do you recommend?
A 9-inch non-stick springform pan works perfectly for this recipe.Is this recipe easy for beginners?
Yes! This is a straightforward recipe that requires no baking, making it perfect for novice bakers.How can I make Biscoff cheesecake mini?
Use mini springform pans or muffin tins to create individual servings.
Conclusion
This no-bake Biscoff cheesecake is a truly special treat that combines the rich flavors of Biscoff cookies with the creamy texture of cheesecake, capturing the essence of comfort in every bite. I invite you to try this delightful recipe and let me know the reactions of your friends and family. Don’t hesitate to share your feedback or any personal twists you’ve made. Happy baking!
For more irresistible desserts, be sure to check out my other recipes on the blog; you might find your next favorite treat!
No-Bake Biscoff Cheesecake
Ingredients
For the crust
- 1 package Biscoff cookies (about 24) These will create a deliciously crunchy layer at the bottom.
- 2 tablespoons butter Melted unsalted butter for better flavor control.
For the filling
- 8 oz cream cheese At room temperature for smoother mixing.
- 1 cup Biscoff cookie spread Adds richness and flavor; Lotus brand recommended.
- 1/2 cup powdered sugar Sifted for a smooth incorporation.
- 1 cup heavy cream Chilled, to be whipped to fluffy perfection.
Instructions
Preparation
- Begin by crushing the Biscoff cookies into fine crumbs. You can use a food processor or zip them in a plastic bag and smash them with a rolling pin.
- Mix the crumbs with the melted butter until fully combined. Press this mixture firmly into the bottom of a 9-inch springform pan to create a solid base.
- In a large mixing bowl, beat the room-temperature cream cheese until it’s silky smooth, about 2-3 minutes. Scrape down the sides to ensure everything is mixed evenly.
- Add the Biscoff cookie spread and powdered sugar to the cream cheese mixture. Blend until they’re well incorporated, ensuring there are no lumps.
- In a separate bowl, whip the heavy cream until it forms stiff peaks—this usually takes about 3-5 minutes with a hand mixer.
- Gently fold the whipped cream into the Biscoff cream cheese mixture. Be careful not to deflate the whipped cream; you want to maintain that light, airy texture.
- Spread the cheesecake filling over the cookie base in the springform pan. Smooth the top with a spatula and make sure it’s evenly distributed.
- Refrigerate the cheesecake for at least 4 hours, or overnight if possible. This allows it to set properly and makes for cleaner slices when you’re ready to serve.
- When ready to indulge, slice the cheesecake and enjoy it chilled. For added flair, consider drizzling it with extra Biscoff spread or topping it with whipped cream.