

Easy Homemade Manicotti: Your New Favorite Comfort Dish
Imagine this: it’s a chilly Sunday afternoon, the comforting scent of simmering marinara wafts through the house, and family members gather around the kitchen table, each one eagerly awaiting their share of the delicious meal. That’s the magic of Easy Homemade Manicotti—it’s not just a dish; it’s a delightful experience that transforms any ordinary day into a cherished memory.
I first learned to make manicotti from my grandmother, a woman who believed that good food and good company were the secrets to happiness. Her version was a family favorite, and I’ve carried that passion into my own kitchen—and now I want to share it with you! What sets my Easy Homemade Manicotti apart is how accessible and customizable it is, while still delivering that comforting, creamy, cheesy goodness that warms your soul.
In this post, I’ll walk you through every step of making manicotti that will impress your family and friends. You might even find yourself passing down this recipe like I did, as a cherished family tradition. Let’s roll up our sleeves and get ready to create a dish that’s sure to fill not just stomachs, but hearts!
What Are Easy Homemade Manicotti?
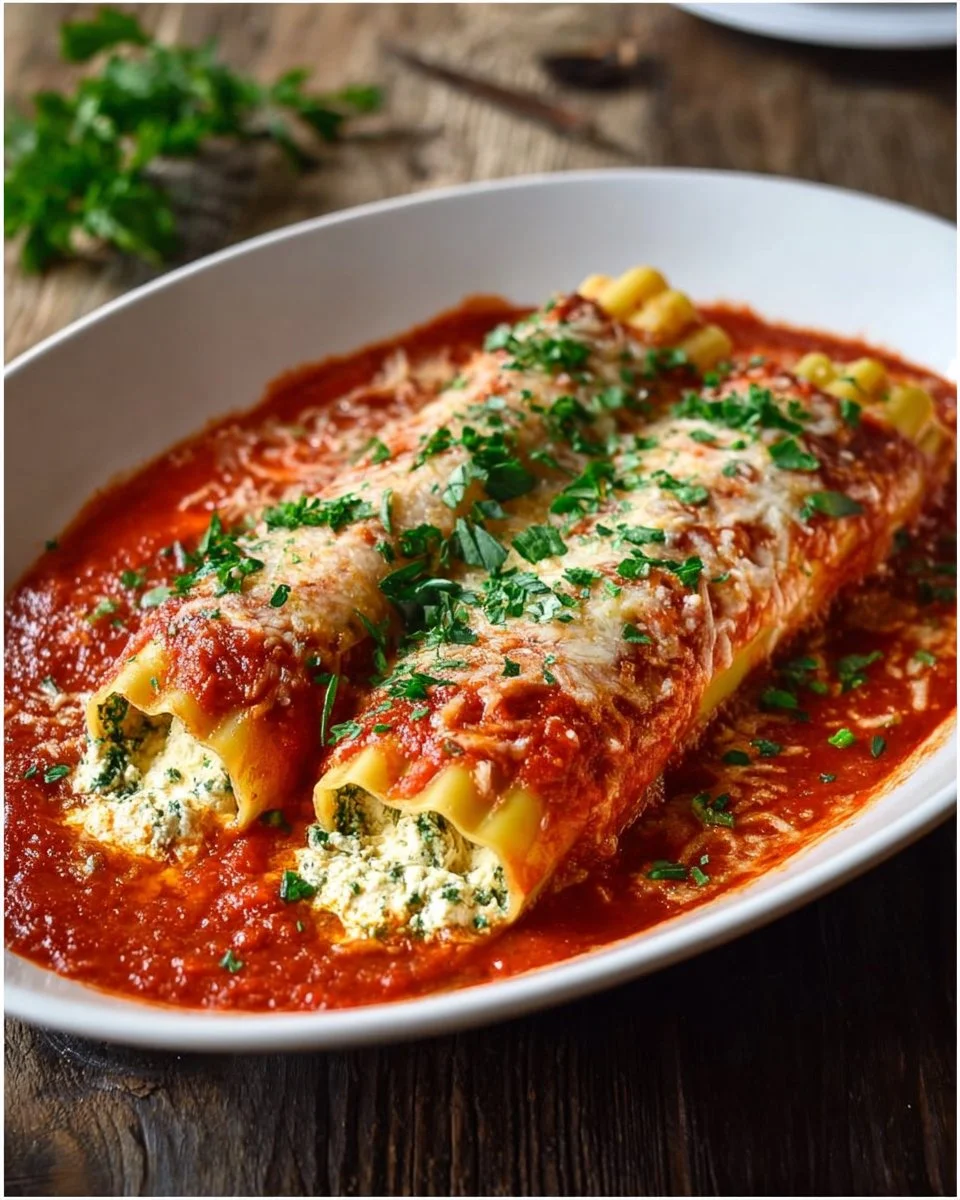
Manicotti, a classic Italian-American dish, consists of tubular pasta shells filled with a rich, creamy cheese mixture, all smothered in tantalizing marinara sauce and topped with bubbling, golden cheese. The origins of manicotti can be traced back to Italy, where “manicotti” means “sleeves.” Traditionally, they were served on special occasions and are synonymous with comfort and family gatherings.
The taste is a beautiful harmony of flavors—from the creamy, herb-infused ricotta and mozzarella cheese filling to the tangy marinara sauce that ties it all together. Each bite is a warm embrace of cheesy goodness, with a delicate pasta shell that provides the perfect bite.
Whether you’re making it for a family gathering, a cozy dinner for two, or preparing it to impress friends at a dinner party, Easy Homemade Manicotti is a versatile dish that fits every occasion. It’s truly the epitome of what comfort food should be!
Why You’ll Love This Recipe
Easier Than You Think: Many people shy away from making manicotti because they assume it’s a difficult dish. However, with my Easy Homemade Manicotti recipe, you’ll find it requires just basic cooking skills and a bit of love!
Cost-Effective: When you compare the price of homemade manicotti to restaurant versions, you’ll see a significant savings. Plus, you can enjoy leftovers for days, making it a great meal prep option!
Customizable to Your Taste: One of the best parts about this recipe is how easily it can be customized. Want to add spinach, sausage, or extra spices to your cheese filling? Go for it! You are in complete control of the flavors.
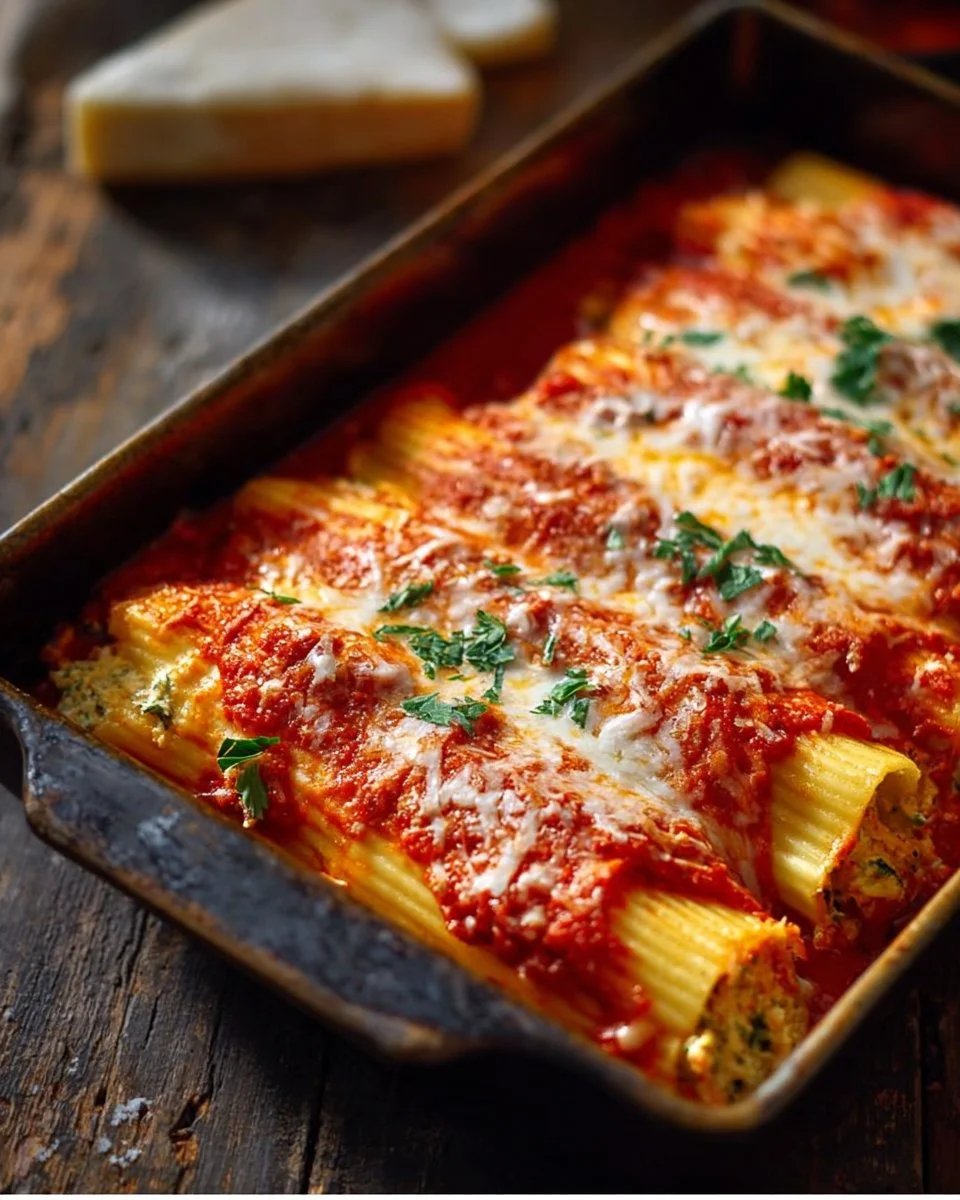
Impressive Presentation: Stuffed pasta always looks spectacular on a plate. After baking, the golden cheese bubbling on top and the vibrant marinara sauce create a feast for the eyes that will impress your guests.
Comfort on a Plate: Eating homemade manicotti resonates with warmth and nostalgia—it’s more than just a meal; it’s a reminder of family gatherings and special moments shared over a dining table.
Ingredients
Here’s what you’ll need to create the most delicious Easy Homemade Manicotti:
Manicotti Pasta Shells: Use high-quality pasta shells; they should hold up well during filling and baking. Brands like Barilla are fantastic choices.
Ricotta Cheese: Opt for whole milk ricotta for maximum creaminess. The texture is key to a luscious filling.
Mozzarella Cheese: Fresh mozzarella adds a lovely stretch, or you can use pre-shredded mozzarella for convenience.
Parmesan Cheese: Freshly grated Parmesan offers a deeper flavor compared to the pre-packaged kind.
Egg: This helps bind the filling together and gives it a lovely texture.
Marinara Sauce: Homemade is best, but a good-quality store-bought sauce can save you time. Look for one with minimal ingredients.
Garlic & Italian Seasoning: Fresh minced garlic elevates the flavor profile. Italian seasoning adds that classic herbal touch.
Salt & Pepper: Essential for bringing out all the flavors in your dish.
Prep Notes:
- Make sure to have your eggs and cheeses at room temperature for easier mixing.
- When selecting cheeses, opt for high-quality brands for the best taste.
Step-by-Step Instructions
Preheat the Oven: Set your oven to 375°F (190°C) and let it heat up while you prep the other ingredients.
Cook the Manicotti: Cook the manicotti shells according to package directions until al dente (usually about 8-10 minutes). Drain and place them aside, ensuring they do not stick together.
Prepare the Filling: In a large mixing bowl, combine 1 cup ricotta cheese, 1 cup shredded mozzarella cheese, ½ cup grated Parmesan cheese, 1 large egg, 2 cloves of minced garlic, 1 teaspoon of Italian seasoning, salt, and pepper to taste. Mix until well combined and smooth.
Chef’s Tip: Taste your cheese filling before stuffing the shells to ensure it tastes just right!
Stuff the Shells: Using a piping bag or a spoon, carefully stuff each manicotti shell with the cheese mixture. Be gentle to avoid breaking the shells.
Marinara Layer: Spread a thin layer (about ½ cup) of marinara sauce on the bottom of a 9×13 baking dish. This prevents the shells from sticking.
Arrange the Stuffed Manicotti: Place the stuffed shells in the dish. Top the manicotti with the remaining marinara sauce, ensuring each shell is well covered.
Add Extra Cheese: Sprinkle an additional cup of mozzarella cheese on top for that gooey, cheesy finish.
Cover and Bake: Cover the dish tightly with aluminum foil and bake for 25 minutes.
Golden Finish: After 25 minutes, remove the foil and continue baking for an additional 10 minutes, or until the cheese is bubbly and golden brown.
Visual Cue: Look for a golden color and bubbling edges to know it’s done!
Serve: Let sit for a few minutes before plating. Serve hot and revel in your delicious, homemade manicotti!
Expert Tips & Tricks
Storage: Leftover manicotti can be stored in an airtight container in the fridge for up to 3 days.
Make-Ahead Instructions: You can assemble the manicotti up to a day in advance and keep it in the fridge. Just add an extra 10 minutes to your baking time if it’s coming straight from the fridge.
Troubleshooting: If your pasta shells break when filling, try briefly soaking them in hot water before assembly.
Freezing: Unbaked manicotti can be frozen. Just wrap it well in plastic wrap and foil. It will last for 3 months. To cook, bake from frozen, adding 10-15 minutes to the baking time.
Serving Suggestions
Pair your Easy Homemade Manicotti with a crisp green salad and garlic bread for a complete meal. The vibrant colors and aromas create a stunning table presentation that’s perfect for both casual and special occasions. Consider serving it alongside a glass of full-bodied red wine to elevate your dining experience!
Variations & Substitutions
The beauty of manicotti is its versatility. Here are a few variations to consider:
Veggie Lover’s Delight: Add sautéed spinach or mushrooms to the cheese filling for a veggie kick.
Meat Lovers’ Version: Mix in some browned ground beef or Italian sausage to the cheese mix for extra heartiness.
Gluten-Free Option: Swap out traditional pasta for gluten-free pasta shells available at many grocery stores.
Seasonal Twist: Add pumpkin puree during the fall for a unique flavor profile or sprinkle in some fresh basil in summer!
Nutrition & Storage Info
- Prep Time: 30 minutes
- Cook Time: 35 minutes
- Total Time: 65 minutes
- Yield: Serves 6-8 people
- Estimated Calories: About 350 calories per serving
- Storage:
- Room Temperature: 2 hours max after baking.
- Fridge: Up to 3 days.
- Freezer: Up to 3 months.
FAQ Section
Can I use regular pasta instead of manicotti shells?
- No, manicotti shells are specifically designed to hold fillings. However, you can use cannelloni if you can’t find manicotti.
What’s the best sauce to use for manicotti?
- A classic marinara sauce works wonderfully, but any tomato-based sauce that you enjoy can be used.
Can manicotti be made without cheese?
- For a dairy-free option, consider using eggplant or zucchini slices to create layers with a good tomato sauce.
How do I know when the manicotti is done baking?
- Look for bubbling sauce and a golden-brown cheese topping. A toothpick should come out clean when inserted into the filling.
Can I make manicotti in advance?
- Absolutely! You can prepare it the day before and keep it in the fridge until you’re ready to bake.
What can I serve with manicotti?
- A fresh salad, garlic bread, or roasted vegetables pair perfectly with this dish.
Why is my filling watery?
- Make sure to drain any excess moisture from the ricotta. You can also add a little more cheese to thicken it.
Is it possible to use store-bought shells?
- Yes, while homemade pasta is superb, there are quality store-bought options available too.
Can I freeze my manicotti?
- Yes! Just assemble it, wrap tightly, and freeze. It can be baked directly from frozen; just plan for a longer bake time.
What’s the best cheese for the filling?
- A combination of ricotta, mozzarella, and Parmesan gives the best flavor and texture.
Conclusion
My Easy Homemade Manicotti promises to bring a little piece of Italy into your home, evoking warmth and joy through each cheesy bite. It’s not just about the ingredients; it’s about the love and care we pour into our cooking, making it special. I encourage you to try this recipe and share your thoughts with me. I love hearing how it turns out for you!
If you’re looking for more comforting Italian recipes, be sure to check out my blog for classic marinara sauce and baked ziti. Together, let’s continue this culinary journey full of flavors and memories!

Easy Homemade Manicotti
Ingredients
For the Pasta and Sauce
- 12 pieces Manicotti pasta shells High-quality brands like Barilla recommended.
- 2 cups Marinara sauce Homemade preferred, but good store-bought works.
For the Cheese Filling
- 1 cup Ricotta cheese Whole milk ricotta for maximum creaminess.
- 1 cup Mozzarella cheese Fresh mozzarella or pre-shredded for convenience.
- ½ cup Parmesan cheese Freshly grated for better flavor.
- 1 large Egg Binds the filling together.
- 2 cloves Garlic Minced garlic for flavor.
- 1 teaspoon Italian seasoning Adds herbal flavor.
- to taste Salt Essential to enhance flavors.
- to taste Pepper Essential to enhance flavors.
Instructions
Preparation
- Preheat your oven to 375°F (190°C) while you prepare the other ingredients.
- Cook the manicotti shells according to package directions until al dente, usually about 8-10 minutes. Drain and set aside.
- In a large mixing bowl, combine ricotta cheese, shredded mozzarella, grated Parmesan, egg, minced garlic, Italian seasoning, salt, and pepper. Mix until well combined and smooth.
Assembly
- Using a piping bag or spoon, carefully stuff each manicotti shell with the cheese mixture.
- Spread a thin layer of marinara sauce on the bottom of a 9x13 baking dish.
- Arrange the stuffed manicotti in the dish and top with remaining marinara sauce, ensuring each shell is well covered.
- Sprinkle an additional cup of mozzarella cheese on top.
Baking
- Cover the dish tightly with aluminum foil and bake for 25 minutes.
- Remove the foil and bake for an additional 10 minutes until the cheese is bubbly and golden brown.
Serving
- Let sit for a few minutes before plating. Serve hot and enjoy!