

Irresistible Cheesecake Bites: Your Perfect Sweet Treat!
There’s something truly magical about a bite-sized cheesecake that awakens nostalgia like no other dessert. I vividly remember my grandmother’s kitchen on a cozy Sunday afternoon, the smell of her famous cheesecake wafting through the air. It wasn’t just a dessert; it was her love folded into a creamy, dreamy bite. Fast forward to my adult life, and I’ve crafted my own twist — deliciously easy Cheesecake Bites!
What makes these little treasures stand out from the crowd? Not only are they a breeze to whip up, but they’re also customizable, allowing for endless flavor adventures! Whether you savor them on a rainy day while binge-watching your favorite show or share them with family during a festive gathering, these bites are the ultimate comfort food. Trust me; once you sink your teeth into their creamy goodness, you’ll understand why these treats are my favorite dessert!
In this post, I promise to walk you through everything there is to know about making your own Cheesecake Bites. Together, we’ll create sweet memories one decadent bite at a time!
What Are Cheesecake Bites?
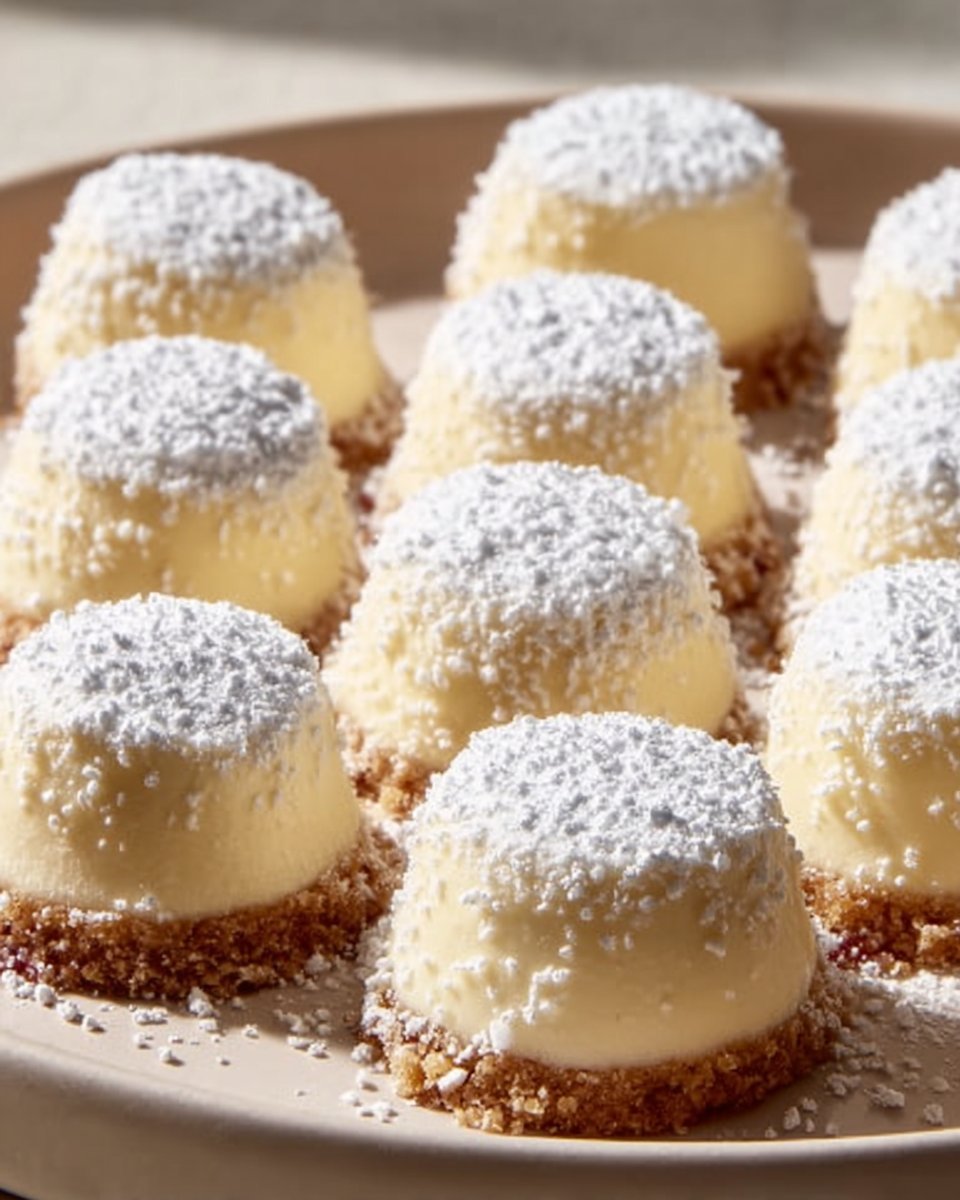
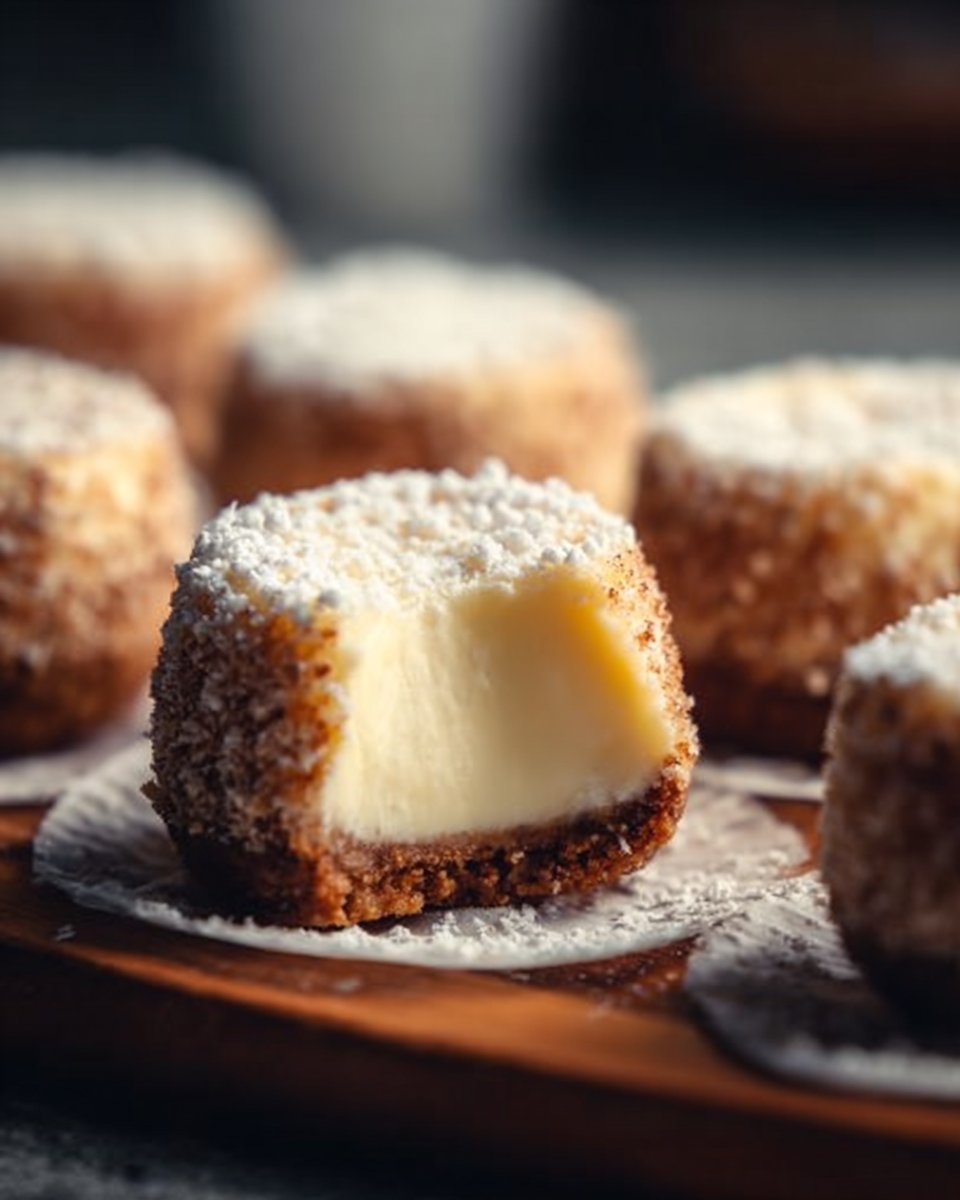
Cheesecake Bites are delightful, bite-sized versions of traditional cheesecake, perfect for indulging without the mess. These gems started gaining popularity in recent years, and it’s not hard to see why! They pack all the rich flavors and creamy textures associated with cheesecake but come in a perfectly portioned, hand-held treat. Imagine sinking your teeth into a velvety cream cheese filling encased in a crunchy graham cracker crust, and topped with a rich chocolate drizzle. Can you feel your taste buds waking up?
What makes Cheesecake Bites so unique is their versatility. You can enjoy them as a quick snack, a fancy dessert at parties, or even as a thoughtful homemade gift for loved ones. No matter the occasion, these bites deliver comfort and satisfaction, bringing joy with every delightful mouthful!
Why You’ll Love This Recipe
You might wonder, why should you choose my Cheesecake Bites recipe over store-bought alternatives? Here are several compelling reasons that will make you fall in love:
Fresh and Flavorful: There’s no comparison between homemade cheesecake bites and store-bought options. You’re in control of the ingredients, ensuring your treats are fresh and bursting with flavor.
Cost-Effective: Why spend a fortune on store-bought desserts when you can create these delightful bites at home? This recipe is wallet-friendly, allowing you to impress friends and family without breaking the bank!
Endless Customization: Feel free to play with flavors and toppings! Want to add peanut butter? Go for it! Craving a fruity twist? Toss in some raspberry or strawberry puree. The options are limitless!
Quick and Easy: Finished in less than an hour, these Cheesecake Bites require minimal baking skills. Whether you’re a novice in the kitchen or an experienced baker, this recipe suits everyone.
Perfect for Any Occasion: From birthday parties to holiday celebrations, these little treats fit right into any event. You’ll be the star of the show, and everyone will be asking for seconds!
Ingredients Section
Here’s what you’ll need to create your Cheesecake Bites:
- 1 cup cream cheese, softened: Make sure it’s at room temperature for that smooth, creamy texture.
- 1/2 cup powdered sugar: This will sweeten the mixture without the graininess that granulated sugar might bring.
- 1 teaspoon vanilla extract: I always use pure vanilla extract for its rich flavor.
- 1 cup graham cracker crumbs: For that classic cheesecake crust taste. Use high-quality crackers like Nabisco or Honey Maid.
- 1/2 cup semi-sweet chocolate chips, melted: A rich coating that ties everything together. Enjoy Life is a great gluten-free brand!
- 1/4 cup mini chocolate chips (for topping): Adds a crunchy, delightful finish!
Prep Notes:
- Ensure your cream cheese is softened and at room temperature for easy mixing.
- Have a pastry brush handy for dipping the cheesecake bites!
Step-by-Step Instructions
Prepare the crust: Start by crushing your graham crackers into fine crumbs. You can use a food processor, or if you prefer a little workout, place them in a zip-top bag and crush with a rolling pin.
Make the cheesecake filling: In a mixing bowl, beat the softened cream cheese, powdered sugar, and vanilla extract until smooth and creamy. This should take about 3-4 minutes of hand-mixing or 2-3 minutes if using an electric mixer.
Add the graham cracker crumbs: Gradually add the crumbs to your creamy cheesecake mixture, folding gently until just combined.
Roll into balls: With your hands, roll the cheesecake mixture into 1-inch balls. Make sure they’re compact so they hold up well. Place the bites on a parchment-lined baking sheet, keeping them spaced out to avoid sticking.
Chill the cheesecake bites: Pop them into the freezer for about 30 minutes until they’re firm. This helps them maintain their shape when dipping in chocolate.
Dip in chocolate: Melt your semi-sweet chocolate chips in a microwave-safe bowl, heating in 15-second intervals until fully melted. Dip each cheesecake bite into the chocolate, allowing excess to drip off before placing them back on the parchment-lined sheet.
Sprinkle with mini chocolate chips: Before the chocolate hardens, sprinkle mini chocolate chips on top of each bite for that extra flair!
Refrigerate: Allow the bites to set in the fridge for about 15 minutes, just until the chocolate is firm.
Chef’s Tips:
- For easier rolling, you can slightly dampen your hands before handling the cheesecake mixture.
- If you find your bites are too soft to roll, chill the mixture for an additional 10-15 minutes in the fridge.
Common Mistakes to Avoid:
- Using cold cream cheese can lead to lumps. Make sure it’s softened well!
- Over-melting chocolate can cause it to seize up; stir after every 15 seconds in the microwave.
Expert Tips & Tricks
Use Quality Ingredients: Don’t skimp on your cream cheese or vanilla extract! High-quality ingredients yield the best flavors.
Experiment with Toppings: Drizzle caramel sauce or sprinkle crushed nuts for a different kick.
Storage Recommendations: These Cheesecake Bites can be stored in an airtight container in the fridge for up to a week. For a longer shelf-life, freeze them for up to 3 months.
Make Ahead: Prep these bites a day ahead of time! Just keep them in the fridge after dipping in chocolate for the best results.
Troubleshooting: If the bites become too soft while rolling, simply return the mixture to the fridge until it firms up again.
Serving Suggestions
Pair your delectable Cheesecake Bites with fresh fruit, a dollop of whipped cream, or a drizzle of chocolate sauce for an elevated dessert experience. Present them on a beautiful platter, garnished with mint leaves, and they’ll steal the show! These bites work wonderfully for any occasion — be it potlucks, birthday parties, or holiday gatherings.
Variations & Substitutions
- Flavor Variations: Try adding lemon zest for a tangy twist or substitute the chocolate chips with white chocolate for something sweeter.
- Dietary Restrictions: Looking for gluten-free options? Use gluten-free graham crackers! You can also try dairy-free cream cheese and dark chocolate for vegan versions.
- Seasonal Variations: For fall, toss in some pumpkin puree and spice it up with cinnamon and nutmeg for Pumpkin Cheesecake Bites.
Nutrition & Storage Info
- Prep Time: 15 minutes
- Cook Time: 15 minutes
- Total Time: 1 hour
- Yield: About 24 bites (depending on size)
- Estimated Calories Per Serving: 85 calories
- Storage Instructions: Keep them in an airtight container in the fridge for up to a week or freeze for 3 months.
FAQ Section
Can I use low-fat cream cheese?
Yes, but it may slightly affect the texture and creaminess of the bites.Can I use flavored cream cheese?
Absolutely! Strawberry or raspberry cream cheese will add a fun twist!Is it okay to skip the chocolate coating?
Yes! You can enjoy the bites as they are — still delicious!How do I know when the bites are set?
They should feel firm to the touch when properly chilled.Can I leave these out at room temperature?
They are best enjoyed cold, but you can leave them out for a short period during serving.What could I use instead of graham crackers?
Oreos or digestive biscuits work well for a different flavor.How should I store leftover bites?
Store in an airtight container in the fridge; they’ll stay fresh for about a week.What’s the best way to melt chocolate?
Use a microwave in short increments or a double boiler for the best results.Will these freeze well?
Yes! Just ensure they are fully set and stored in an airtight container.How do I prevent the chocolate from cracking?
Ensure the cheesecake bites are well-chilled before dipping, and do not freeze them after coating in chocolate.
Conclusion
These Cheesecake Bites are more than just a sweet treat; they’re a way to create lasting memories in the kitchen. Whether you’re whipping them up for a special event or just as a little indulgence, I promise they will bring a smile to your face and joy to your heart. Please give them a try and share your experiences in the comments below. If you’re looking for more delightful dessert recipes, check out my blog for some of my favorite goodies, including classic cheesecakes and no-bake delicacies! Let’s keep the baking love alive!

Cheesecake Bites
Ingredients
Main Ingredients
- 1 cup cream cheese, softened Make sure it’s at room temperature for that smooth, creamy texture.
- 1/2 cup powdered sugar This will sweeten the mixture without the graininess that granulated sugar might bring.
- 1 teaspoon vanilla extract Use pure vanilla extract for best flavor.
- 1 cup graham cracker crumbs Use high-quality crackers like Nabisco or Honey Maid.
- 1/2 cup semi-sweet chocolate chips, melted A rich coating that ties everything together.
- 1/4 cup mini chocolate chips For topping; adds a crunchy, delightful finish.
Instructions
Preparation
- Start by crushing your graham crackers into fine crumbs using a food processor or place them in a zip-top bag and crush with a rolling pin.
- In a mixing bowl, beat the softened cream cheese, powdered sugar, and vanilla extract until smooth and creamy, about 3-4 minutes of hand-mixing or 2-3 minutes if using an electric mixer.
- Gradually add the graham cracker crumbs to your creamy cheesecake mixture, folding gently until just combined.
- With your hands, roll the cheesecake mixture into 1-inch balls, ensuring they are compact. Place them on a parchment-lined baking sheet.
- Pop the cheesecake bites into the freezer for about 30 minutes until firm.
- Melt the semi-sweet chocolate chips in a microwave-safe bowl, heating in 15-second intervals until fully melted.
- Dip each cheesecake bite into the chocolate, allowing excess to drip off before placing them back on the parchment-lined sheet.
- Before the chocolate hardens, sprinkle mini chocolate chips on top of each bite.
- Refrigerate the bites for about 15 minutes until the chocolate is firm.