
Irresistibly Creamy Easy Cheesecake Mousse: A Sweet Delight for Any Occasion
There’s something incredibly comforting about dessert that whisks you back to fond memories, isn’t there? I still remember sitting at my grandmother’s kitchen table, surrounded by the tantalizing scents of sweet cream and vanilla that seemed to promise a little slice of heaven. It was there I first discovered the joy of cheesecake in all its forms, so naturally, I couldn’t resist the allure of creating my own version—a luscious, Easy Cheesecake Mousse.
What makes this Easy Cheesecake Mousse so special? Not only is it a cinch to whip up, but it’s also that velvety, light-as-air treat that dances on your palate. Unlike traditional cheesecake that can be heavy and dense, this mousse encapsulates everything you love about cheesecake in a delightful, airy texture that’s perfect for any gathering or cozy night in. You’ll not only feel like a pro in the kitchen but also a hero at the dessert table. Today, I’m excited to share with you how to create this magical dessert that blends ease with elegance. Get ready to spread joy and laughter with every spoonful!
What Are Easy Cheesecake Mousse?
Easy Cheesecake Mousse is a delightful fusion of your favorite cheesecake flavors and a fluffy, whipped texture. Originating as a simplified take on classic cheesecake, this recipe offers that beloved rich and creamy flavor but without the hassle of baking a full cheesecake. Instead, you’ll be indulging in a dessert that feels light yet indulgent—a perfect balance on warm summer nights or during festive celebrations.
The smooth blend of cream cheese and whipped cream gives the mousse its unique texture, while the delightful sweetness of confectioners’ sugar brings out the rich vanilla essence. It’s a dessert that not only tastes fantastic but also fits perfectly into any occasion, from birthday parties to quiet evenings at home. You can whisk it together swiftly, making it an ideal choice for when you want something impressive without spending hours in the kitchen!
Why You’ll Love This Recipe
Here are five compelling reasons why this Easy Cheesecake Mousse will become your new go-to dessert:
Decadent Flavor with Minimal Effort: This mousse offers a rich, creamy cheesecake flavor without needing to bake! Just beat, whip, and serve. You’ll have a gourmet dessert ready in about 20 minutes, allowing you to enjoy your time with loved ones rather than being stuck in the kitchen.
Cost-Effective Indulgence: When you weigh the prices of a restaurant cheesecake versus making this mousse at home, you’ll find it’s much friendlier on your wallet. Plus, you’ll impress your guests with a homemade creation that tastes 100% more satisfying.
Versatile Customization: The base recipe is a blank canvas; you can jazz it up with your favorite flavors—think chocolate, berry compote, or even a refreshing lemon twist! The possibility of mixing in your favorite ingredients makes it suitable for just about any craving or event.
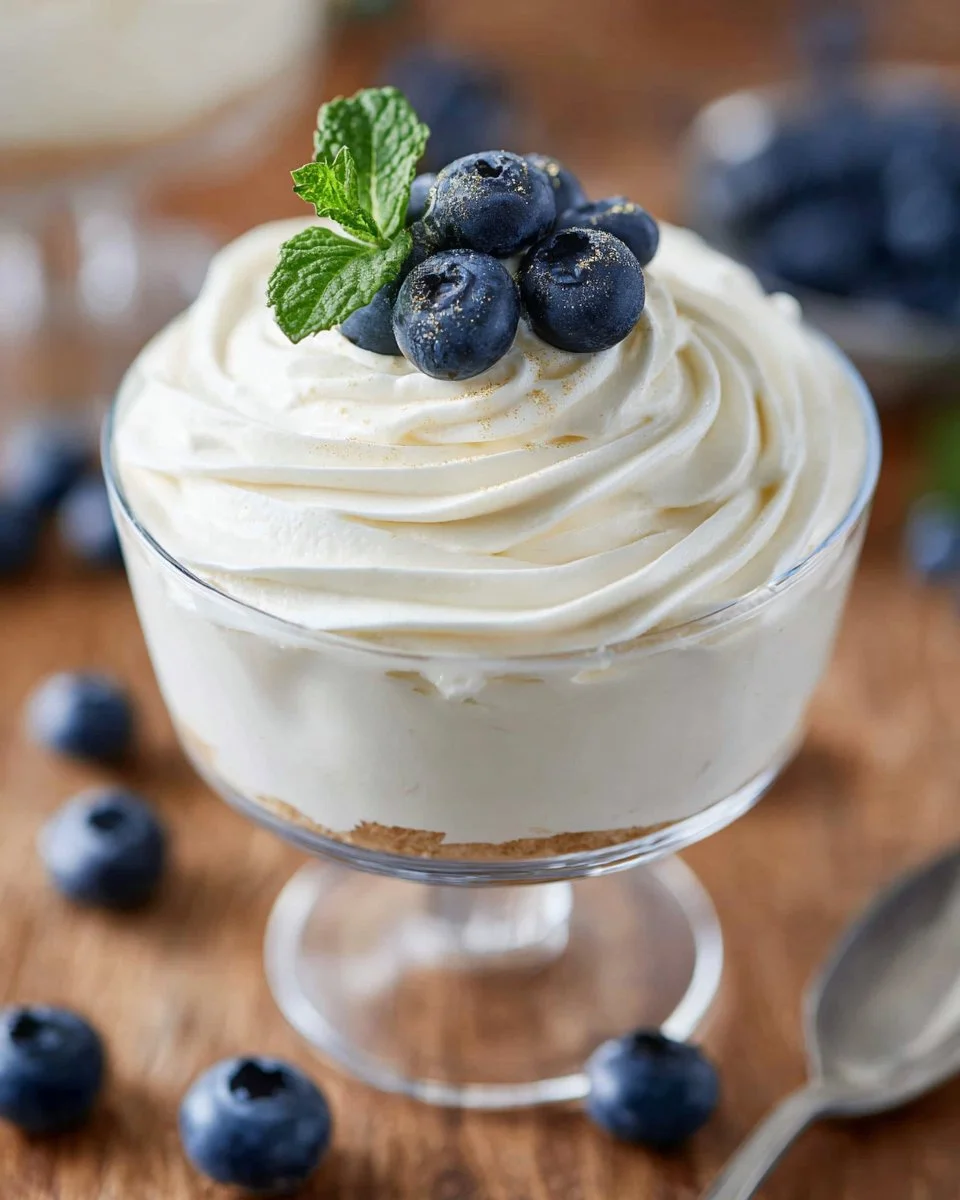
Impressive Presentation: Serve this mousse in individual cups or mini mason jars for a stunning dessert display. Your guests will rave about not only how delicious it is but also how beautiful it looks. Pair it with fresh fruit or drizzled chocolate for that extra touch!
Easy Make-Ahead Recipe: This mousse can be made a day in advance and stored in the fridge, making it perfect for busy schedules. You can relax, knowing dessert is ready whenever you are!
Ingredients

When it comes to making the best Easy Cheesecake Mousse, the quality of your ingredients matters. Here’s what you’ll need:
- 1 package (8 ounces) cream cheese, softened: For that rich, creamy texture. Look for full-fat cream cheese for the best flavor—brands like Philadelphia work wonders.
- 1 cup (125 g) confectioners’ sugar: This sweetens the mousse without the grit that granulated sugar can sometimes bring. You can also use organic brands for a cleaner flavor.
- 1/4 cup (57.5 g) sour cream: This adds an extra layer of tanginess that balances the sweetness beautifully; opt for full-fat sour cream for best results.
- 1 teaspoon vanilla extract: Go for pure vanilla extract if you can—it enhances the overall flavor dramatically compared to imitation.
- 1 cup (238 g) heavy whipping cream: This is the magic ingredient that transforms the mixture into a light, fluffy extravaganza! Ensure it’s cold before whipping for the best results.
Prep Note: Make sure your cream cheese is at room temperature for easy mixing. You can take it out of the fridge about 30 minutes before you start.
Step-by-Step Instructions
Prep Your Equipment: Gather your stand mixer with a paddle attachment, two mixing bowls, and a handheld mixer. It’s always helpful to have everything ready to go.
Mix the Cream Cheese: In the bowl of the stand mixer, add the softened cream cheese. Mix on medium speed until smooth, about 2-3 minutes. You’ll know it’s ready when no lumps remain, and it looks creamy.
Add the Sugar: Stop the mixer and add in the confectioners’ sugar gradually. Mix on low until combined, stopping to scrape the sides of the bowl as needed for an even consistency.
Incorporate Sour Cream and Vanilla: Add the sour cream and vanilla extract. Mix until fully combined. This should take about 1-2 minutes—look for a uniform, silky texture.
Whip the Cream: In a separate large bowl, pour in the heavy whipping cream. Starting at the lowest speed with your handheld mixer, gradually increase to medium, then high speed. Continue beating until stiff peaks form—this usually takes about 3-5 minutes. You want it thick enough to hold its shape but not overwhipped.
Fold It Together: Gently fold the whipped cream into the cream cheese mixture using a spatula. This is where you delicately combine the two mixtures without deflating your precious whipped cream—be gentle but thorough!
Serve or Chill: Transfer the mousse to your serving dish or individual glasses. If you’re serving later, cover and place it in the refrigerator until ready to enjoy!
Chef’s Tips:
- Ensure everything is at the proper temperature to achieve the smoothest texture.
- If you accidentally over-whip the cream and it’s too thick, you can fold in a little more cream to loosen it up.
Expert Tips & Tricks
Storage: The mousse can be stored in an airtight container in the fridge for up to 3 days. Just remember to give it a good stir before serving as it may settle a bit.
Make-Ahead Instructions: This mousse is perfect for preparing the day before your event. Just cover and chill, and it will save you time on the day of!
Troubleshooting Common Problems: If your mousse turns out grainy, it’s often due to overmixing the cream cheese or not using softened cream cheese. Make sure everything is at room temperature, and mix gently.
Flavor Infusions: Looking to switch things up? Consider infusing the cream with lemon zest or espresso powder during the whipping process. Just be cautious about how much you add to maintain the mousse’s light texture.
Serving Suggestions
Pair your Easy Cheesecake Mousse with fresh berries, whipped cream, or even a drizzle of caramel or chocolate sauce to elevate the experience. Beautiful presentation is key—consider using elegant dessert glasses or mason jars to serve. It’s not just dessert; it’s a showstopper! This mousse is perfect for holidays, dinner parties, or even a cozy movie night at home.
Variations & Substitutions
The versatility of Easy Cheesecake Mousse means you can experiment with flavors! Here are some variations to consider:
- Chocolate Mousse: Substitute a part of the cream cheese with melted, cooled dark chocolate.
- Berry Bliss: Blend in pureed strawberries or raspberries for a fruity twist. Top with whole berries when serving for a pop of color!
- Seasonal Flavors: For a festive touch during the holidays, consider adding pumpkin puree and spices for a pumpkin cheesecake mousse.
If you’re accommodating dietary restrictions, you can use dairy-free cream cheese and coconut cream as alternatives.
Nutrition & Storage Info
- Prep Time: 20 minutes
- Total Time: 20 minutes (plus chilling)
- Yield: About 4-6 servings
- Estimated Calories: Approximately 300 calories per serving
- Storage Instructions: Keep covered in the fridge for up to 3 days. It’s best enjoyed fresh but can last in the fridge longer.
FAQ Section
1. Can I use reduced-fat cream cheese?
Yes, you can, but it may affect the creaminess of the mousse. Full-fat cream cheese offers the best texture and flavor.
2. How do I know when the cream is whipped enough?
Look for stiff peaks that hold their shape when you lift the whisk out. It should be thick but not grainy.
3. Can I add fruit to the mousse?
Absolutely! Gently fold in fruit purees after combining the cream cheese mixture and whipped cream.
4. Is it safe to leave the mousse out?
It’s best to keep the mousse refrigerated, but it can sit out for about an hour during serving.
5. Can I freeze this mousse?
While it’s best fresh, you can freeze individual servings. Thaw in the fridge when ready to enjoy, but the texture may change slightly.
6. What’s the best way to serve it?
Elegant dessert cups or small mason jars look stunning. Add toppings like chocolate shavings or fresh fruit for extra flair.
7. How long does it take to set in the fridge?
While it’s fine to eat immediately, chilling for at least an hour enhances the flavor and texture.
8. Can I use a hand mixer instead of a stand mixer?
Yes, using a hand mixer works perfectly for both the cream cheese mixture and whipping the cream.
9. Is there a vegan option for this dessert?
Yes! Use vegan cream cheese and whipped coconut cream for a delightful vegan cheesecake mousse.
10. What if my mousse is too runny?
If it’s too runny, it likely needs more whipped cream. Ensure your cream is whipped to stiff peaks before folding.

Conclusion
This Easy Cheesecake Mousse is more than just a recipe; it’s a little piece of happiness you can share with family and friends. It captures the essence of comfort food while being incredibly simple to prepare, making it a perfect dessert for any occasion. I encourage you to step into the kitchen, whip up this delightful treat, and create your own sweet memories. And once you do, I’d love to hear your thoughts or how it turned out for you! Don’t forget to check out other deliciously easy recipes on my blog for more inspiration. Happy baking!