

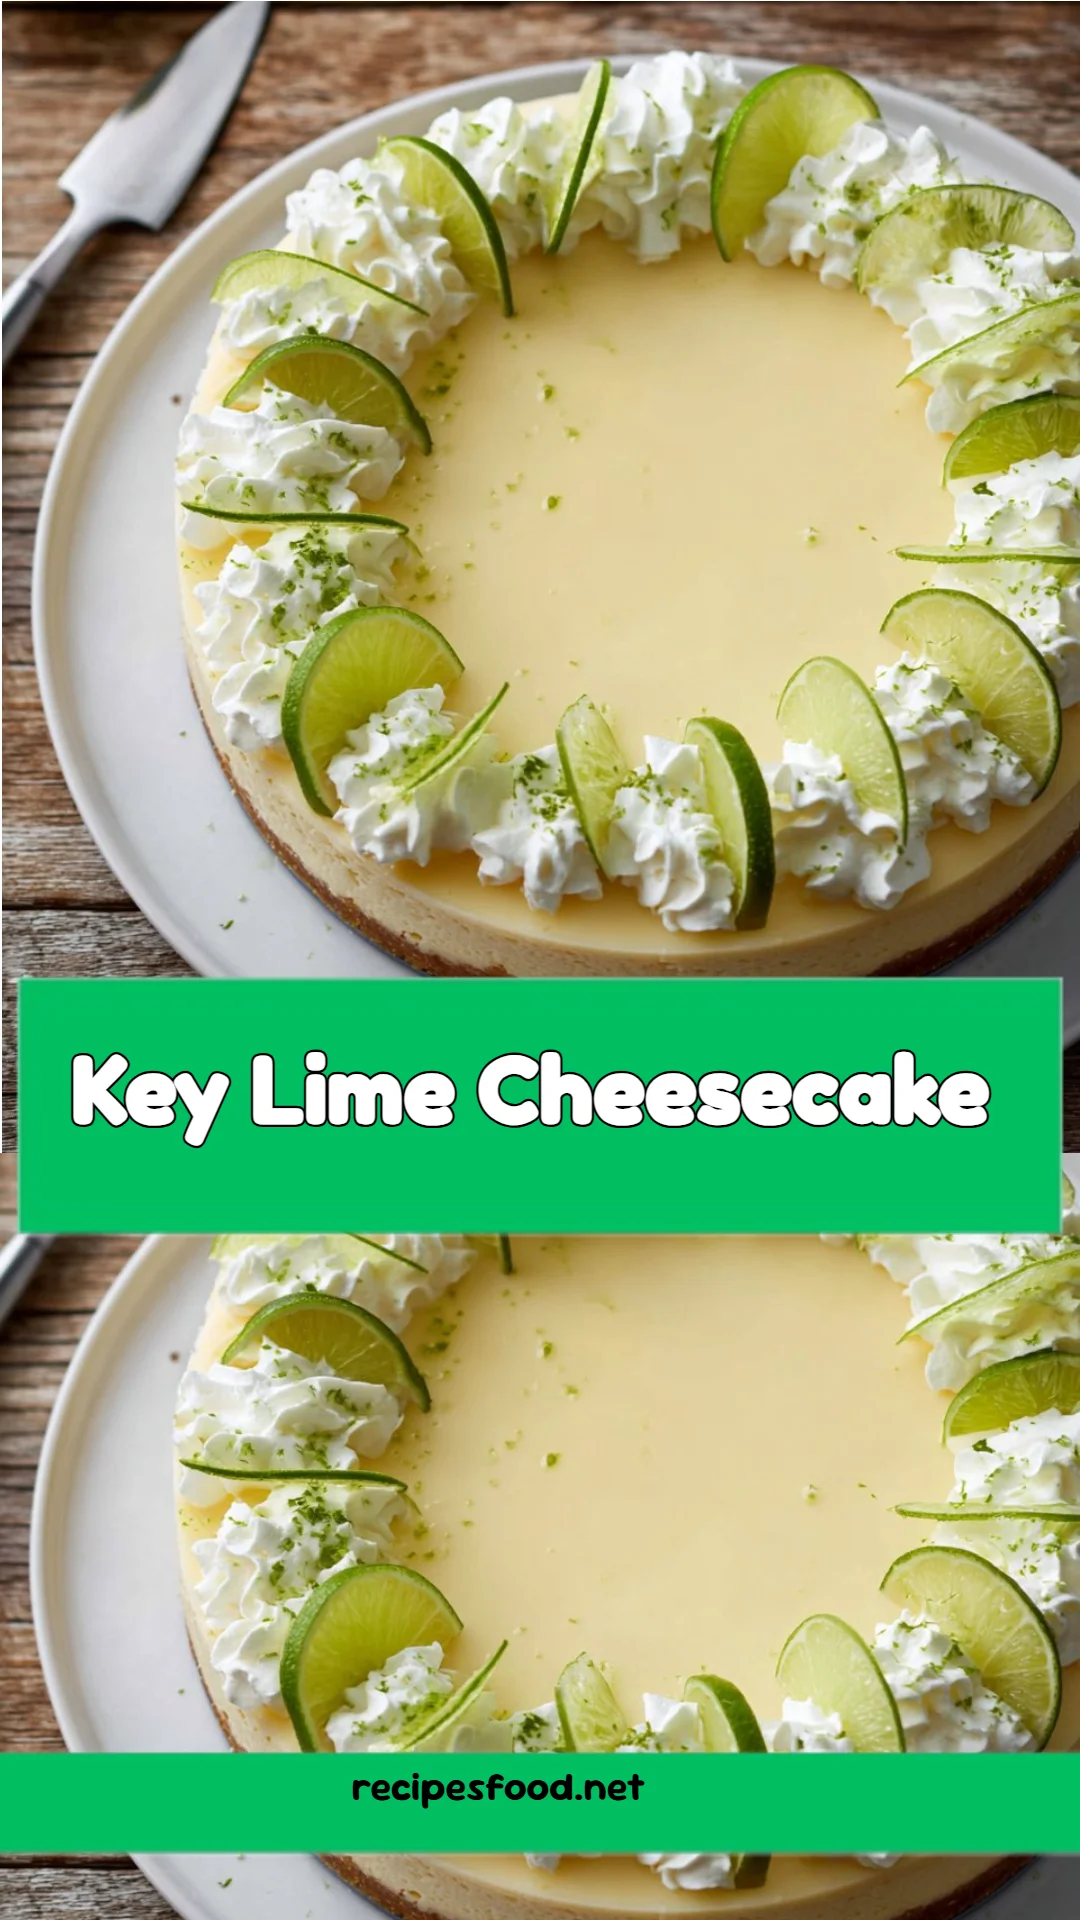
Irresistibly Creamy Key Lime Cheesecake: A Slice of Sunshine!
Have you ever had a moment that felt like a warm hug on a chilly day? For me, it’s biting into a slice of creamy Key Lime Cheesecake. Growing up in Florida, our family gatherings always featured this citrus delight, and the experience was never complete without the zesty flavor and velvety texture that felt like pure joy! Every forkful was a burst of sunshine, transforming even the cloudiest of days into something special.
This Key Lime Cheesecake recipe holds a cherished spot in my heart, not just for its incomparable flavor, but for the memories woven into it. It’s the kind of dessert that brings my family together, making us reminisce about laughter-filled summers spent by the ocean.
You might wonder, “How is this recipe different from all the others?” Well, not only is it straightforward and easy to follow, but it also boasts a foolproof, creamy finish that’ll have your taste buds dancing. By the end of this post, I promise you’ll walk away not only knowing how to make this dynamic dessert but also feeling the warm embrace of nostalgia with every slice you enjoy. So, let’s dive in!
What are Key Lime Cheesecakes?
Key Lime Cheesecakes, delightfully rich yet refreshing, originate from the sunny beaches of Florida, where the famed key lime fruit thrives. Traditionally made with tart and aromatic key limes, this dessert strikes a delicate balance between sweet and tangy. The creamy filling is cradled by that perfect graham cracker crust, creating a heavenly combination of texture and flavor.
The taste sensation is light and creamy, with a zesty, tart component that dances on your palate, making it an ideal dessert for warm days or special occasions. You might find yourself reaching for another slice, thanks to its enchanting smoothness and vibrant acidity.
They’re perfect for summer BBQs, holiday gatherings, or any event where you want to impress guests with minimal effort. But honestly, who needs an occasion to savor this creamy delight?
Why You’ll Love This Recipe
Unmatched Flavor: This Key Lime Cheesecake is a taste explosion, marrying the tang from fresh key limes with the seamless creaminess of cream cheese. Unlike store-bought versions, which can often taste overly sweet or artificial, this recipe allows the true flavor of the limes to shine.
Economically Friendly: Making this cheesecake at home not only saves you money but also allows you to control the quality of your ingredients. Trust me; investing in fresh key limes is much more rewarding than purchasing a premade cheesecake.
Customizable: One of the beauties of this cheesecake is that you can modify it to your heart’s content. Swap out key limes for Meyer lemons for a different twist, or add a hint of coconut for an island vibe—there are endless possibilities!
Simple Technique: If you’re intimidated by baking, fear not! This recipe is straightforward, and you don’t need advanced baking skills to nail it. Plus, the oven does most of the work while you can prepare the rest of your meal or enjoy a well-deserved break.
Make Ahead of Time: This recipe is ideal for those of us who like to plan ahead; you can create it the day before your gathering, allowing the flavors to meld and deepen overnight.
In short, this homemade Key Lime Cheesecake is a cut above anything you’ll find at a restaurant or grocery store!
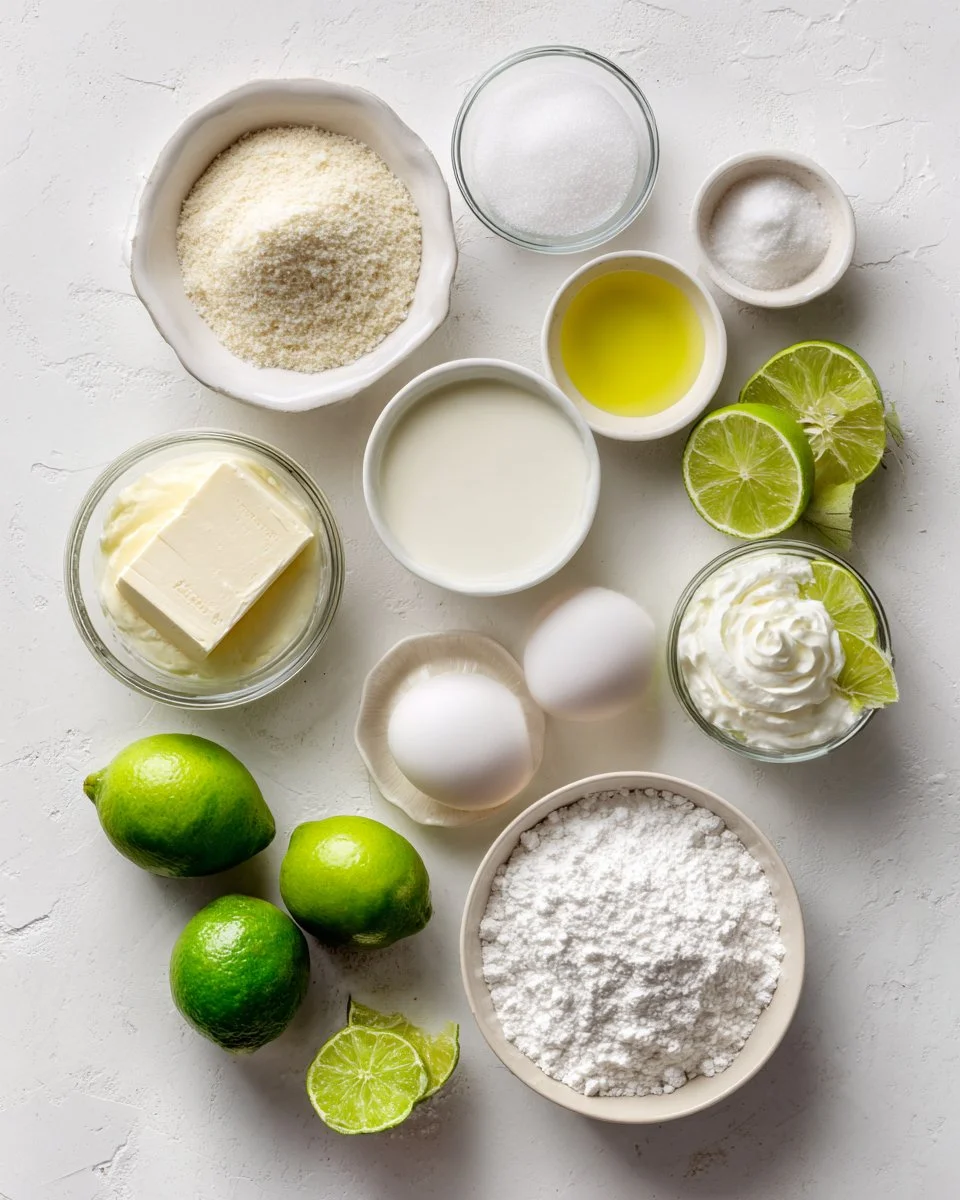
Ingredients
For the crust:
- 1 cup (84 g) graham cracker crumbs
- 1 tablespoon granulated sugar
- 3 tablespoons unsalted butter, melted (Make sure it’s at room temperature for the best mixing)
For the filling:
- 2 packages (8 ounces each) cream cheese, at room temperature (bring it to room temperature to ensure a lump-free filling)
- 2/3 cup (133 g) granulated sugar
- 1/3 cup (77 g) sour cream, also at room temperature
- 1 teaspoon vanilla extract
- 2 large eggs, at room temperature
- 6 tablespoons key lime juice, or Persian lime juice
- 1 teaspoon key lime zest (plus more for garnish)
For garnish:
- Whipped cream
- Fresh key limes, or Persian limes, sliced
Quality & Substitutions
For the crust, feel free to use digestive biscuits if graham crackers are unavailable. Using fresh key limes elevates the taste, but bottled juice is a decent substitute if you’re in a rush. I recommend brands like Philadelphia for cream cheese and Daisy for sour cream—both provide excellent taste!
Step-by-Step Instructions
Preheat and Prep: Preheat your oven to 350°F (177°C). Then, line the bottom of a 7-inch springform pan with parchment paper for easy removal.
Make the Crust: In a mixing bowl, combine 1 cup of graham cracker crumbs, 1 tablespoon of sugar, and 3 tablespoons of melted butter until fully combined. Press this mixture firmly into the base of your prepared springform pan. Once done, wrap the outside of the pan with aluminum foil to prevent water from seeping in during baking.
Chef’s Tip: Using the bottom of a measuring cup helps create a dense, even crust.
Prepare the Filling: In a mixing bowl, beat 2 packages of cream cheese until it is smooth and creamy. Gradually add in 2/3 cup of sugar while continuing to mix. Then stir in 1/3 cup of sour cream, 1 teaspoon of vanilla extract, and mix until well combined.
Incorporate the Eggs: Add the eggs one at a time, ensuring they are fully incorporated before adding the next. Finally, mix in 6 tablespoons of key lime juice and 1 teaspoon of lime zest.
Chef’s Tip: Avoid over-beating the eggs, as this can lead to cracks during baking.
Bake: Pour the creamy filling over your graham cracker crust. To create a gentle baking environment, place the springform pan in a larger baking pan and fill it with hot water halfway up the sides of the cheesecake pan; this is called a water bath. Bake for 70-80 minutes or until the edges are set but the center still has a slight wobble.
Visual Cue: The cheesecake should look slightly puffed and should not jiggle excessively.
Cool and Chill: Once baked, turn off the oven and crack the door, allowing your cheesecake to cool inside for about an hour. Afterward, chill in the refrigerator for at least 4 hours, preferably overnight.
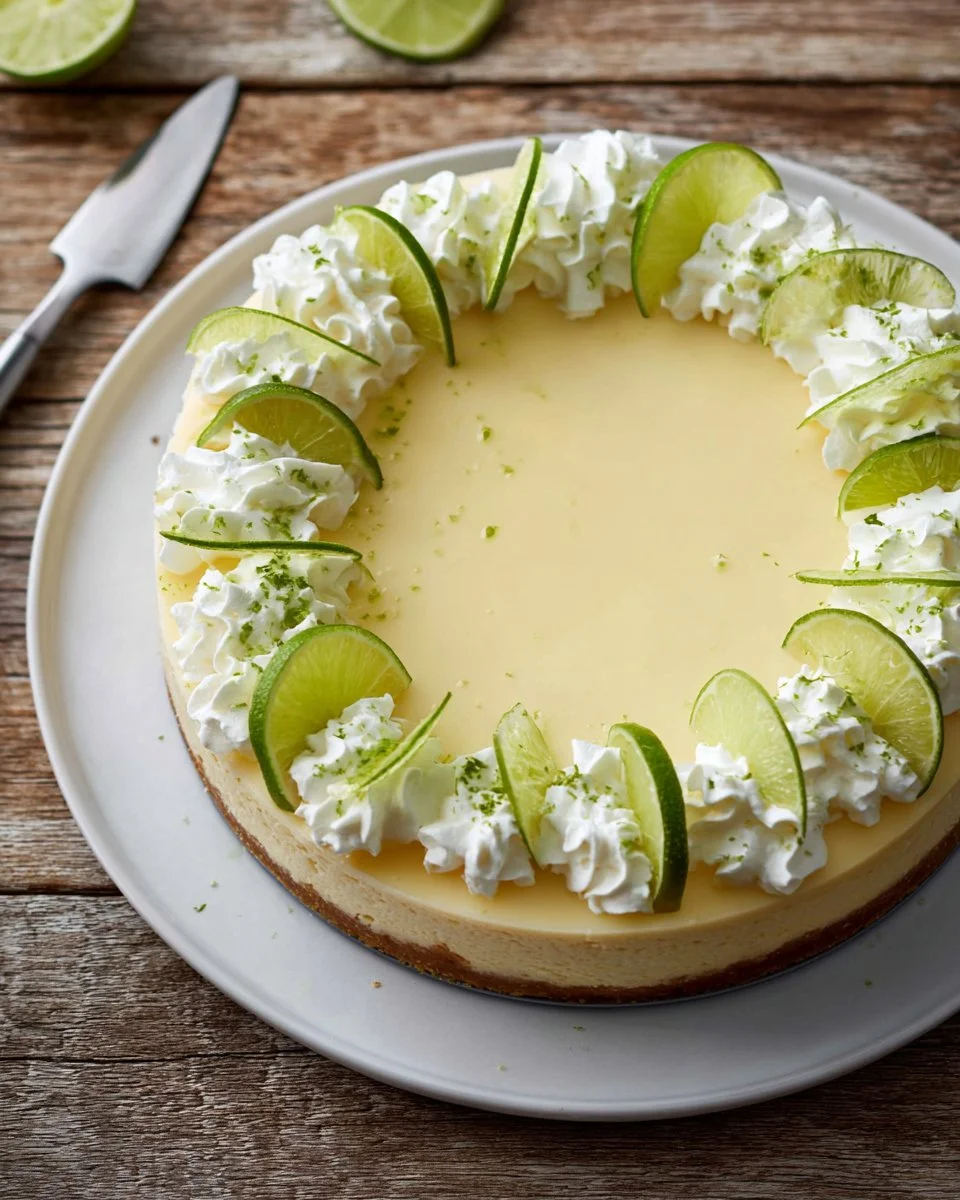
Garnish and Serve: Before serving, top the cheesecake with whipped cream and garnish with fresh lime slices and extra lime zest for a vibrant touch.
Expert Tips & Tricks
Baking Time: Ovens can vary, so keep an eye on your cheesecake during the last 10 minutes of baking time to prevent overbaking.
Storage: If there are leftovers (though it’s unlikely!), store them in the refrigerator for up to 3 days. You can also freeze slices for up to a month—just make sure they are sealed tightly.
Make-ahead: You can make the cheesecake a day in advance for a better flavor! It’ll only get creamier overnight in the fridge.
Troubleshooting Cracks: Avoid overmixing the batter and handle it gently to reduce the risk of cracks. If you do get cracks, don’t fret—a dollop of whipped cream will cover it!
Serving Suggestions
Pair your luscious Key Lime Cheesecake with a refreshing fruit salad or a scoop of coconut sorbet for a tropical twist. Presentation can be a showstopper—consider serving it on a colorful platter and adding edible flowers, or placing it beside a few whole key limes for a rustic vibe. This dessert is a true crowd-pleaser at summer barbecues, holiday dinners, or just a cozy night in!
Variations & Substitutions
Want to mix things up? You can try making a Mango Key Lime Cheesecake by adding pureed mango to the filling for a fruity fusion. For dietary restrictions, a gluten-free crust made from almond flour can work beautifully!
Consider swapping the traditional key limes for seasonal fruits like berries in the summer or pumpkin spice in the fall for a festive twist.
Nutrition & Storage Info
- Prep Time: 20 minutes
- Cook Time: 70-80 minutes
- Total Time: Approximately 5 hours (including chilling)
- Yield: 8 servings
- Estimated Calories per Serving: 360 calories
- Storage Instructions: Best kept in the refrigerator for up to 3 days, or freeze for up to a month. Allow to thaw overnight in the fridge when ready to enjoy.
FAQ Section
Can I use bottled lime juice?
Yes! While fresh is always best for flavor, bottled key lime juice works as a convenient alternative.What if I don’t have a springform pan?
You can use a regular cake pan, but ensure to line it with parchment paper for easy removal.Can I make this cheesecake without eggs?
Yes! Substitute eggs with flaxseed meal mixed with water or a store-bought egg replacer for a vegan option.How do I know when my cheesecake is done?
A slight jiggle in the center is perfect; it will set up as it cools.Are there any good toppings for this cheesecake?
Besides whipped cream, consider fresh fruits like berries, a fruit compote, or even a drizzle of chocolate sauce.Can I use a different crust?
Absolutely! A crushed Oreo crust or a gluten-free cookie base would also be delicious options.How can I avoid cracks in my cheesecake?
Avoid overmixing, use room-temperature ingredients, and bake it in a water bath for even cooking.What are key limes, and can I use regular limes instead?
Key limes are smaller and have a unique tartness. If unavailable, Persian limes work as a fine substitute, although the flavor will be slightly different.Can I freeze this cheesecake?
Yes! You can freeze slices wrapped tightly in plastic wrap for up to a month.What’s the best way to serve this cheesecake?
A slice garnished with whipped cream, lime zest, and a slice of lime is a classic presentation!
Conclusion
This creamy Key Lime Cheesecake is a true gem, turning simple ingredients into a delicious dessert that brings joy to your taste buds and fond memories to your heart. I encourage you to try making it this weekend and see how it transforms your gatherings. I’d love to hear your thoughts, adjustments, or family reactions in the comments below!
Also, if you enjoyed this recipe, be sure to check out my other favorite desserts on the blog—because there’s always room for a slice of sweetness in life!