

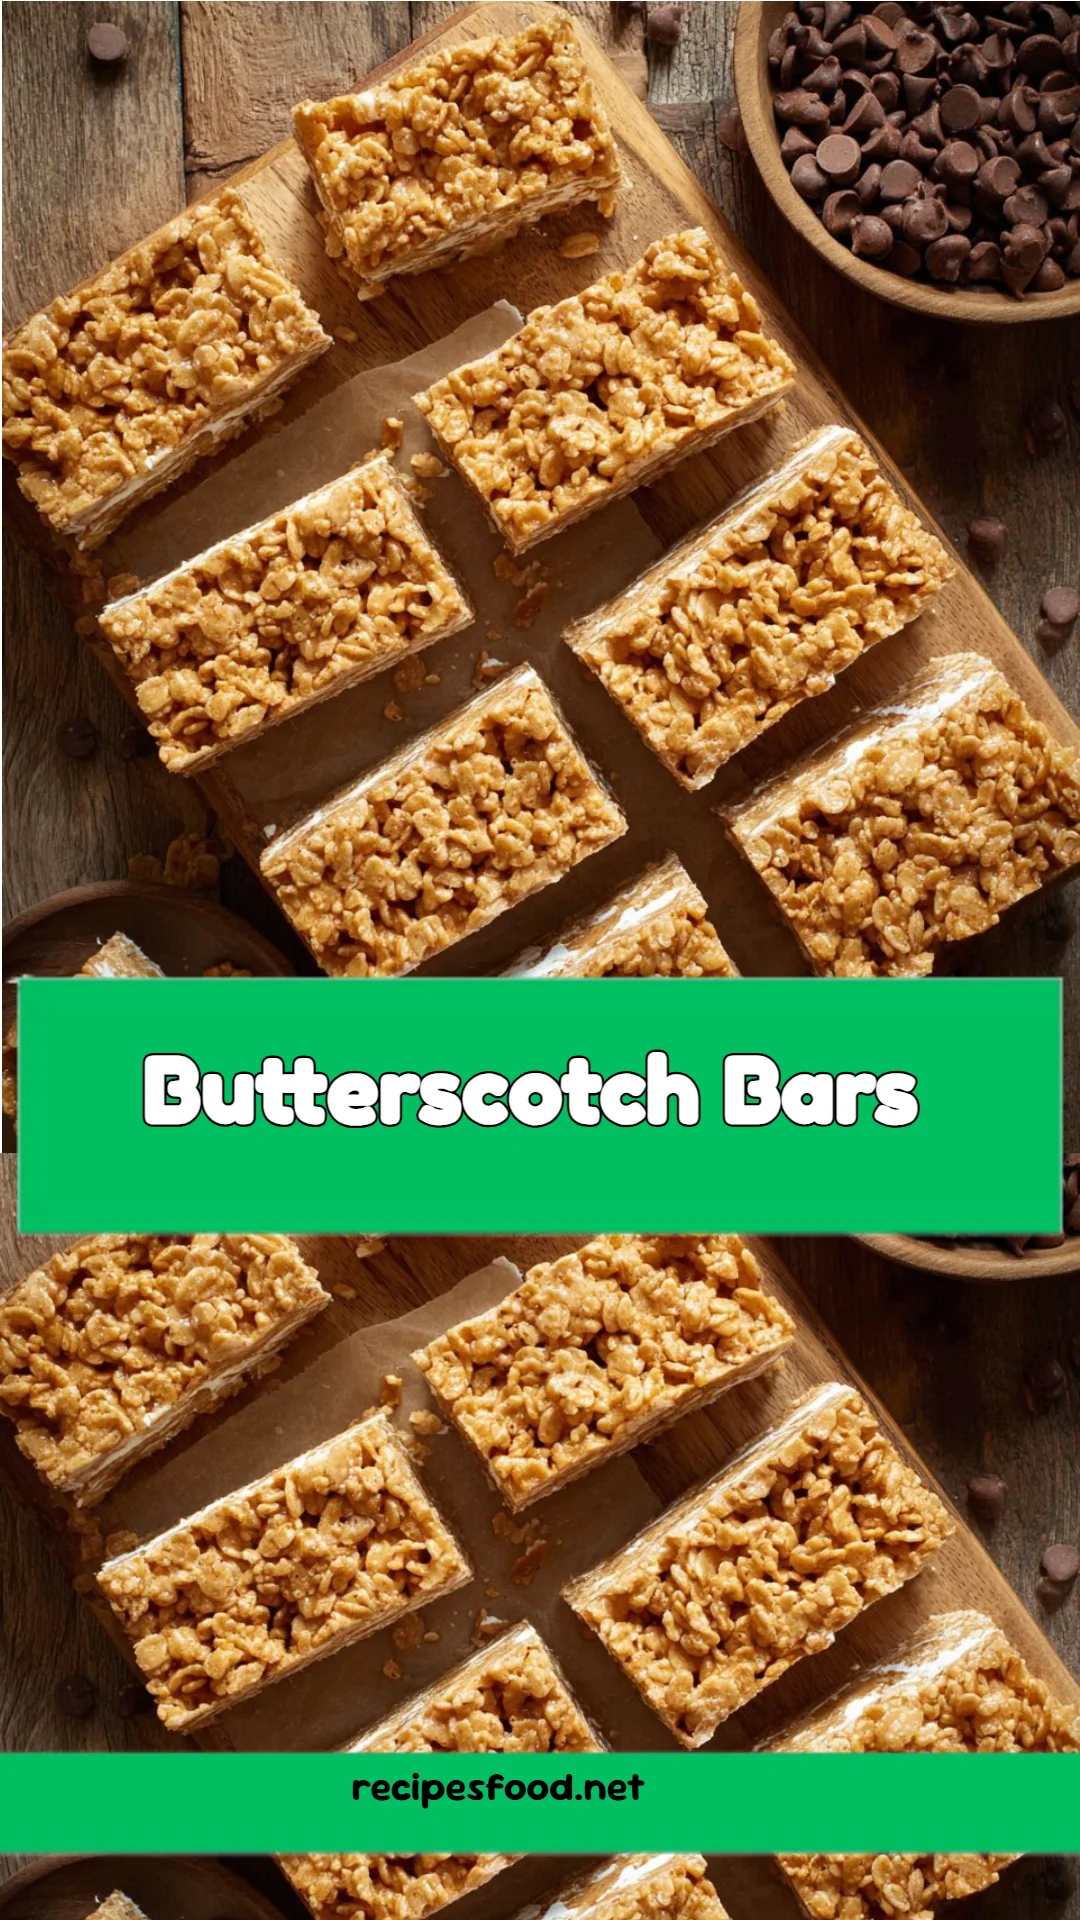
Heavenly Butterscotch Bars: A Sweet Journey to Your Kitchen
Growing up, my kitchen was like the heart of our home, filled with the sweet aroma of baked goods and laughter. One of my favorite memories is standing on a chair next to my grandmother as we whipped up her famous Butterscotch Bars. Those delightful squares of chewy goodness became the highlight of every family gathering, eliciting smiles and shared stories. There’s just something magical about those golden, gooey bars—each bite is a comforting embrace, and they carry with them not just flavor, but a wealth of cherished memories.
What makes my version of Butterscotch Bars even better than the ones you find in stores is the love and care that goes into every ingredient. By incorporating creamy peanut butter and a medley of textures, these bars not only excite the taste buds but also create moments of joy and connection. With this recipe, you’ll learn how to create your own batch, transforming simple ingredients into a nostalgic treat that your family will love just as much as I do. Let’s dive into the enchanting world of Butterscotch Bars, where sweet cravings meet heartfelt traditions!
What Are Butterscotch Bars?
The origin of Butterscotch Bars can be traced back to the classic dessert craze of the mid-20th century, where home bakers sought to combine simple ingredients for delightful results. These bars typically feature a rich butterscotch flavor, combined with a chewy, soft texture that’s almost fudge-like—imagine sinking your teeth into a warm, buttery square that melts in your mouth.
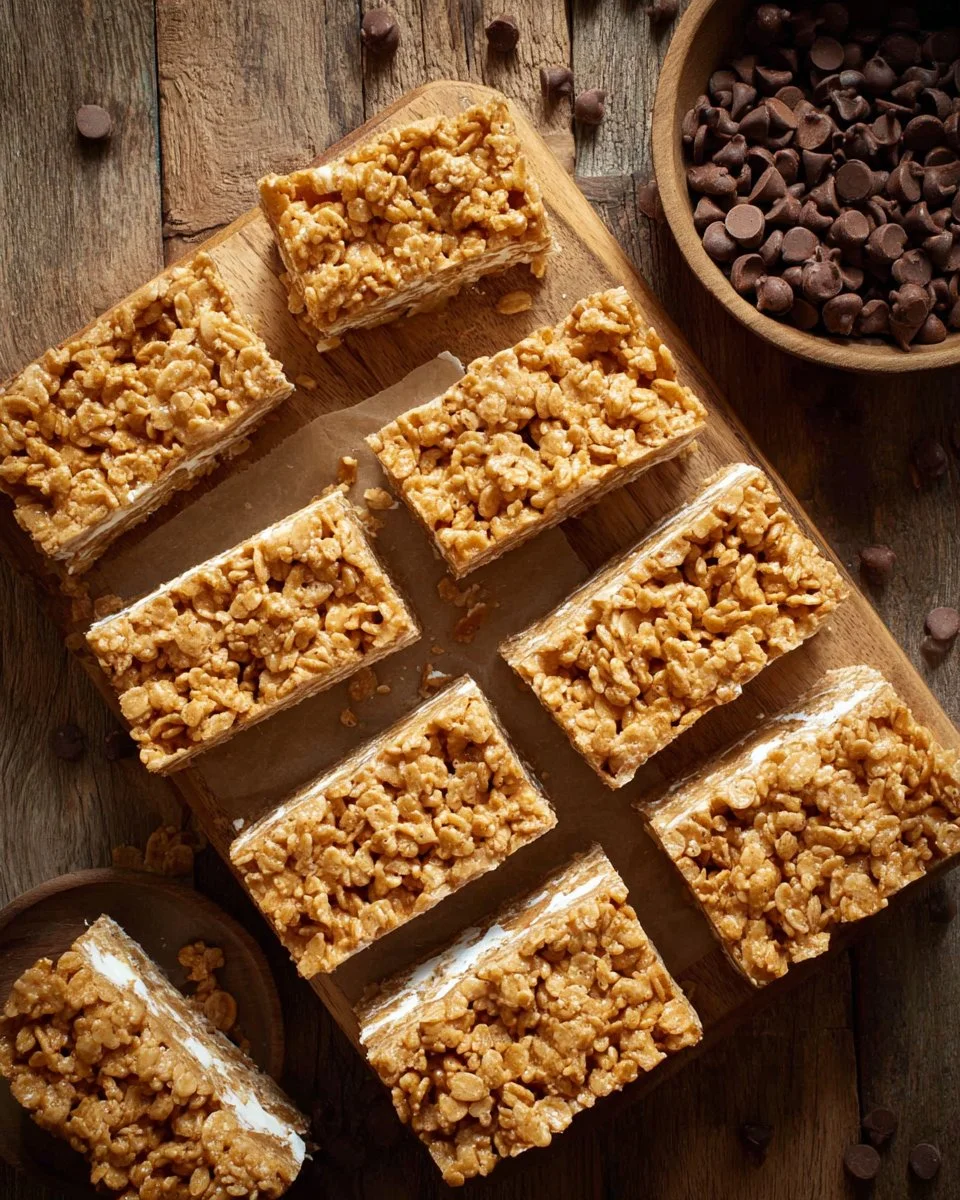
What sets Butterscotch Bars apart from other desserts is their unique blend of flavors and textures. The buttery taste of butterscotch chips harmonizes beautifully with the crunchy, crispy rice cereal and the sweet puffs of marshmallow that elevate each bite. They’re perfect for any occasion, be it a cozy day at home or a festive family gathering, ensuring that smiles and happy tummies follow every batch made!
Why You’ll Love This Recipe
Here are five compelling reasons to try my Butterscotch Bars recipe:
Unmatched Flavor: Unlike the dry, often overly sweet store-bought version, these homemade bars are packed with the richness of peanut butter and butterscotch, resulting in a symphony of taste that transports you back to childhood in the best way.
Cost-Effective: When you break down the ingredients, you’ll find that making these bars is not only satisfying but also budget-friendly. Plus, they yield a generous batch that’s perfect for sharing (or keeping all to yourself)!
Customizable: One of my favorite things about this recipe is that you can easily adapt it. Want to throw in some crushed nuts or swap half the crispy rice cereal for chopped chocolate? Go for it! You can create a version that suits your taste perfectly.
Easy to Master: This recipe is beginner-friendly. With only a few simple steps, you can whip up a batch in no time. Just follow along, and you’ll impress your friends and family without the stress of complicated baking techniques.
Make-Ahead Delight: These bars can be made ahead of time, allowing you to focus on other culinary creations or simply enjoy a slice of comfort whenever you like. They become even more delicious as they set, so you can bake in advance and savor the rewards later!
Ingredients
- 1 cup creamy peanut butter: Opt for a natural brand without added sugars or oils for the best flavor and texture.
- 1 cup granulated sugar: Make sure to use fresh sugar for optimal sweetness.
- 1 large egg, room temperature: Bring your egg to room temperature for easier mixing.
- 1 package (10 ounces) mini marshmallows: These will add a soft, puffy layer that contrasts wonderfully with the crunchy base.
- 1 package (11 ounces) butterscotch chips: Choose high-quality butterscotch chips for a richer flavor.
- 1/4 cup unsalted butter: Again, room temperature butter helps in the mixing process.
- 2/3 cup light corn syrup: The corn syrup keeps the bars chewy and moist.
- 1 tablespoon vanilla extract: Don’t skimp on quality here; pure vanilla extract makes all the difference.
- 5 cups crispy rice cereal: For the perfect crunchy add-in that balances the soft and chewy textures.
Prep Notes:
- Ensure your ingredients are fresh and of good quality for a delectable treat.
- Room temperature ingredients will blend together more smoothly.
Step-by-Step Instructions
Preheat your oven: Preheat your oven to 350 degrees F (175 degrees C). Line a 9×13-inch baking dish with parchment paper, ensuring it extends up the sides for easy lifting later.
Mix the base: In a medium bowl, combine the creamy peanut butter, granulated sugar, and the large egg. Mix until smooth and thoroughly combined.
Chef’s Tip: A hand mixer can help achieve a silky smooth batter, but don’t overmix!
Bake the base: Pour the peanut butter mixture into the prepared baking dish, spreading it evenly. Bake for 14-15 minutes. Look for just a slight puffing before removing.
Add the marshmallows: After removing from the oven, sprinkle the mini marshmallows over the top of the baked layer. Return to the oven and bake for another 7 minutes, or until the marshmallows are puffy and slightly golden.
Prepare the butterscotch topping: While the marshmallows are baking, take a large pot and over medium heat, melt together the butterscotch chips, unsalted butter, light corn syrup, and vanilla extract until smooth and glossy.
Chef’s Tips: Keep an eye on the heat; you want it melted, not burnt!
Combine with cereal: Once melted, fold in the crispy rice cereal until they are fully coated. Pour this mixture over the marshmallow layer and spread evenly.
Cool and set: Allow the bars to cool at room temperature for 8-12 hours, until fully set. Patience is key here!
Serve and enjoy: Once set, lift the bars out of the dish using the parchment paper and cut them into squares.
Common Mistake: Don’t rush the cooling period—impatience can lead to messy servings!
Expert Tips & Tricks
To achieve the best results with your Butterscotch Bars, here are some expert tips to keep in mind:
Ingredient Quality Matters: The better the ingredients, the better the bars will taste. Always use fresh butter, pure vanilla extract, and quality butterscotch chips.
Storage Recommendations: To store your Butterscotch Bars, keep them in an airtight container at room temperature for up to 5 days. If you prefer to keep them longer, refrigerate for up to 2 weeks.
Make-Ahead Instructions: These bars can be made up to a week in advance. Just ensure they’re sealed well to avoid drying out.
Troubleshooting: If your bars are too crumbly, it might be that you didn’t use enough corn syrup. Give your mixture another gentle heat to incorporate more moisture if needed.
Customize Your Bars: Don’t be afraid to experiment! You can use different cereals or even swap in chocolate chips for added sweetness.
Serving Suggestions
These Butterscotch Bars are perfect on their own, but here are a few ideas to take your presentation up a notch:
- Pair with Coffee or Tea: Serve them alongside a warm cup of coffee or a soothing chamomile tea for a delightful afternoon treat.
- Add Fresh Fruit: Consider a side of fresh berries to balance the sweetness—strawberries or raspberries work beautifully!
- Occasion Recommendations: These bars can be a hit at birthday parties, potluck gatherings, or even as a comforting dessert during a cozy movie night.
Variations & Substitutions
Feel free to switch things up! Here are some variations and substitutions you can consider for your Butterscotch Bars:
- Flavors: Try adding oatmeal for a chewy twist or integrating peanut butter chips along with butterscotch for an extra nutty flavor.
- Dietary Restrictions: For a gluten-free version, make sure your crispy rice cereal is certified gluten-free. You can also substitute corn syrup with agave nectar for a different sweetness.
- Seasonal Variations: During the holidays, consider mixing in fall spices such as cinnamon or nutmeg, or add sprinkles on top for a festive touch.
Nutrition & Storage Info
- Prep Time: 20 minutes
- Cook Time: 25 minutes
- Total Time: 12 hours (including cooling)
- Yield: Approximately 24 bars
- Estimated Calories per Serving: 160 calories per bar
- Storage Instructions: Store at room temperature in an airtight container for up to 5 days or refrigerate for up to 2 weeks.
FAQ Section
1. Can I substitute corn syrup with something else?
Yes, you can use honey or agave nectar as a substitute, though it may alter the flavor slightly.
2. Can I freeze these bars?
Absolutely! Wrap them tightly in plastic wrap and store in an airtight container for up to 3 months. Thaw at room temperature before serving.
3. What should I do if my bars are too crumbly?
It could be due to too much cereal; try adding more gooey ingredients like corn syrup next time for better cohesion.
4. Are these bars safe for a nut allergy?
This recipe contains peanut butter, so it’s not suitable for those with nut allergies. Consider using sunflower seed butter instead as a nut-free option.
5. Can I make these bars without an oven?
While the oven is essential for baking the base and marshmallows, you could experiment with no-bake versions using different ingredients.
6. How do I cut the bars cleanly?
Use a sharp knife and a gentle sawing motion to cut through the set bars, cleaning the knife between cuts for tidy edges.
7. What other toppings work with these bars?
You can sprinkle crushed pretzels, chopped chocolate, or even sea salt flakes on top for an extra crunch and flavor.
8. How do I store leftovers?
Keep them in an airtight container at room temperature for about 5 days, or in the fridge for up to 2 weeks.
9. Can I add chocolate chips?
Yes! Feel free to fold in some chocolate chips along with the cereal for a delightful twist.
10. What should I pair these bars with for a dessert table?
They pair wonderfully with milkshakes, coffee, or a scoop of vanilla ice cream to balance the sweetness.
Conclusion
These Butterscotch Bars hold a special place in my heart, reminding me of the delicious moments spent in the kitchen with family. Their rich flavors, delightful textures, and nostalgic essence make them a perfect treat for anyone looking to indulge in a sweet memory. I encourage you to try out this recipe and, if you do, please share your feedback or any creative twists you’ve added!
If you loved these bars, check out my other dessert recipes on the blog that carry the same warmth and nostalgia. Bake with love, and enjoy every bite!